
Stunning Marble Effects: Step-by-Step Dip Painting Guide
Did you know that dipping paint can change ordinary objects into extraordinary art pieces in just two minutes?
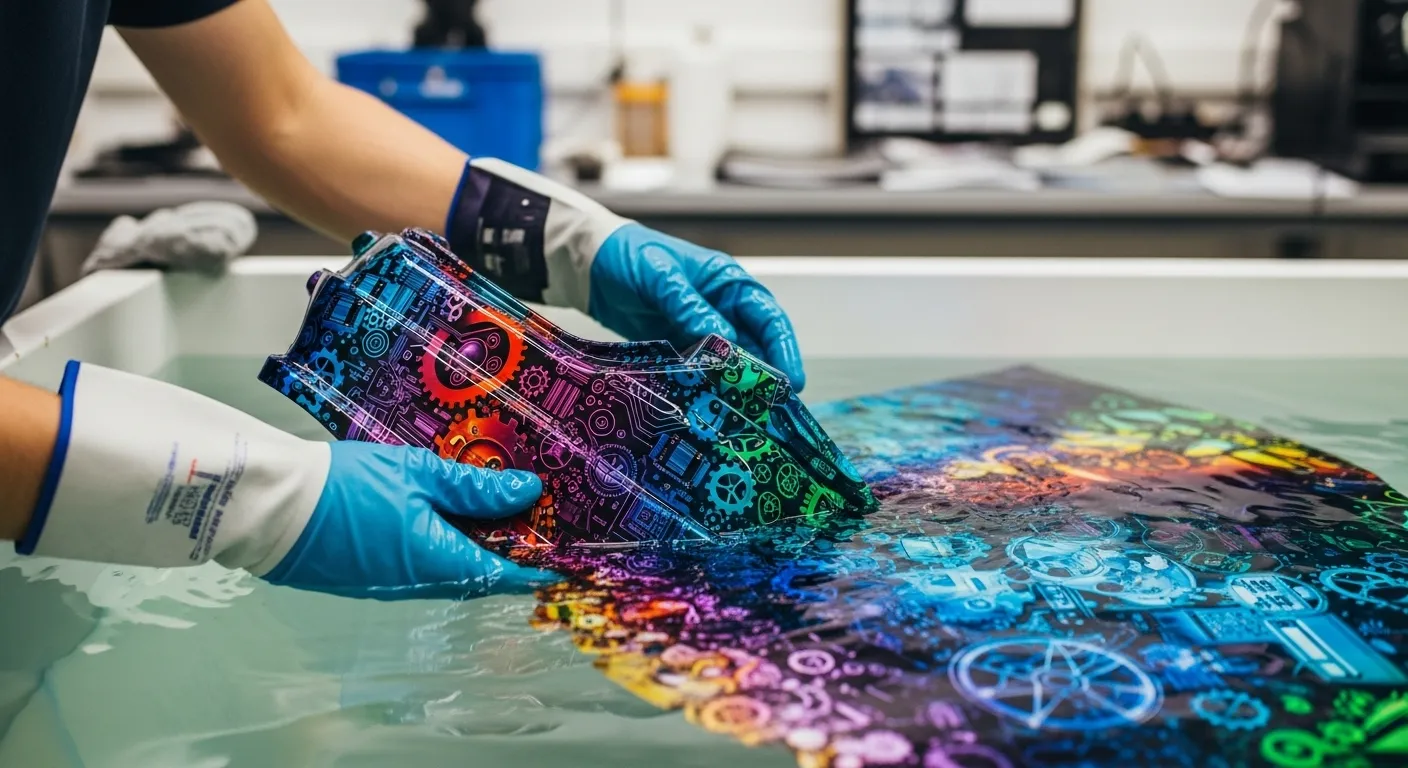
Hydro-dipping, also known as water transfer printing or immersion printing, lets you apply intricate designs to almost any surface. The sort of thing I love about this technique is how it creates stunning marble effects that look professional but remain easy for beginners to try. Magic marble paint for dipping projects is specially made to spread evenly across water’s surface, unlike traditional paints.
The cost might surprise you, these specialty paints cost about $8.50 for a one-ounce bottle, which adds up to over $1,000 per gallon! The versatility makes up for the price tag. You can layer the paint after each application dries to create deeper marble effects or add different colors for more complex designs.
This piece will show you everything about the marble dipping technique, from picking the right supplies to becoming skilled at the perfect swirl. Let’s take a closer look at the colorful world of water dipping paint!
Understanding the Marble Dipping Technique
The marble dipping technique works through an amazing physical principle that lets special paints float on water. These specialty paints are created specifically to create marble effects and stay on the water’s surface instead of sinking or dissolving.

Suitable Surfaces for Marbling
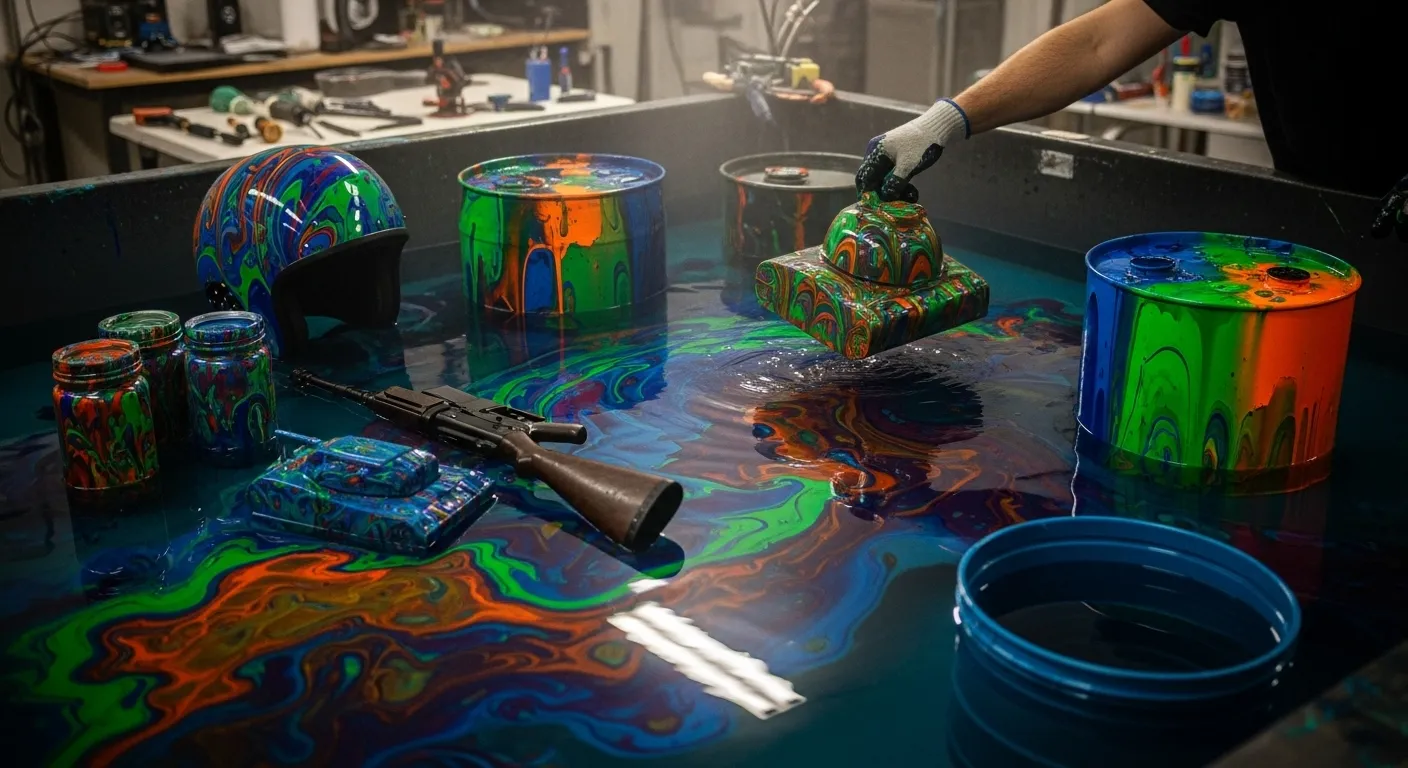
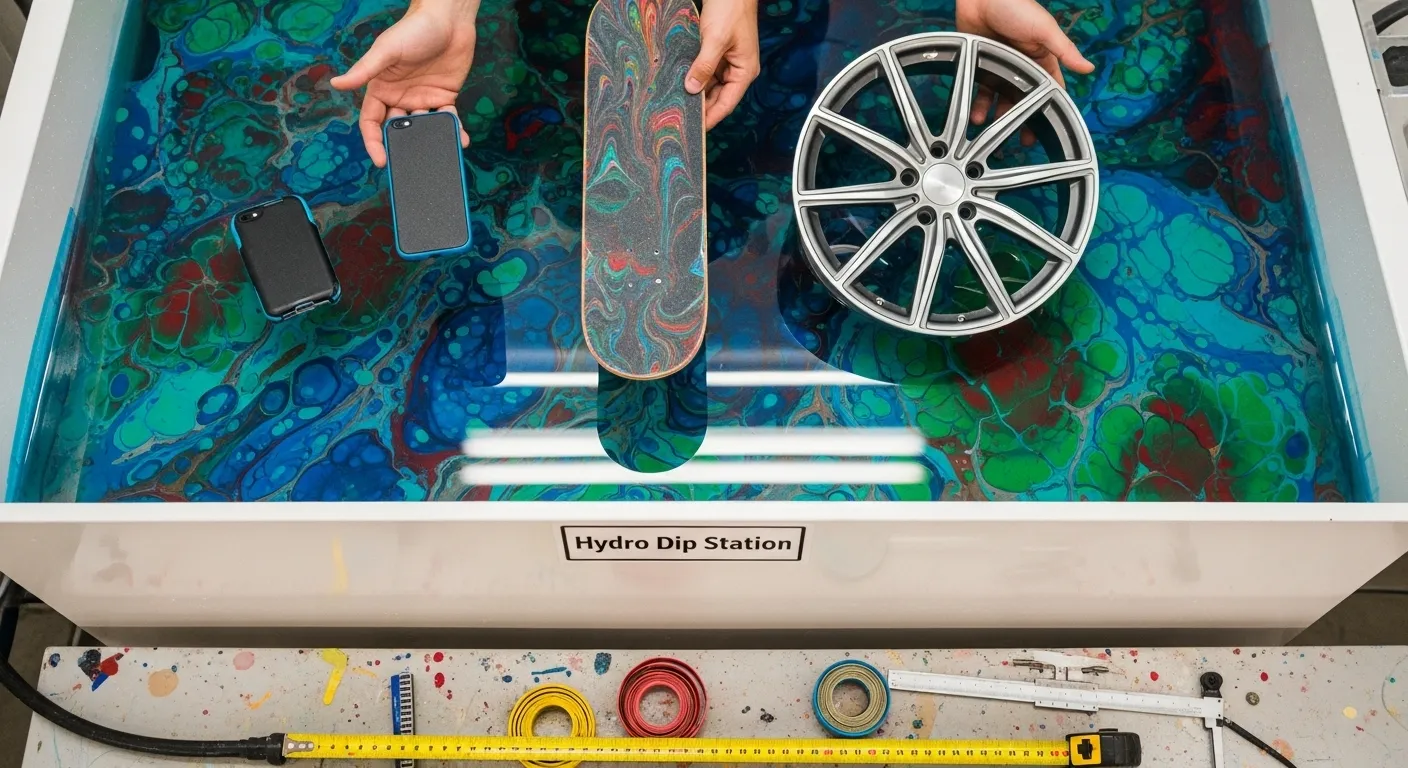
This technique works beautifully on many materials like glass, wood, plastic, ceramics, metal, paper, and even polystyrene foam. The surfaces need to be smooth, clean, and completely free of grease to get the best results. Some artists suggest coating glass with a transparent matte finish paint before starting.
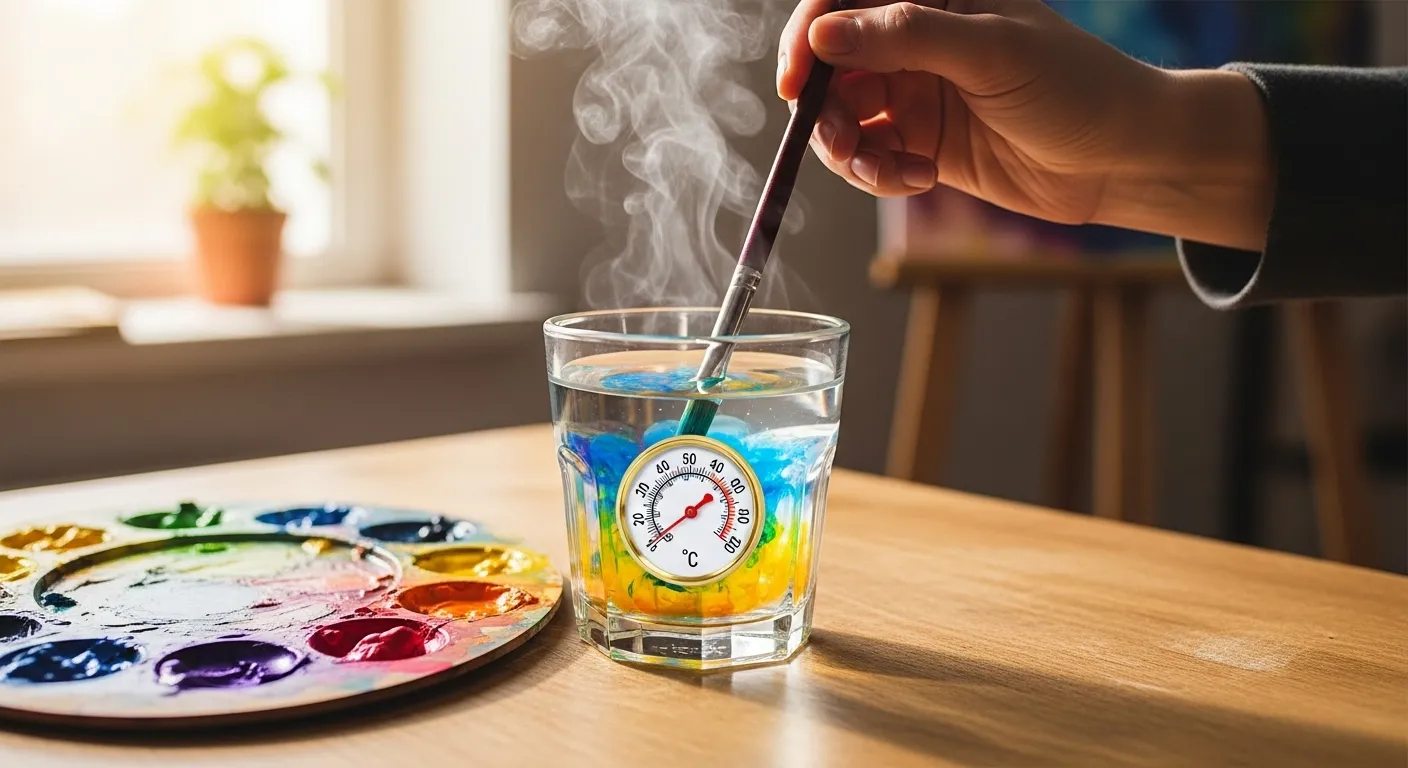
Color Application and Water Temperature
The way you apply colors changes your final pattern by a lot. Your first color gets pushed aside by the ones you add later, which makes the newer colors stand out more in the design. The water’s temperature is a vital factor too, you’ll get the best results between 65-70°F.
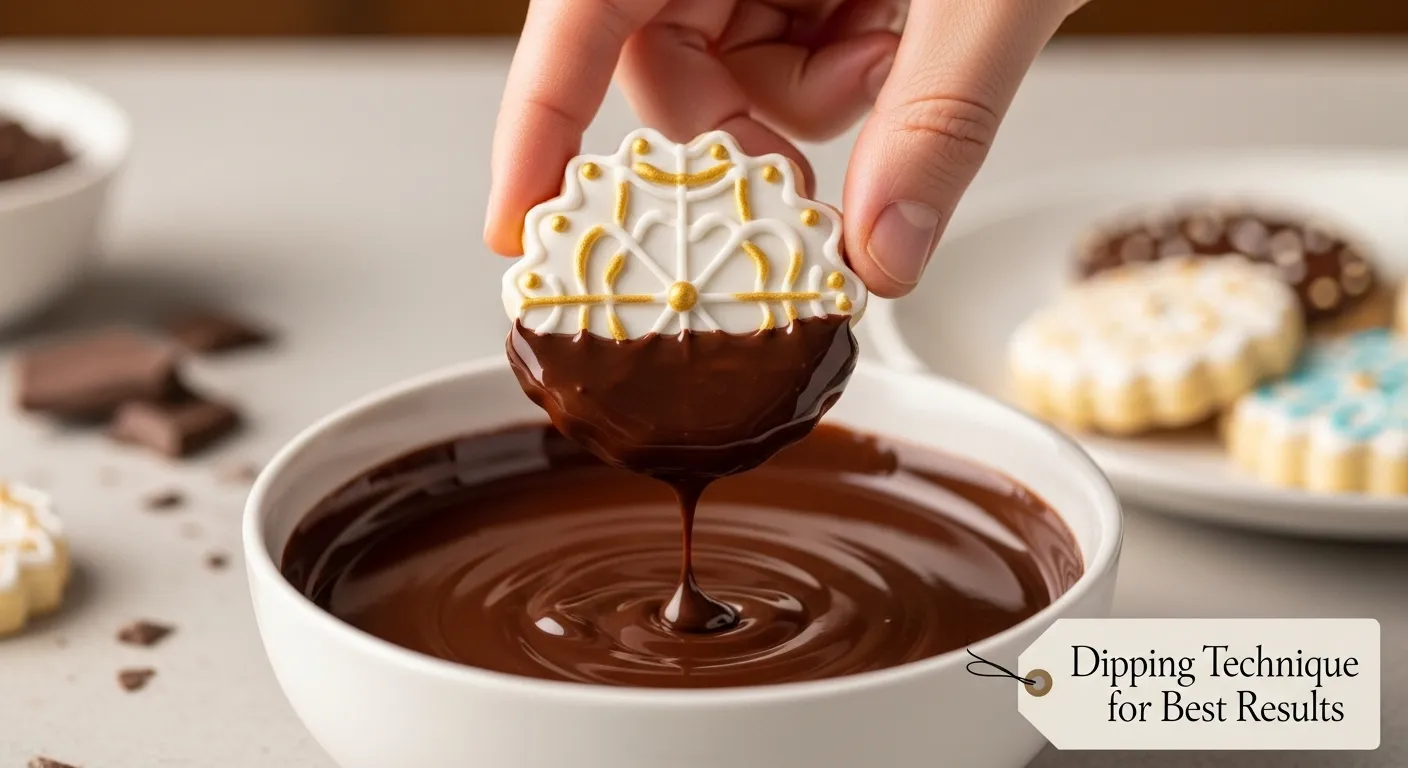
Dipping Technique for Best Results
Professional-looking marble effects come from dipping items at a 30-degree angle. This prevents air bubbles from getting trapped. The paint flows smoothly around the object’s shape this way. You need to work fast because a semi-dry film can form on the water’s surface and ruin your marbling.
The Beauty of Unique Creations
The sort of thing I love about this craft is that every piece turns out unique, no two marble dips create similar patterns.
Getting Ready: Tools, Paints, and Setup
Good preparation makes all the difference between a successful Marble Effects dipping project and a disappointing mess. You’ll need to gather all supplies first.
Essential Tools and Materials
Your toolkit should include:
Setting Up Your Workspace
Your workspace environment plays a crucial role in dipping paint success. Choose a well-ventilated area and wear nitrile or latex gloves since paint sticks stubbornly to skin. The water temperature should stay between 65-70°F to achieve optimal results.
Preparing the Container and Water
Clean your container without soap before you begin, soap creates a resist that affects the marbling process. Add enough water to submerge your item completely. Some specialty paints might need a marbling medium mixed in.

Surface Preparation Tips
Your surfaces need proper preparation, they must be clean and grease-free. Each material needs specific treatment: wood requires light sanding, plastics need fine sandpaper scuffing, and fabrics should be pre-washed without softener.
Step-by-Step Guide to Dip Painting in Water
Let’s get to the exciting part, bringing your Marble Effects creation to life! The dipping process needs precision and careful timing to get the best results.
Add Water
Add cool water to your container. Make sure it’s deep enough to completely submerge your item.
Prepare Paints
Give your Marble Effects paint bottles a good shake. Hold them close to the water surface and add 2-3 drops of each color. A little goes a long way, too much paint can cause drying and sticking issues.
Choose Colors
The best Marble Effects come from using 2-3 colors. Work quickly so the paint doesn’t form a film on the water.
Create Patterns
Make your pattern by swirling the colors gently with a wooden skewer or toothpick. You can also tap the container’s side to create ripples that give a different look.
Dip Your Item
Lower your item at a 45-degree angle to avoid air bubbles. Keep it underwater for about 5 seconds so the paint sticks properly.
Remove Excess Paint
Clean any excess paint from the water’s surface with a paper towel before lifting your item.
Drying
Pull your item out slowly and set it upside down. It takes 15-30 minutes to become dust-dry and about an hour to dry completely.
Refresh Water Between Dips
Clean the water surface between dips. After 4-5 dips, replace the water entirely.
Conclusion
Marble dipping turns ordinary items into stunning, customized art with minimal effort. Special paints float on water to create unique swirling patterns on ceramics, wood, glass, and paper, offering endless creative possibilities.
Success comes from the right materials, careful preparation, and attention to detail, perfect water temperature, quick work, and proper dipping angles. Each piece is one-of-a-kind, and experimenting with colors and techniques develops your unique style.
Though specialty paints may seem costly, transforming everyday objects into conversation pieces is worth it. Marble dipping blends science and creativity, making each project addictive and rewarding. Also you can read our comparison guide about How to Choose the Right Hydro Dipping Tank Size also.