
How to Hydro Dip Like a Pro: Easy Ideas Using Dollar Store Items
Want to turn ordinary dollar store items into extraordinary Hydro Dipping Works of art? Hydro dipLike a Pro ideas give you that exact possibility. This simple yet mesmerizing technique creates unique designs on everyday objects.
The art of hydro dipping, also called water transfer printing or dip Like a Pro painting, involves transferring paint from water’s surface onto objects. This technique helps achieve everything from sleek carbon fiber finishes to bold, vibrant graphics. Each project produces psychedelic effects that make every dip unique!
We’ll show you how to hydro dip Like a Pro at home with spray paint and dollar store finds. Your projects can range from enhancing white planters to designing custom accessories. These DIY hydro paint dipping projects won’t break the bank, and they’re surprisingly easy and rewarding. You’ll create professional-looking results whether you’re a seasoned crafter or just starting out.
Let’s take a closer look at the colorful world of hydro dip Like a Pro with spray paint and get started!
Getting Started with Hydro Dip Like a Pro DIY
Your local dollar store has everything you need to start hydro dipping. You’ll need a large container for water that you’ll use only for crafting since it will get stained. The container’s depth should allow complete submersion of your item and smooth dipping movements.

Essential Materials Checklist
To create simple DIY hydro dipping, you’ll need:
Spray paint (any brand works, but ensure they’re not too old), Non-porous blanks (mugs, planters, or other solid-colored items),Protective gloves,Paper for floor protection,Well-ventilated space

Prioritize Safety
Safety should be your priority before starting any hydro dip Like a Pro project. The work needs to happen outdoors or in a well-ventilated area to avoid harmful fumes. On top of that, it’s important to wear protective gloves to keep paint off your hands.

How Hydro Dipping Works
Hydro dipping transfers detailed patterns onto three-dimensional surfaces through water immersion. The process works when paint floats on water, and your item dips through the surface, which allows the design to wrap around the object’s shape.

Materials You Can Transform
This technique transforms plastics, metals, ceramics, and even hardwoods, though wood needs sealing first. The beauty of hydro dip Like a Pro DIY comes from its simplicity – once you become skilled at the simple technique, you’ll create unique, marbled designs that never look the same twice.
8 Easy Hydro Dip Ideas Using Dollar Store Items
The simple techniques we discussed earlier open up a wealth of possibilities with dollar store items that are perfect for hydro dipping. This craft reshapes the scene by turning cheap finds into custom treasures.
Stainless Steel Bottles and Tumblers
Stainless steel water bottles and tumblers serve as excellent starting points. Most crafters apply a white base coat to make colors stand out vibrantly. The finished products look professional and resist water effectively.
Picture Frames
Picture frames take on new life with hydro dipping. The process requires removing glass and backing first. A 24-hour drying period ensures everything can be reassembled properly.
Customized Footwear
Kids love customized footwear like flip-flops and sandals. The paint bonds strongly without cracking, which makes these items durable and perfect for daily wear.
Terra-Cotta Pots
Terra-cotta pots become striking marbled planters through this process. The water temperature should stay around 78 degrees to prevent nail polish clumping and achieve optimal results.
Plastic Christmas Ornaments
Plastic Christmas ornaments transform into stunning holiday decorations. A clear enamel spray coating helps preserve their beauty longer.
Colorful Candle Holders
Your decor gets a boost from colorful candle holders. Glass versions work best with bold color combinations and create stunning effects.
Glass Vases
Glass vases become conversation pieces easily. Their transparent surfaces create fascinating depth effects that catch everyone’s eye.
Small Toys
Small toys develop unique personalities through custom patterns. These one-of-a-kind items work great as playthings or display pieces.
Finishing Touches and Protection
The right finishing touches on your newly dipped items are vital for results that last. Take your creation out of the water and give it a gentle rinse with clean water to get rid of extra film and Hydro Dipping Without Activator. You’ll need to rinse it for at least 5 minutes until it feels wet but loses that slimy texture.
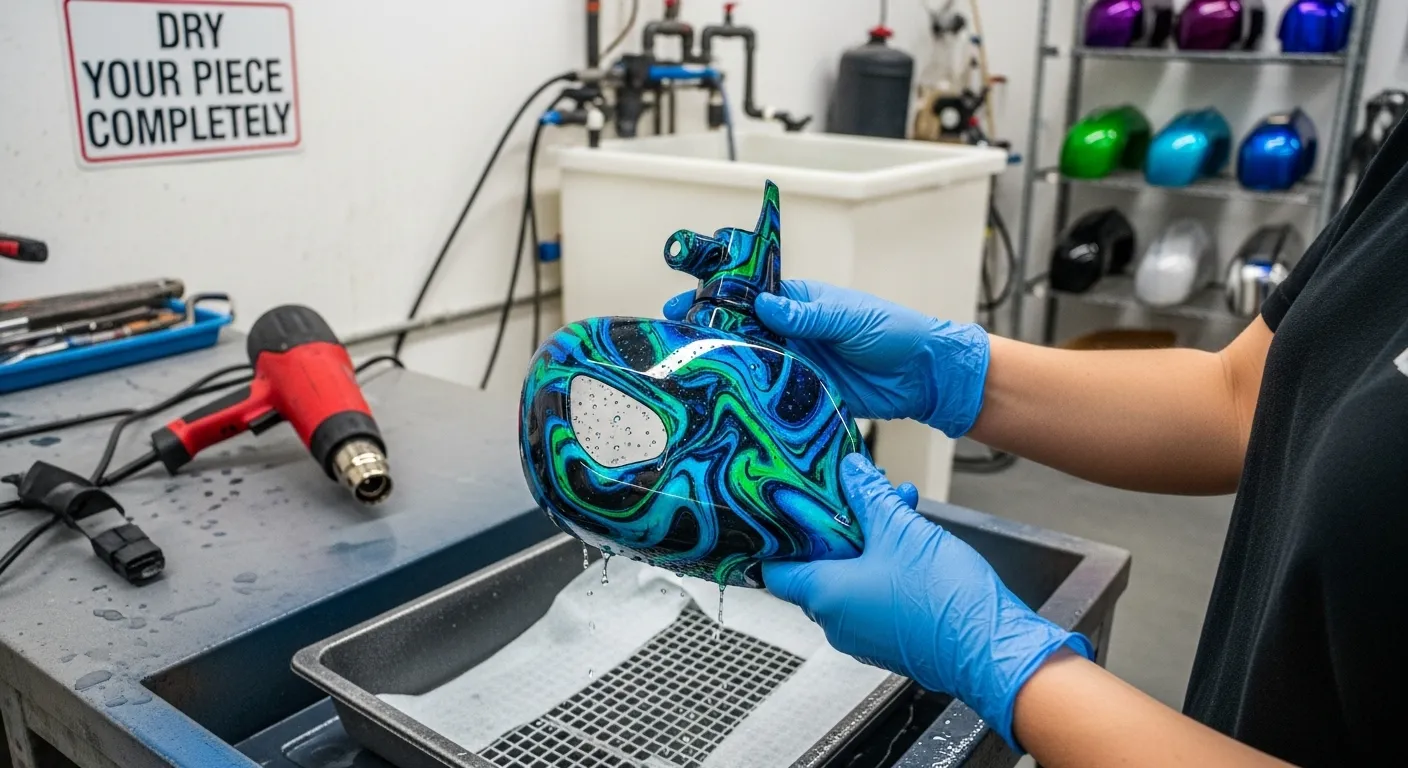
Dry Your Piece Completely
Let your piece dry completely after rinsing. You can air dry it, use compressed air, or place it near a fan. Your drying space should stay under 60% humidity to get the best results. Many experienced crafters set up special drying rooms with good air circulation to achieve professional results.
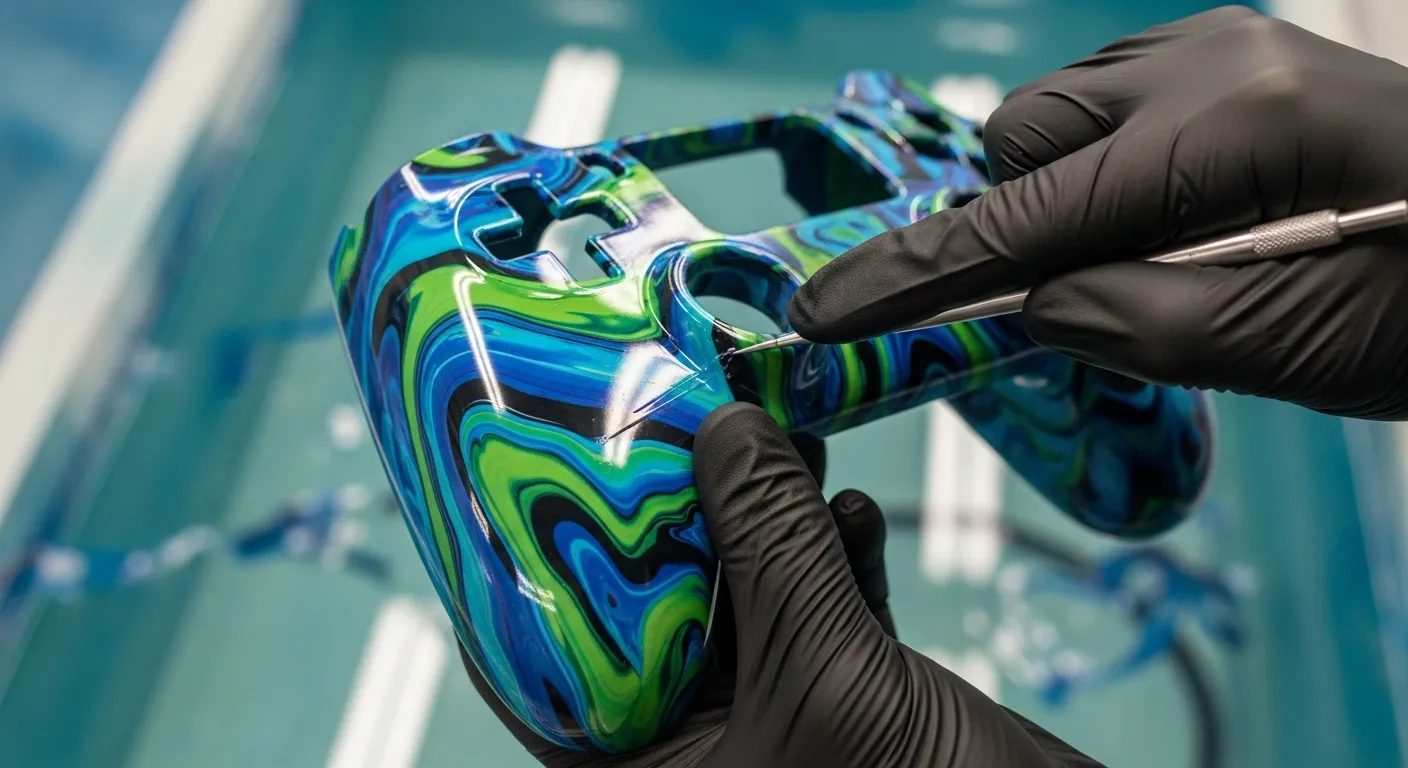
Inspect and Fix Imperfections
Look over your piece carefully once it’s dry. A small paintbrush with activator or lacquer thinner can fix minor flaws. You might need to start over with a new dip Like a Pro if you find major defects.

Apply a Clear Protective Coat
Adding a clear protective coat is the last key step. This coat will guard your design and stop it from scratching or fading. Several light coats work better than one thick coat that might run. Clear coats come in these finishes:
Matte/flat
Semi-gloss
Gloss
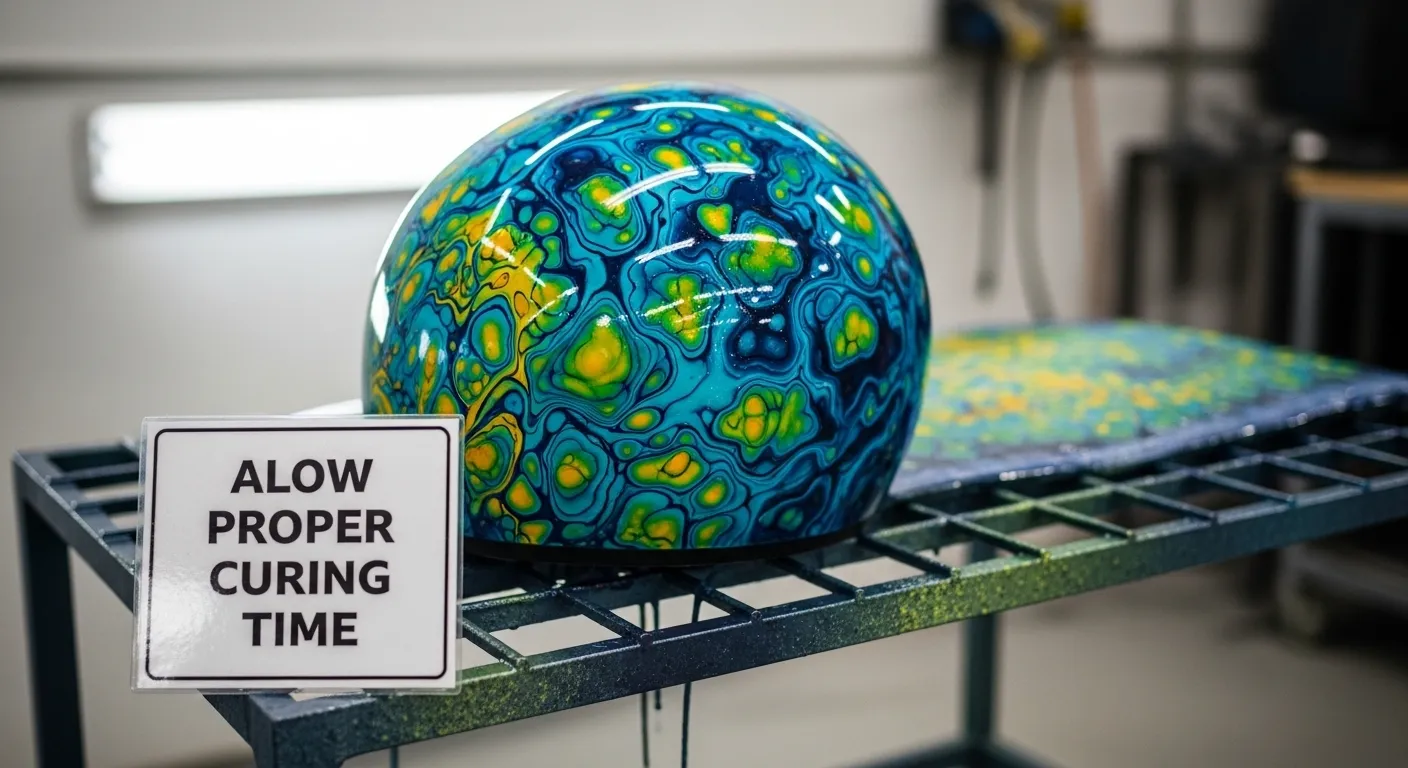
Allow Proper Curing Time
Your hydro dipped creation needs 30-90 days to cure fully and reach its maximum durability. Keep it away from solvents or chemicals during this curing time. These dollar store projects will stay beautiful and vibrant for years with the right protection.
Conclusion
Hydro dip Like a Pro transforms ordinary dollar store items into stunning custom creations. This simple, low-cost craft uses water, spray paint, and a few supplies to create unique, professional-looking designs every time. Also you can read our comparison guide about How to Avoid Costly Spray Paint Hydro Dipping Problems.
Safety is key, always work in a well-ventilated space and wear protective gear. Rinsing, drying, and adding a clear coat help your projects last for years.
With a bit of creativity, mugs, frames, planters, and ornaments become one-of-a-kind art pieces. Try hydro dip Like a Pro this weekend and see how addictive and rewarding this colorful craft can be.