How to Choose Hydrographic Dipping Film: Beginner’s Guide
YHT supplies more than 2000 types of custom-designed hydrographic dipping film to customers worldwide. That’s quite a selection to choose from! The selection process can feel overwhelming, especially when you’re just starting out. A hydrographic film is a specially developed polyvinyl alcohol (PVA) sheet that dissolves in water and leaves behind detailed designs ready to transfer onto objects.
The beauty of this process lies in its simplicity, you can apply graphics to three-dimensional items with a simple water dip without damaging the item. The sheer number of hydro dipping patterns makes finding your perfect match a bit challenging. You need to understand several key factors before making a choice. We’ve created this piece to help you select the right pattern, whether you’re new to hydro dipping or want to explore different film options. Hydro Dip Paint vs Spray Paint is vary good guiding.
This guide will walk you through the essentials of hydrographic film patterns and help you pick the one that matches your project needs perfectly. Let’s take a closer look!
Understand the Basics of Hydro Dipping Film
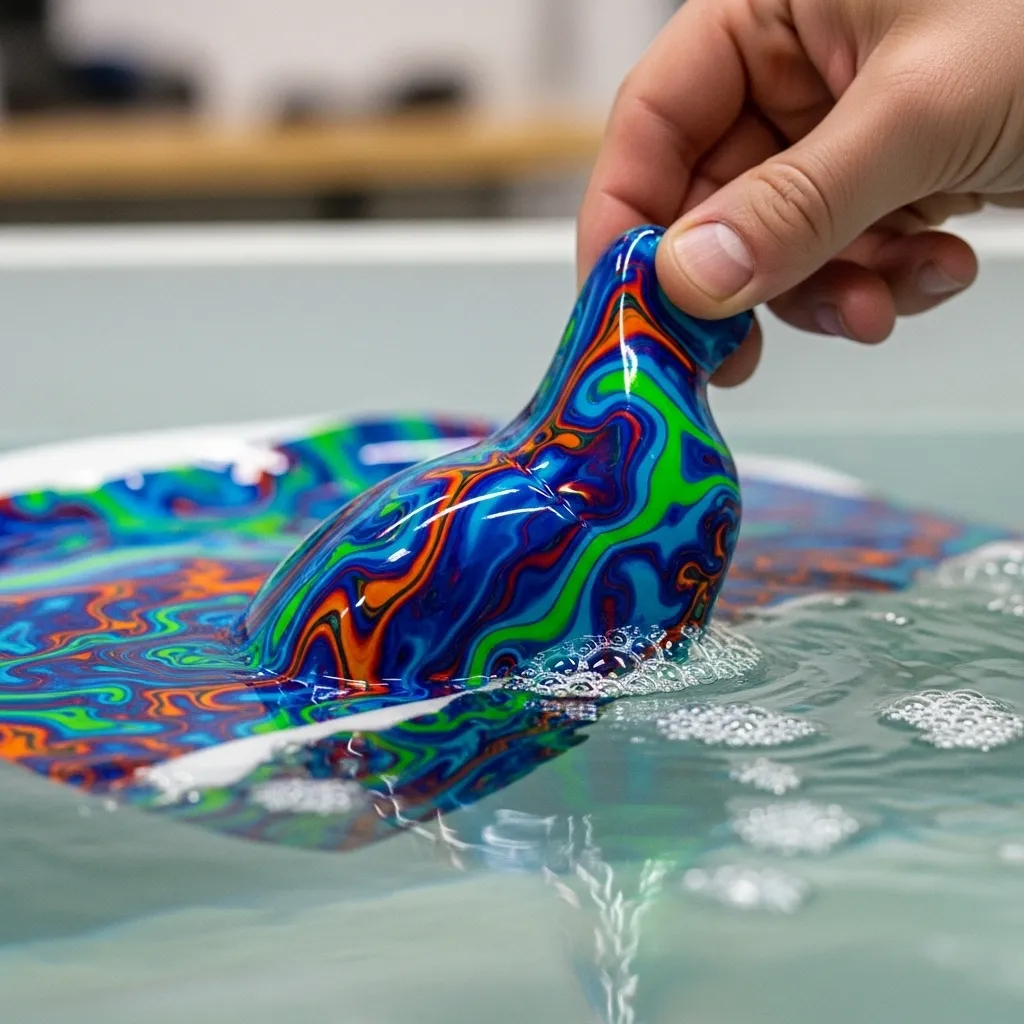
Hydrographic dipping film has polyvinyl alcohol (PVA) as its main component. This water-soluble material creates the foundation to transfer complex designs onto three-dimensional objects. The specialized film starts to soften at the time it touches water and becomes incredibly pliable after 60-75 seconds on the surface.
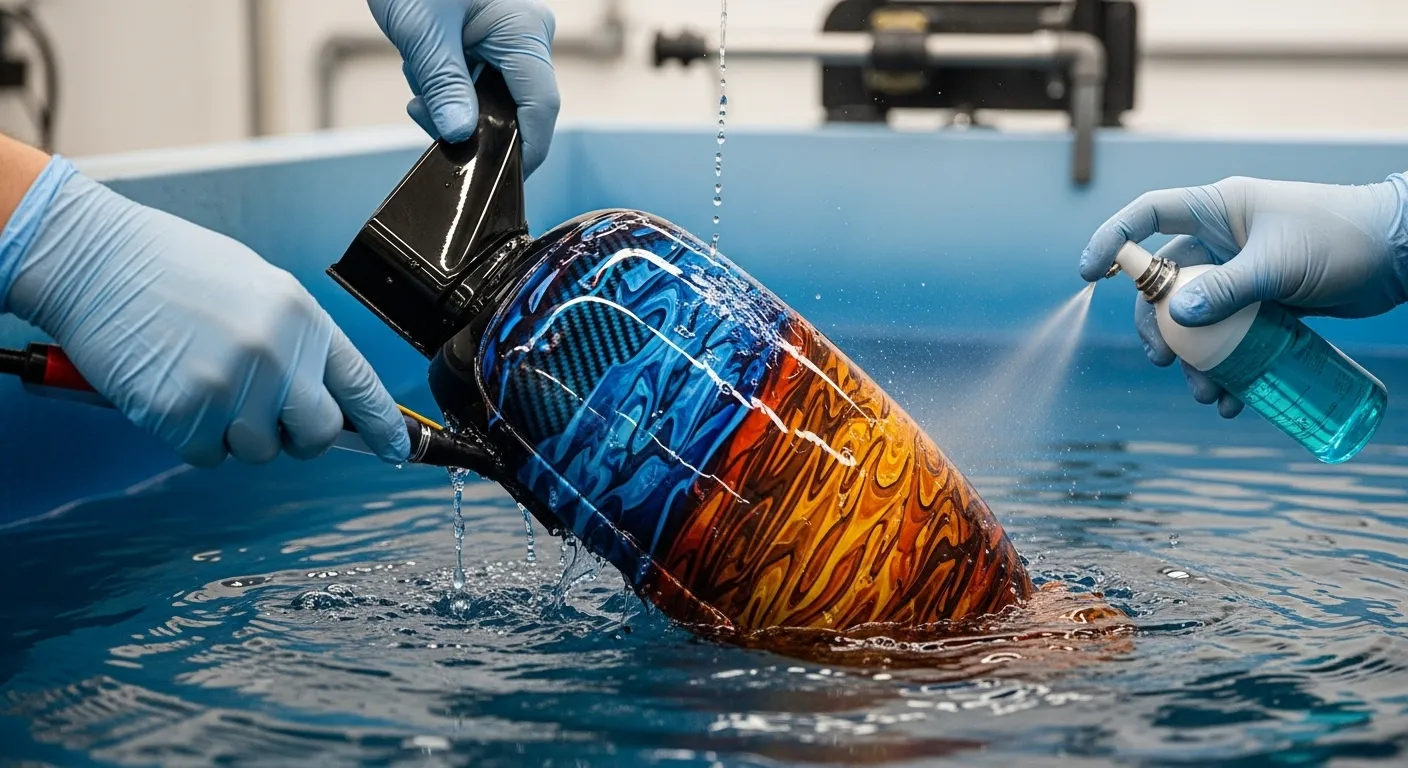
The transformation begins with an activator spray on the floating film. This chemical solution breaks down the PVA backing and liquefies the inks without changing how they look. The surface tension of the water helps the pattern wrap perfectly around any shape as the object passes through the film.
The process works effectively on many materials such as:
- Metal (requires proper priming)
- Plastic (PVC, PP, PE, PET, ABS, ACRYLIC)
- Ceramics
- Hardwoods (with sealer primer)
- Glass
- Fiberglass
- Rubber
My experience shows that any material can undergo hydro dipping if it tolerates water submersion and accepts base coating. The film offers countless pattern options – from carbon fiber and camouflage to wood grain, stone, metal effects, and abstract designs.
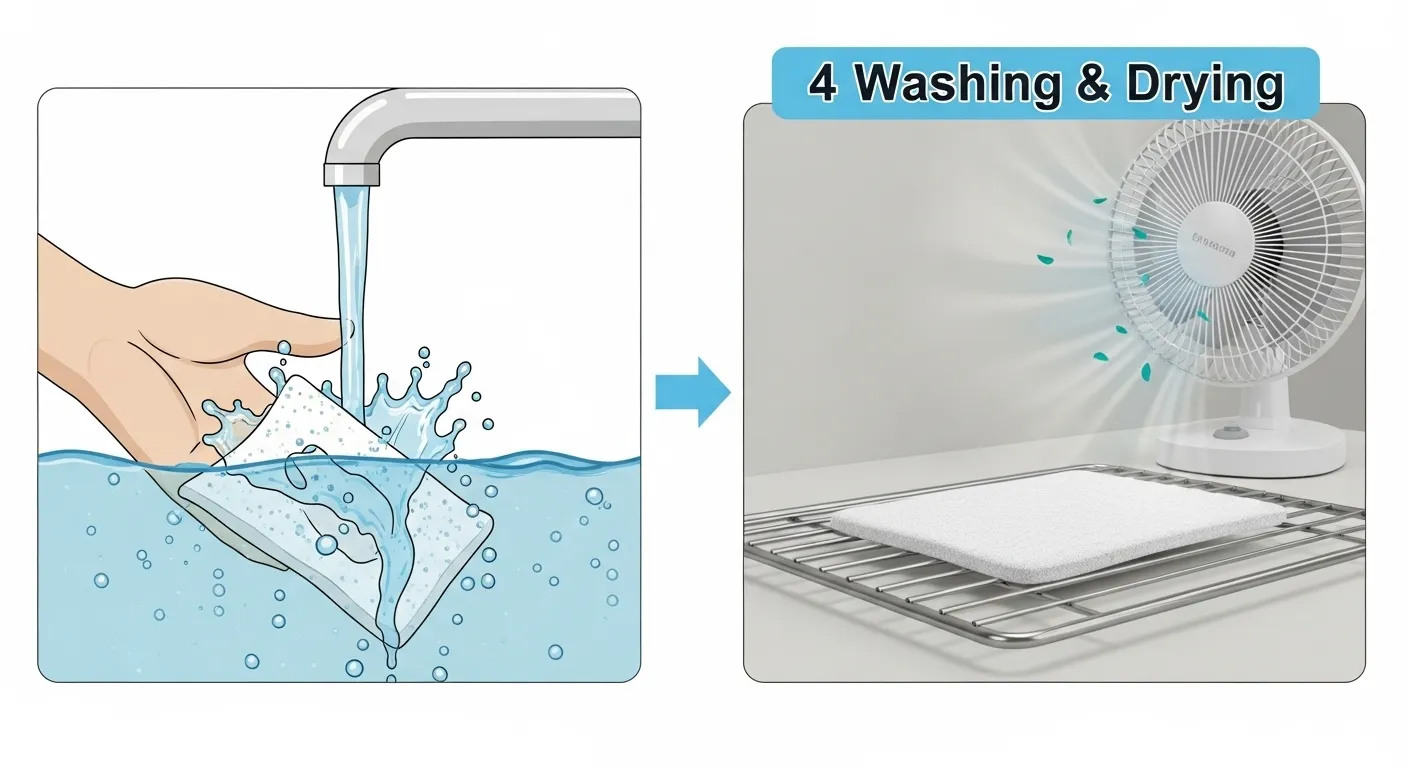
The final steps involve rinsing off any remaining PVA and letting the object dry completely. A clear protective coat adds UV protection and scratch resistance, which results in a durable, professional finish.
Key Factors to Consider When Choosing a Film
You’ll need to think over several factors when choosing the right hydrographic dipping film. We matched the film to your substrate material first. Each material, plastic, fiberglass, wood, ceramics, and metal, just needs specific films to stick properly.
The pattern’s design plays a vital role in your choice. You have over 20,000 patterns to pick from. These range from carbon fiber and camouflage to wood grain, flame, and custom designs. Many suppliers now offer blank hydrographic film that works with inkjet printers to create tailored projects.
Everything in the practical side includes:
- Film size and pattern repeat: Make sure you have enough coverage for your object with extra room to stretch (1-2 inches on all sides for rectangular items, more for complex shapes)
- Quality and durability: Better films give you stable colors that resist UV damage and fading
- Compatibility with activator: This chemical component is significant for proper adhesion, mixing the wrong ones leads to poor results
- Film thickness: Standard quality films are usually 35-40μ thick
There’s another reason to think about where you’ll use the item. Objects that people handle often or face harsh conditions just need tougher films with better UV protection. A well-applied hydrographic film typically lasts five to fifteen years. Decorative pieces that don’t get much handling can last even longer.
Test and Customize Before Final Use
Importance of Testing Hydrographic Dipping Films
Achieving professional results in hydrographic dipping projects begins with thorough testing of your chosen film. Many suppliers provide sample packs, which are ideal for gaining hands-on experience with different hydro dipping patterns. These packs typically include small film squares, around 8″x10″, allowing you to practice on smaller objects before attempting larger or more complex pieces. Testing helps you understand how the film behaves and ensures it performs well under your working conditions.
Steps for Successful Film Testing
A proper test involves several critical steps. First, purchase small quantities of films that align with your project needs. Next, apply the intended base coat to a test object, as this significantly affects the final appearance. Bright base coats make patterns more vibrant, while darker coats reduce contrast, impacting the overall effect. Preview the color interactions by holding the film over the base-coated item, then complete a sample dip on a similar material to evaluate the results before moving to larger projects.
For companies handling outsourced projects, testing a sample dip before mass production is crucial. This practice ensures that the selected film works as expected with the chosen materials and environmental conditions. Working with expert professionals or trusted suppliers can also provide valuable insights into film performance and techniques, helping prevent costly mistakes and ensuring high-quality results for the final product.
Conclusion
The success of hydrographic dipping depends on understanding your project’s needs and material compatibility. We’ve explored how this PVA-based material turns ordinary objects into custom art pieces through a simple water dipping process.
Your success with hydro dipping relies on picking the right film based on your substrate material, pattern choice, film quality, and usage environment. The wide range of patterns – from carbon fiber to custom designs, opens up endless creative possibilities to personalize objects. You can also read about Hydro Dipping with Spray Paint here.
You can save time, money and avoid frustration by testing small samples first. No amount of research can match the practical knowledge you get from seeing how your base coat works with different film patterns. Your base coat’s color affects the final result by a lot and can enhance or subdue your chosen pattern.
Hydrographic dipping is available to transform almost any water-safe object, whether you use standard patterns or create custom designs. You can achieve professional-looking results by doing this and being organized with sample films first.
Patience during the learning process will lead to amazing results as you begin your first project. Creating custom-finished objects with this unique water transfer printing technique makes the careful selection process worth the effort.