
Master Hydro Dipping Temperature: Pro Guide to Perfect Results
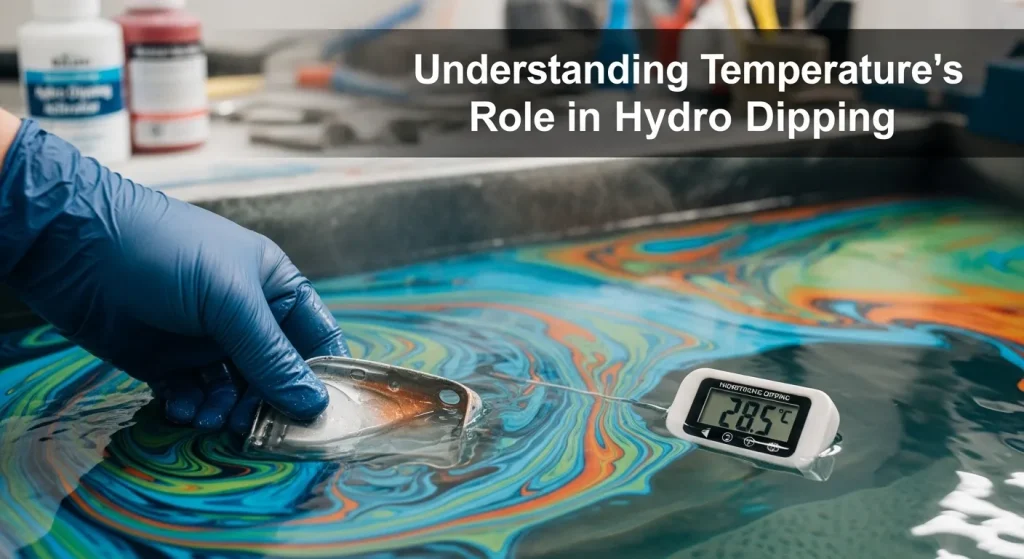
A few degrees can make the difference between success and failure in your Hydro Dipping Temperature project. Temperature effects in hydro dipping are nowhere near as simple as most people think. My experience shows that water at 80°F to 90°F (27°C to 32°C) gives the best results. Your dip will become sticky and useless if the water drops below 75°F. Understanding Hydro Dipping Temperature water temperature celsius conversions is a vital part of following international guides or using equipment that’s adjusted to different units.
The science behind this sensitivity is the sort of thing I love. Water creates perfect surface tension that lets designs stretch evenly across any shape. This delicate balance depends on getting the temperature right. The finished pieces are a great way to get impressive temperature resistance, and they can handle heat up to 300-325°F after proper curing. This piece explores how temperature and humidity affect your dipping process. You’ll learn to fix common temperature-related problems and master professional techniques that work in any workshop conditions.
Understanding Temperature’s Role in Hydro Dipping
Temperature is the foundation of successful hydro dipping. The chemistry behind this process needs precise conditions that affect your final results. Let me show you how temperature control can make or break your projects.
Why temperature matters in hydrographics
Temperature drives every chemical reaction in the Hydro Dipping Temperature process. The PVA film dissolves at specific rates based on water temperature. The activator chemicals need the right thermal conditions to create the perfect bonding environment.
In fact, temperature affects three critical elements at once:
- Dissolution rate: The speed at which the PVA film breaks down
- Activation chemistry: How effectively the printed pattern transfers
- Adhesion quality: The strength of the pattern’s bond to your object
Your results will be predictable, not random, when you keep the temperature consistent throughout the process.
How water and air temperature affect film behavior
Water temperature determines how your film behaves on contact. Cold water in winter slows dissolution rates drastically. Your film stays intact too long after you apply the activator. Hot water causes early breakdown and distorts the pattern. Air temperature changes both your activator spray pattern and drying times. Cool workshop air can make the activator partially cure before it hits the water surface. This creates uneven application. Warm air speeds up evaporation and can lead to patchy coverage. These temperatures create a delicate balance that affects your pattern’s stretch, adhesion, and clarity.
Common temperature-related issues
Problems pop up when temperatures drift from the sweet spot. You’ll see spotty transfer when parts of the film don’t activate properly due to temperature differences. Wrinkles appear when the film softens unevenly because of temperature variations. Pattern blur is another common issue. Too much heat makes the film dissolve too quickly before it can properly stick. Temperature changes during dipping create stress points in the pattern. You’ll often see these as stretches or distortions in your finished piece. Understanding these temperature relationships helps you control the entire Hydro Dipping Temperature process. You’ll get professional-quality results whatever the external conditions.
Finding the Right Hydro Dipping Temperature Range
The right temperature balance makes all the difference between success and failure in hydro dipping. A few degrees can turn your professional-looking finish into a complete mess.
Ideal Hydro Dipping Temperature in Celsius and Fahrenheit
The sweet spot for hydro dipping water temperature sits between 80-90°F (27-32°C). Some experts suggest wider ranges like 70-90°F (21-32°C) or even higher at 93-110°F (33-43°C), but the 80-90°F range consistently gives the best results. Many experienced dippers prefer 85-90°F because this range helps the film hydrate properly without dissolving too quickly.
Starting with water above 80°F (27°C) works best for multiple dipping sessions. This temperature helps the activator evaporate better from the water as you work.
What happens if water is too cold
Water below 75°F causes several issues. Your dip becomes sticky and rough instead of smooth. The film won’t melt properly and fails to wrap around your item’s surface correctly. Cold temperatures make the film move slowly, which leads to partial transfers, poor sticking, and pattern problems.
What happens if water is too hot
Hot water brings its own set of problems. The film wrinkles when applied in water that’s too hot. Temperatures above the ideal range speed up film activation too much, which often creates bubbles, warping, or patchy transfers. Keep the temperature below 120°F to avoid any risk of burns.
How to measure and maintain water temperature
A good thermometer is your best friend for controlling temperature. Digital thermometers give precise readings, while infrared ones let you check quickly without touching the water.
These steps help maintain steady temperatures:
- Check water temperature before each dip
- Use a temperature-controlled tank for big projects
- Let heated water settle before you start dipping
The temperature in your workshop affects how stable your water temperature stays throughout the project.
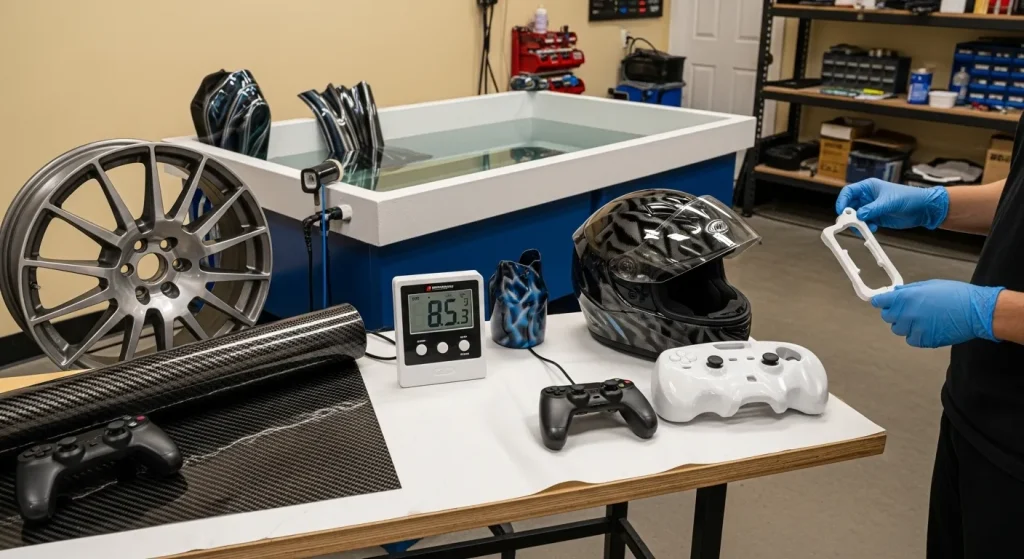
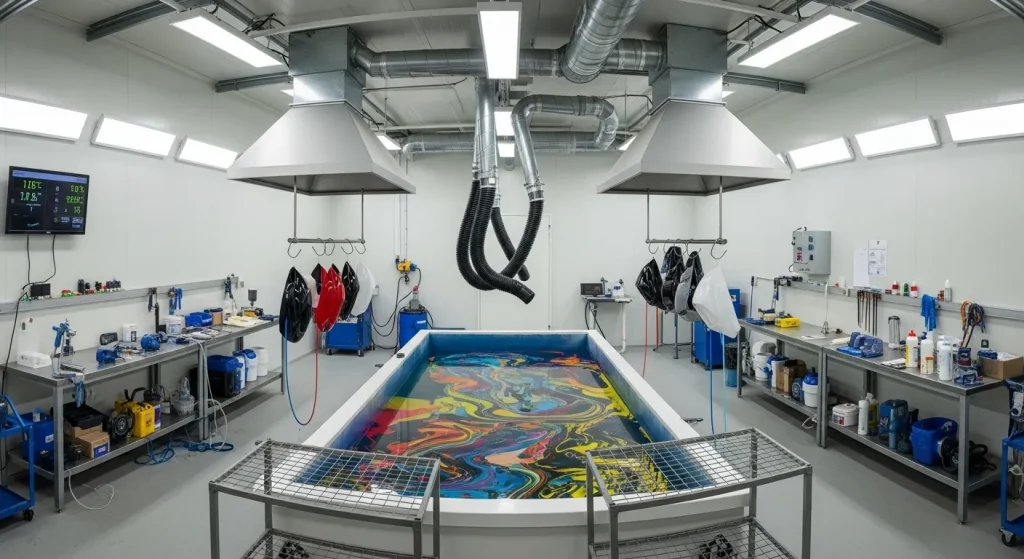
Controlling Your Workshop Environment
Your workshop environment plays a vital role in getting professional Hydro Dipping Temperature results. The air conditions around you will affect how films behave and activate during the process.
Recommended air temperature and humidity levels
The best hydro dipping results come when your workshop stays between 20°C and 25°C (68°F and 77°F). This range will give a proper film activation and ink adhesion. You should keep humidity between 45% and 55%. Your hydrographic films need similar storage conditions – 68°F–77°F with 50%-60% humidity. These settings create perfect conditions for reliable, high-quality transfers.
How humidity affects film and activator
High humidity can cause several problems in hydro dipping. Note that too much moisture makes drying times longer and increases dust contamination risk. The activator also absorbs water in high humidity, which makes it less effective. Your films might absorb moisture and warp before use, making them hard to lay flat on water. This often results in poor activation. Low humidity brings its own set of challenges. Dry air creates more static electricity, which pulls unwanted dust to your workpieces. The activator also dries too fast in dry conditions, which can cause uneven film activation.
Using climate control systems effectively
A reliable HVAC system that controls both Hydro Dipping Temperature and humidity separately is worth the investment. Many shops need dehumidifiers or humidifiers based on their local climate. You should fine-tune your equipment and check conditions throughout the day, especially during season changes.
Tools for monitoring temperature and humidity
Basic digital thermometers and hygrometers help track your workshop conditions. You can choose from simple LCD displays to advanced data loggers that connect to computers. Professional shops might want systems that monitor conditions non-stop or send alerts when readings go outside the best ranges. Regular equipment checks ensure accurate readings, which helps maintain quality across all your Hydro Dipping Temperature work.
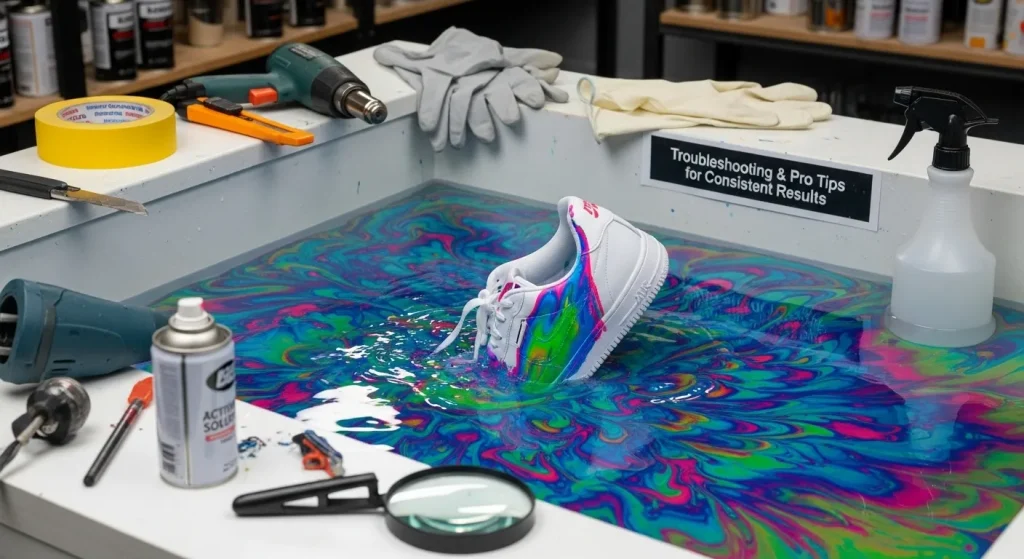
Troubleshooting and Pro Tips for Consistent Results
Hydro Dipping Temperature-related challenges can affect even seasoned hydro dippers. The good news is that proper knowledge helps identify and fix most temperature problems.
Signs of poor temperature control
These indicators signal problems with your Hydro Dipping Temperature process:
- Film remains rigid, cracks, or appears “dry”
- Jagged or incomplete pattern transfer
- Grainy, dull, or uneven color after dipping
- Edges look fuzzy or pattern “drifts”
- High water temperature leads to bubbling or film distortion
How to fix common temperature-related defects
You can resolve temperature issues with these solutions:
Cold water problems create sticky film and poor adhesion. The solution is to raise the temperature gradually to 80-90°F (27-32°C). The water should stay at 85-95°F (29-35°C) if your film doesn’t activate properly. Wrinkled film indicates overheated water. Let the temperature drop and stabilize before you try another dip.
Tips for seasonal adjustments
Your seasonal preparation should include:
- Regular equipment calibration ensures accurate readings
- Daily temperature checks of your workshop twice a day
- Records of successful project conditions serve as future references
- Updates to your climate control system match seasonal needs
How to test before full production
A small sample piece reveals potential temperature issues before you risk valuable materials. Your successful test conditions become a reliable guide that helps with future projects.
Conclusion
Hydro Dipping Temperature control is key to flawless hydro dipping. Keeping water between 80–90°F (27–32°C) ensures smooth film transfer and strong adhesion, while poor temperature balance leads to sticky or distorted results. Maintain room temperatures of 68–77°F with 45–55% humidity for consistent performance. you can read our Hydro dipping guide about Hydro Dip Home Décor.
Use digital thermometers and hygrometers to monitor conditions throughout your project. Always test small samples first and note your ideal settings. Mastering temperature effects turns Hydro Dipping Temperature from guesswork into professional-quality art.