
How to Fix Hydro Dipping Mistakes: Expert Guide for Perfect Results
The success of hydro dipping depends on water temperature – it needs to be exactly 92°F. This small detail makes a big difference.
Water transfer printing, or hydro dipping, lets you create beautiful designs on everyday objects by dipping them in water with special preprinted films. The process looks simple, but even skilled crafters run into spray paint Hydro Dipping Mistakes. Inconsistent movements lead to air bubbles, and poorly prepared films cause activation problems. People often ask if they can fix mistakes by Hydro Dipping Mistakes over existing work.
Getting familiar with typical hydro dipping problems helps prevent costly Hydro Dipping Mistakes. This piece shows you how to spot issues in your project and fix them quickly. We’ll help you tackle everything from adhesion problems caused by poor surface prep to those annoying blisters that pop up after applying topcoat. Our solutions will help you achieve flawless results consistently.
Fixing the Most Common Hydro Dipping Mistakes
Success in Hydro Dipping Mistakes starts with proper surface preparation. You need to clean items really well with a degreaser and sand them using the right grit (320-400 for plastic, 180-220 for metal). This creates a mechanical bond that helps the primer stick properly.
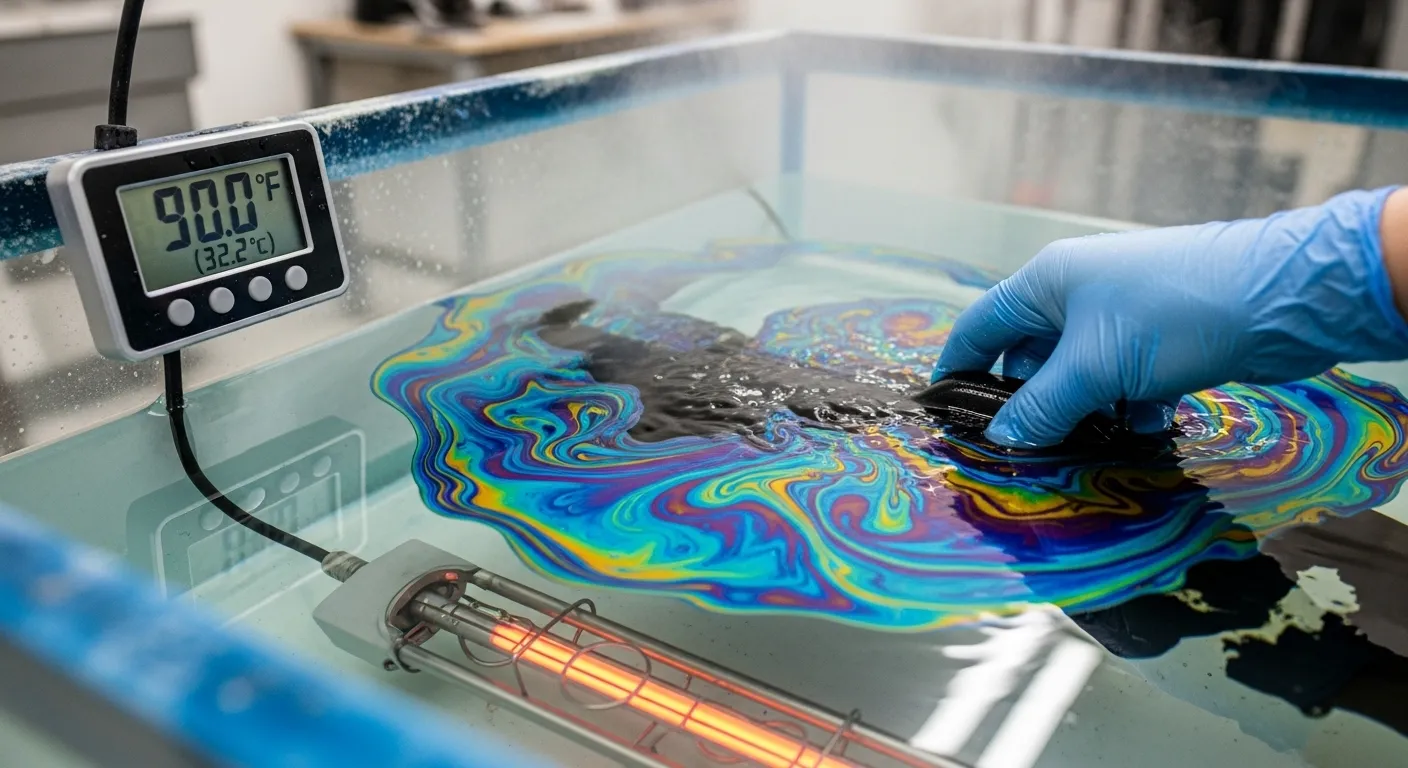
Maintaining the Correct Water Temperature
Your water temperature must stay between 80-90°F to activate the film correctly. The film becomes sticky and won’t conform when the water is too cold, and excess heat leads to wrinkles.
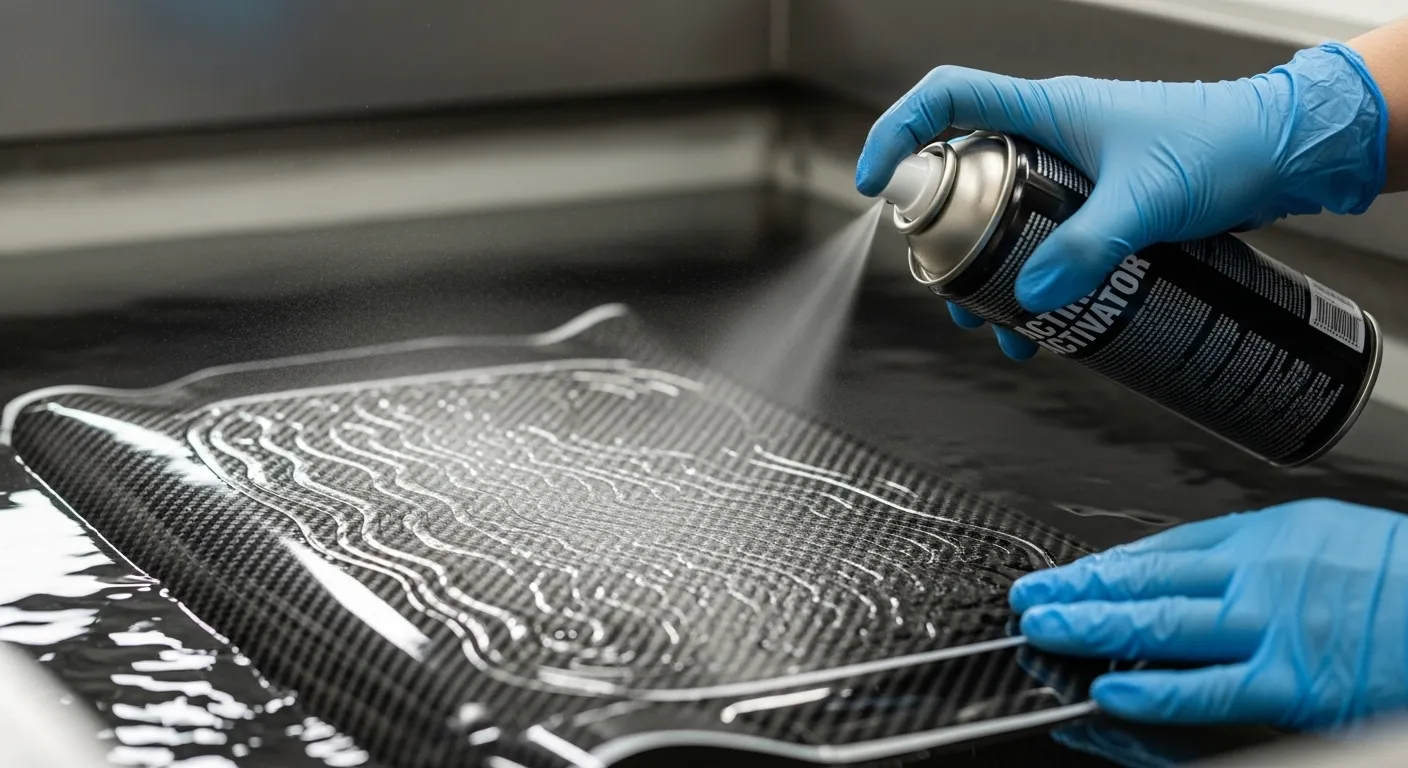
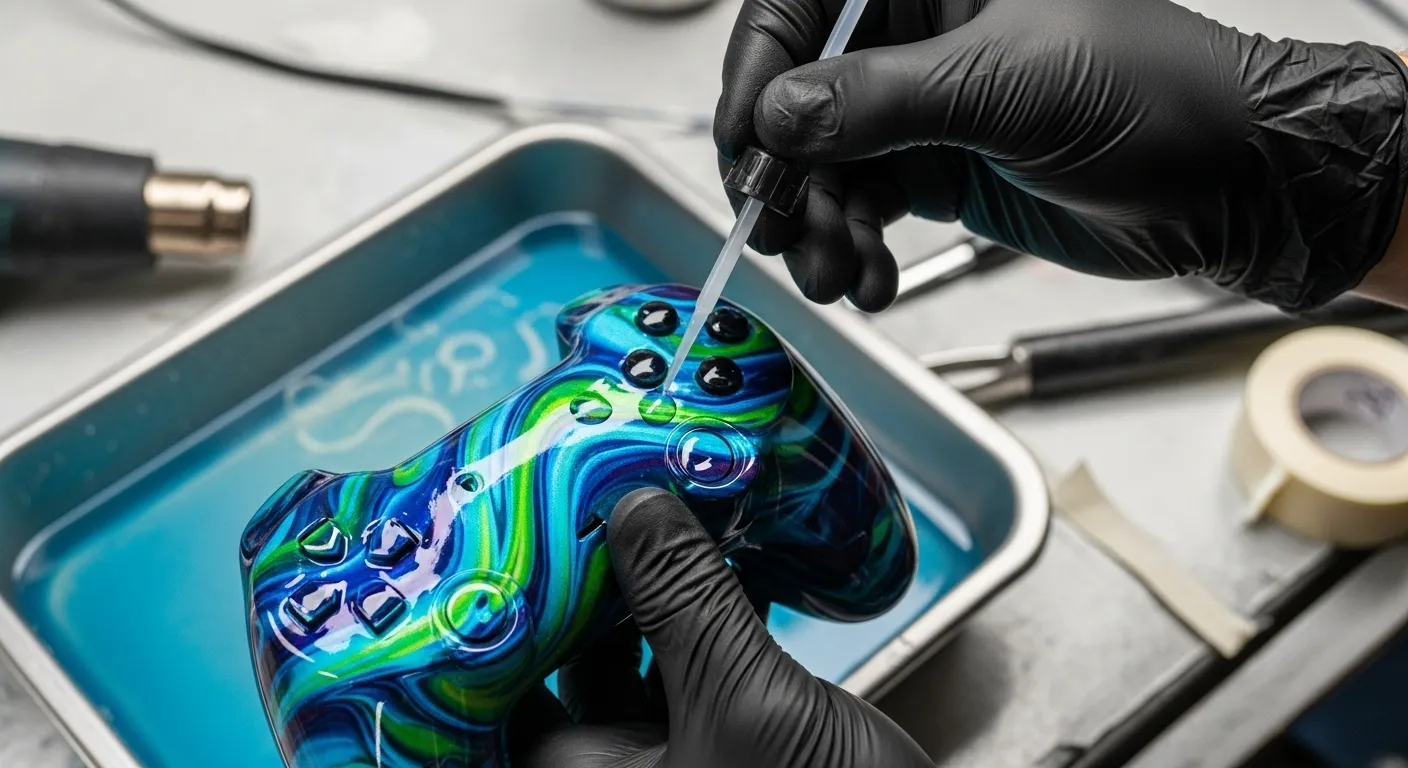
Applying the Activator Correctly
Proper activator application can change Hydro Dipping Mistakes from a frustrating experience to a fantastic one. A single even coat works best, you should overlap about 20% between passes. Many beginners make the mistake of spraying too much activator.
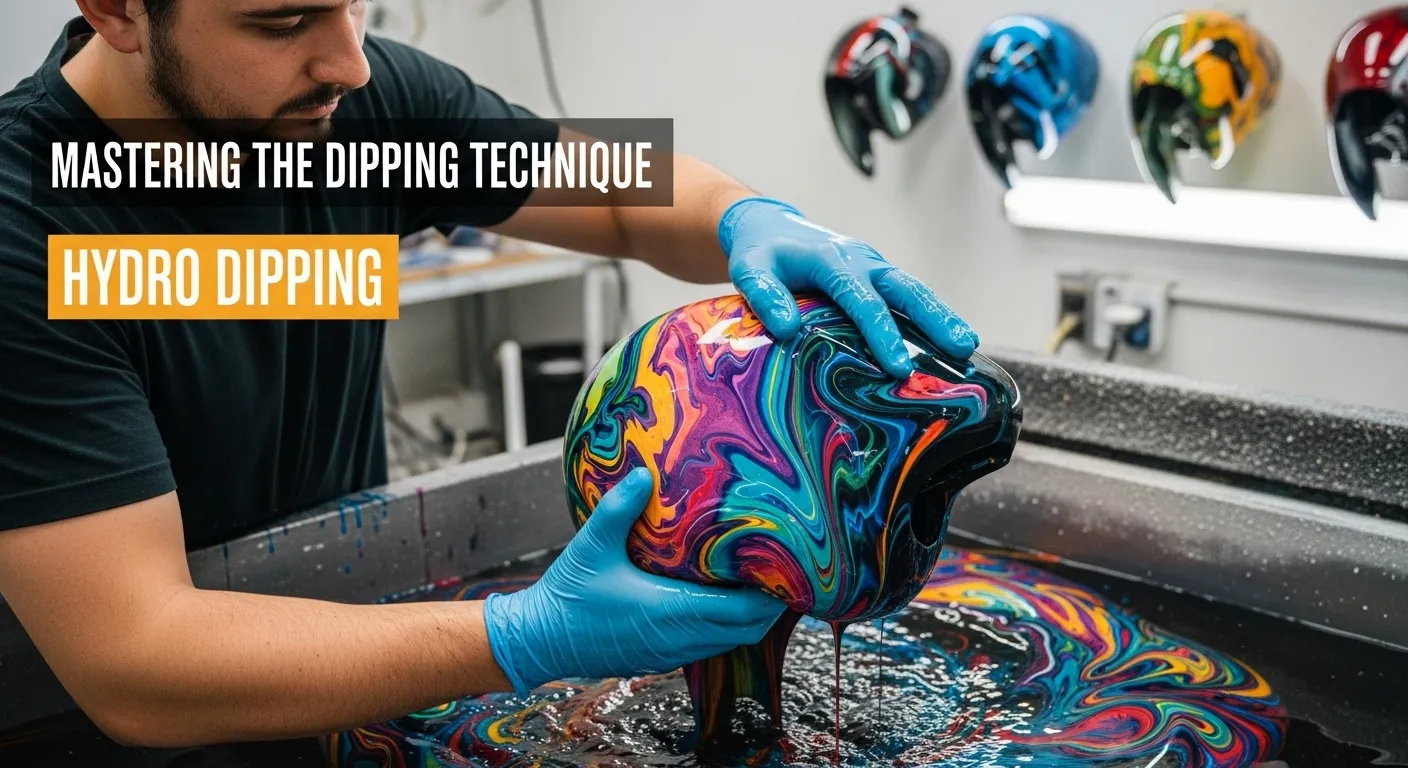
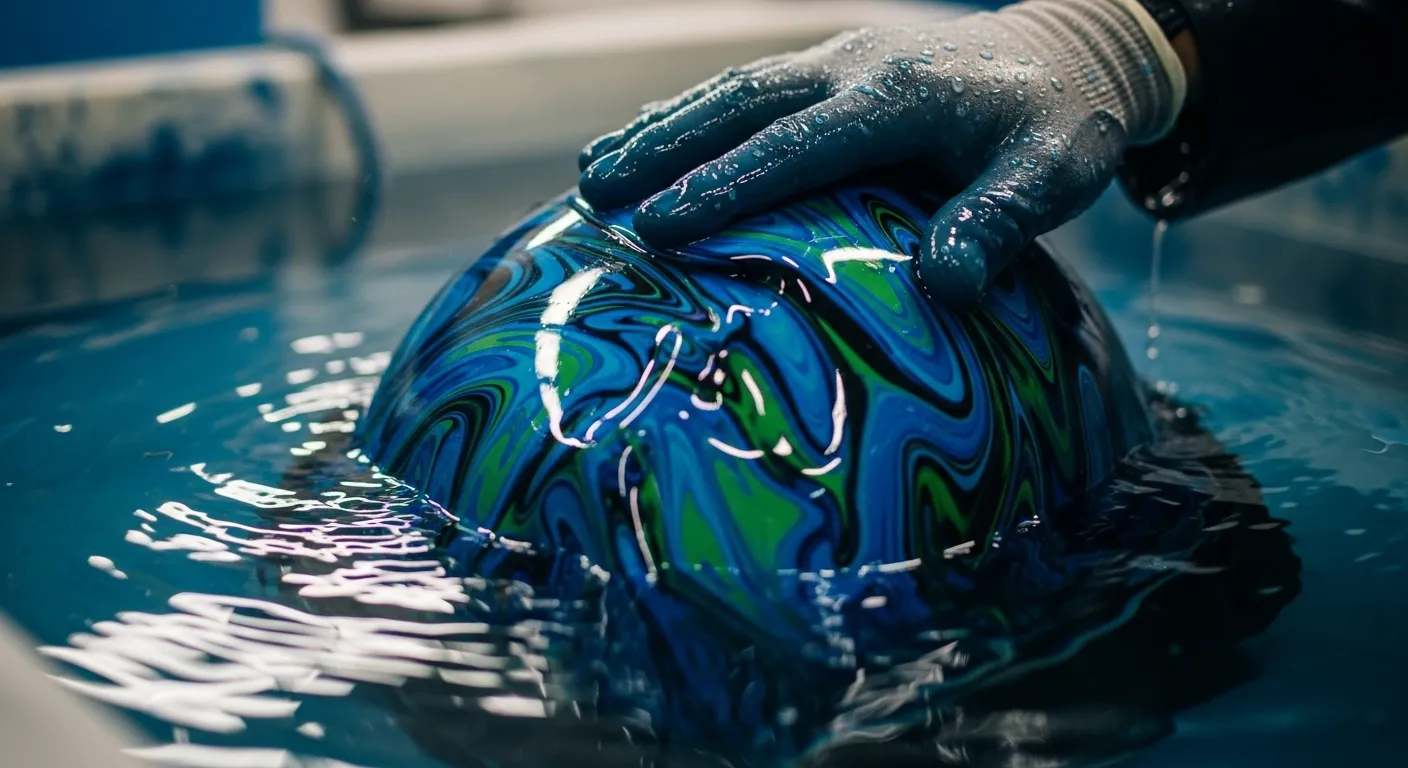
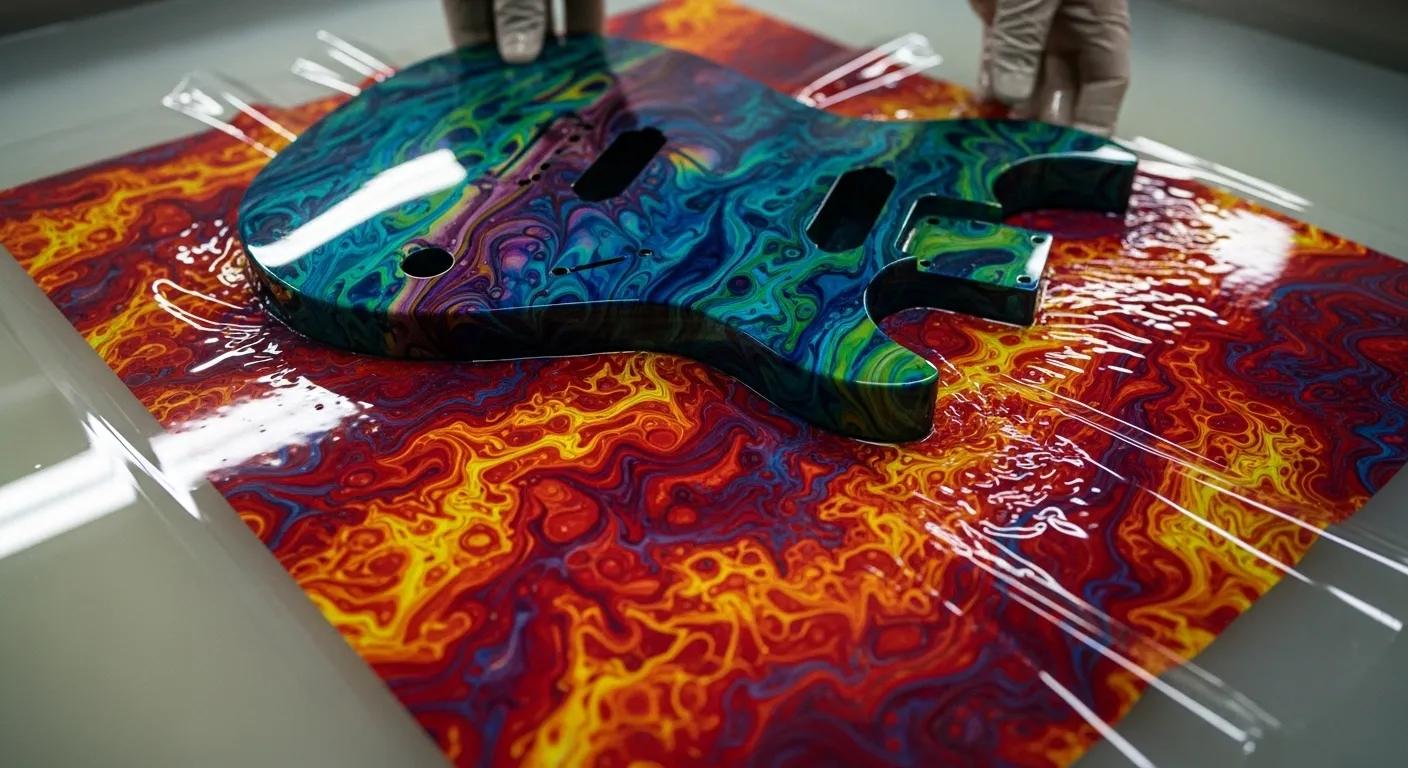
Mastering the Dipping Technique
The right dipping technique makes all the difference. You should enter the water at a 30-45 degree angle with one smooth, continuous motion. Air pockets will form if you move too fast, and these create voids or spots in your print.
Timing the Hydration and Activation
Let the film hydrate on the water’s surface for 60-90 seconds before dipping. After activation, wait for the film to look glass-like (usually 10-15 seconds) but don’t exceed 30 seconds as the activator will evaporate.
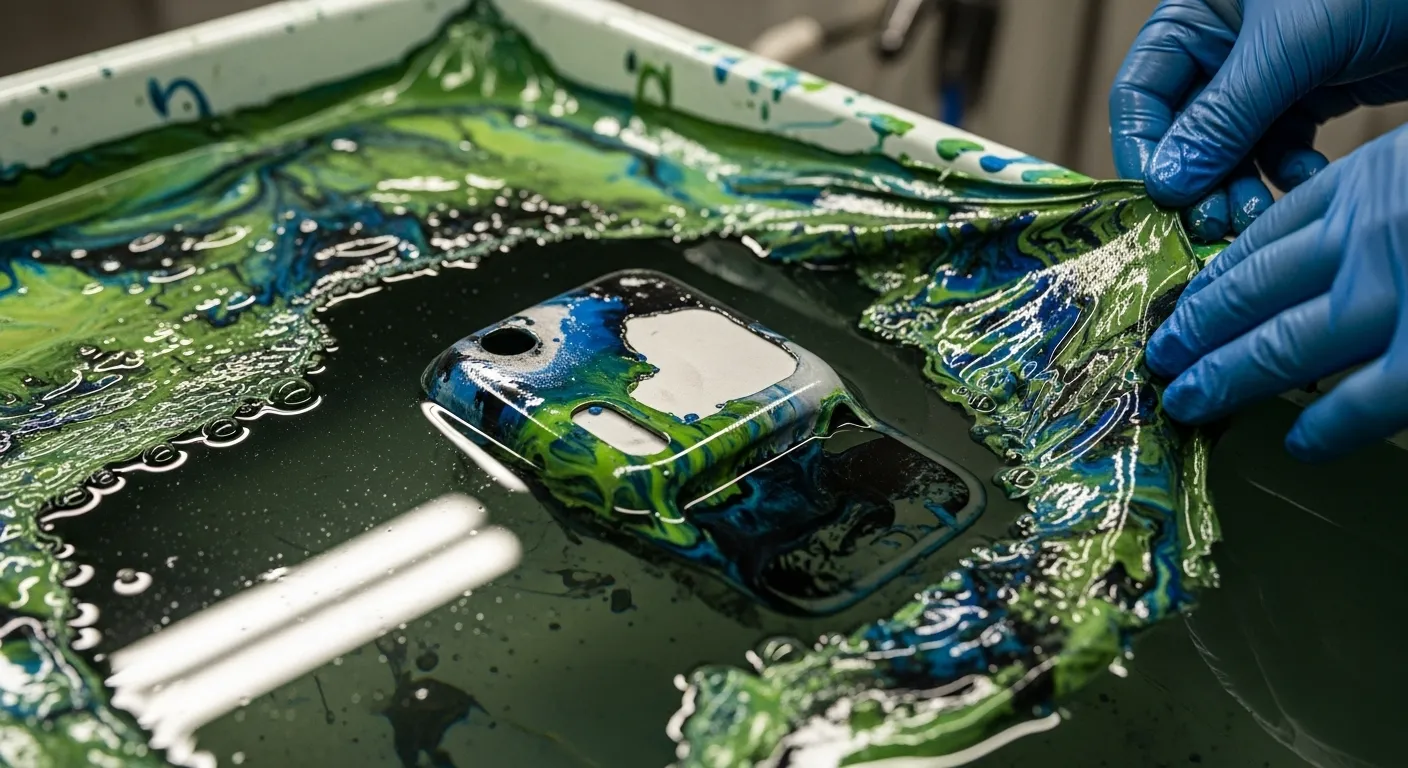
Troubleshooting Specific Hydro Dip Problems
Air bubbles show up in finished hydro dips for several reasons. The dipping angle plays a crucial role – you need to maintain a steady 30-45 degree angle as you dip. Just as with uneven activator application, tiny rough spots in basecoats can pierce the film and create bubbles. You can fix these bubbles quickly by using a mini torch right after dipping, but be careful not to warp the design.
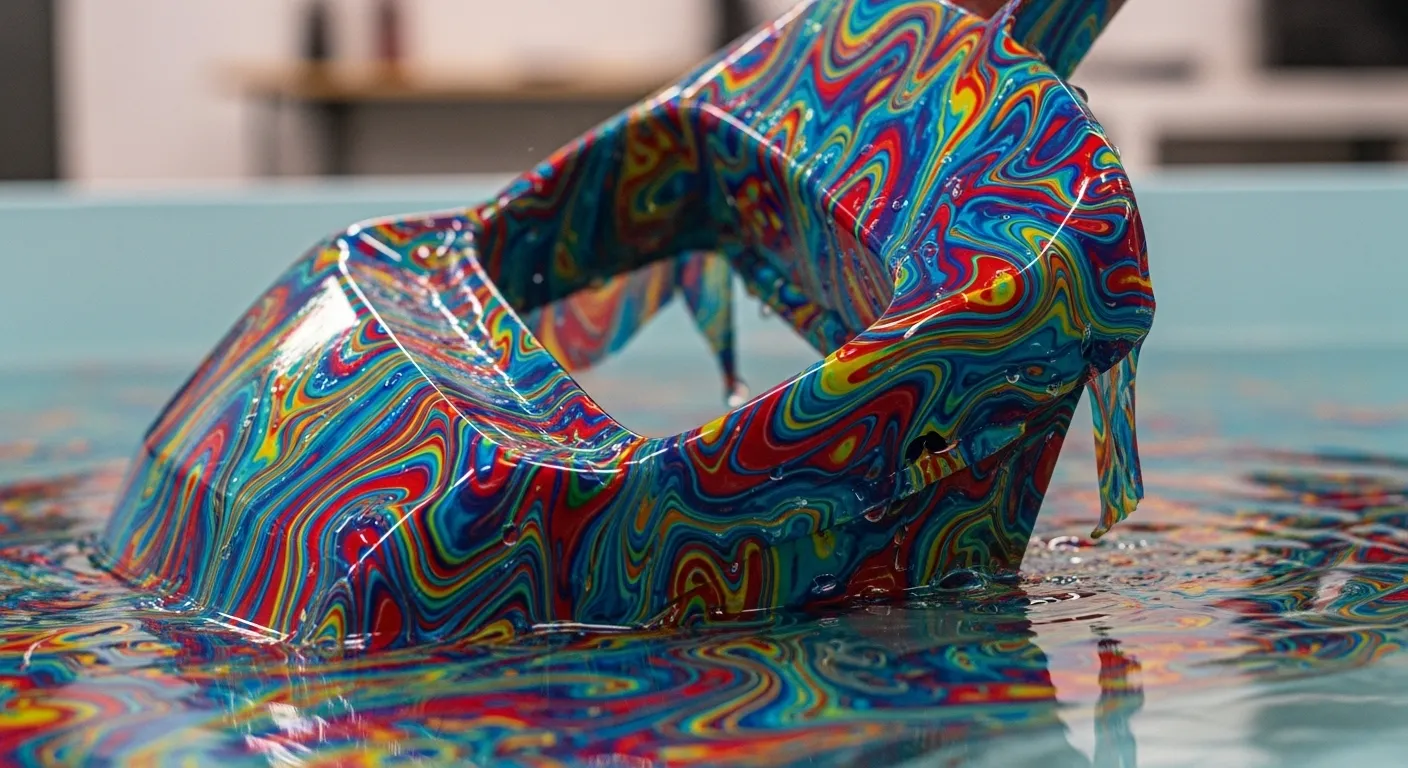
Fixing Wrinkles and Blurry Patterns
The film starts to wrinkle when you don’t let it dissolve long enough – waiting a bit longer gives better results. Blurry patterns tell you the film dissolved too much, so you’ll need to dip faster. The film can wrinkle when it hits the water and expands too much. A simple fix is to place tape pieces every 4-6 inches instead of taping the entire edge.
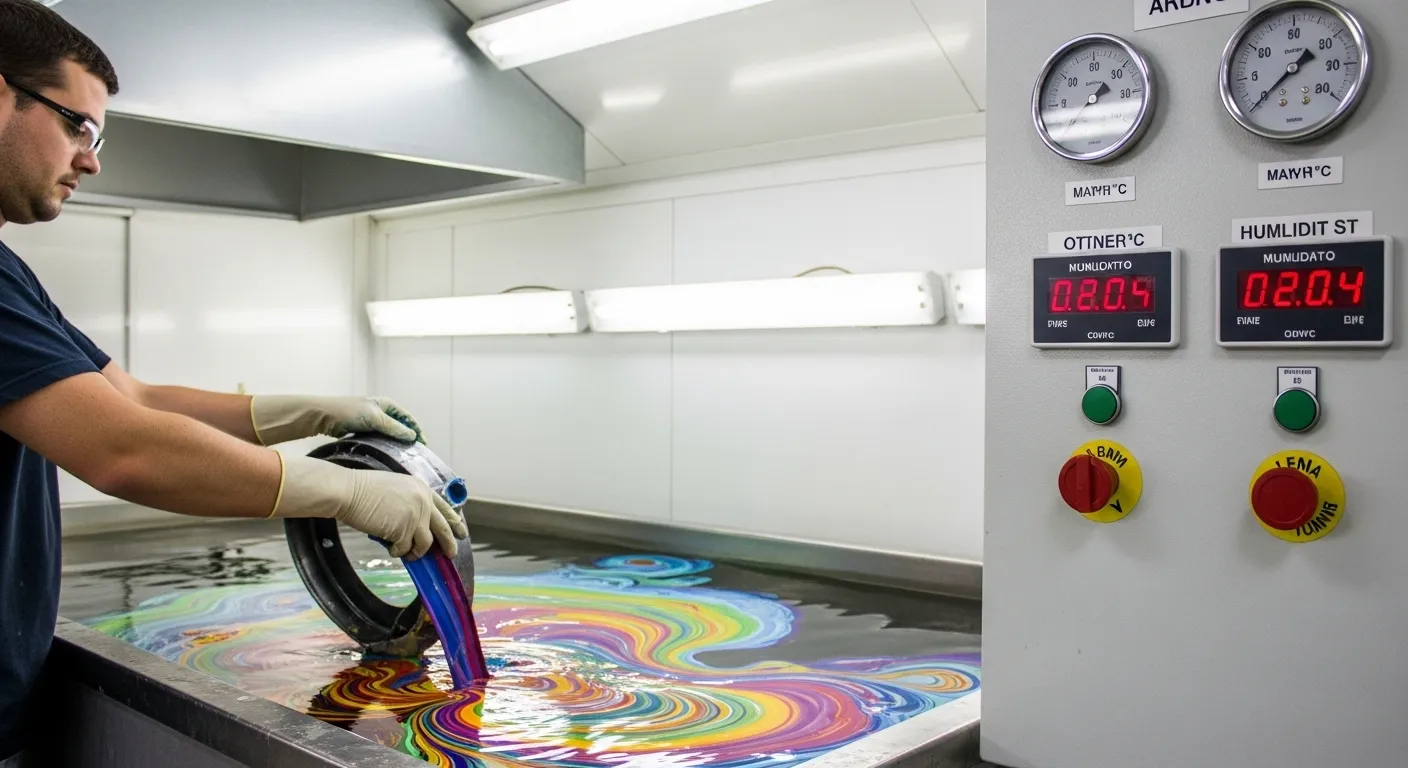
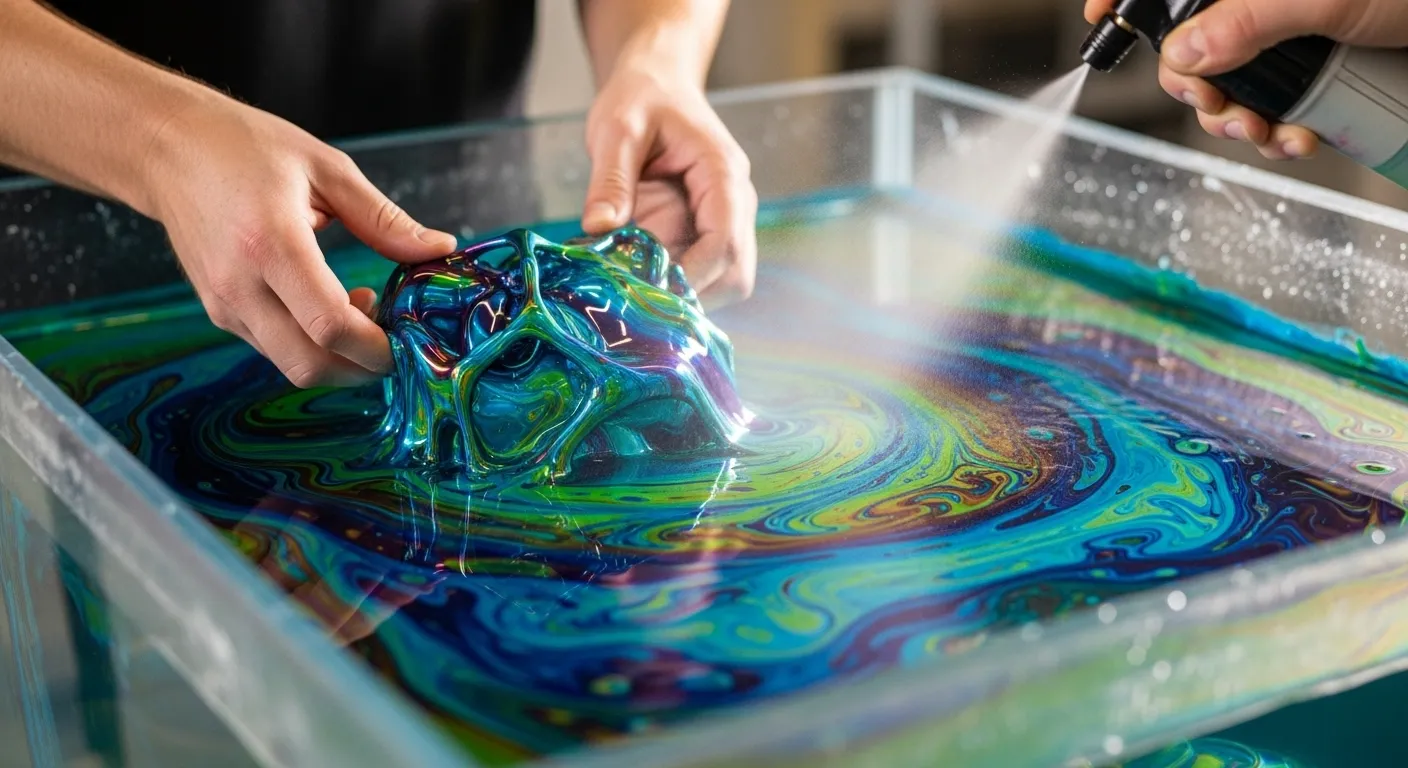
Controlling Environmental Conditions
Your environment affects pattern transfer significantly. The activator evaporates too fast in high temperatures or strong airflow, which leads to incomplete printing. The room conditions need careful control to avoid these issues.
Solving Adhesion and Material Compatibility Issues
Surface oils or wet basecoats often cause poor adhesion. Material compatibility matters too – using the wrong combinations leads to topcoat problems. A really good cleaning job and matching your materials correctly solves most of these issues.
How to Fix a Failed Dip
Fixing a failed dip isn’t complicated. Give it a good rinse, let it dry completely, and remove the pattern with denatured alcohol. You can successfully re-dip the item after scuffing it with a Scotch-Brite pad and putting on fresh paint.
Repairing and Preventing Future Issues
A quality clear coat makes all the difference to protect hydro dipped items. A good hydro dip lasts between five to fifteen years. Poor handling remains the main reason these items wear out too soon. Automotive-grade clear coats designed specifically for hydrographics provide the best durability and come in flat (3-5% gloss) or semi-gloss (10-15% gloss) finishes.
Spot Fixing Minor Flaws
Spot fixing works well enough to repair minor flaws. Small scratches need sanding with fine-grit sandpaper (400-600 grit) before blending with a fresh clear coat. You can also fix small voids with a paint brush dipped in activator or lacquer thinner and rub it against unused film.
Re-Dipping Over an Existing Hydro Dip
You can apply a new hydro dip over an existing one without removing it completely. Just scuff the surface with a red Scotchbrite pad or 400 grit sandpaper and add a fresh basecoat before re-dipping. The surface should not have more than two to three successive dips since too much thickness reduces durability.
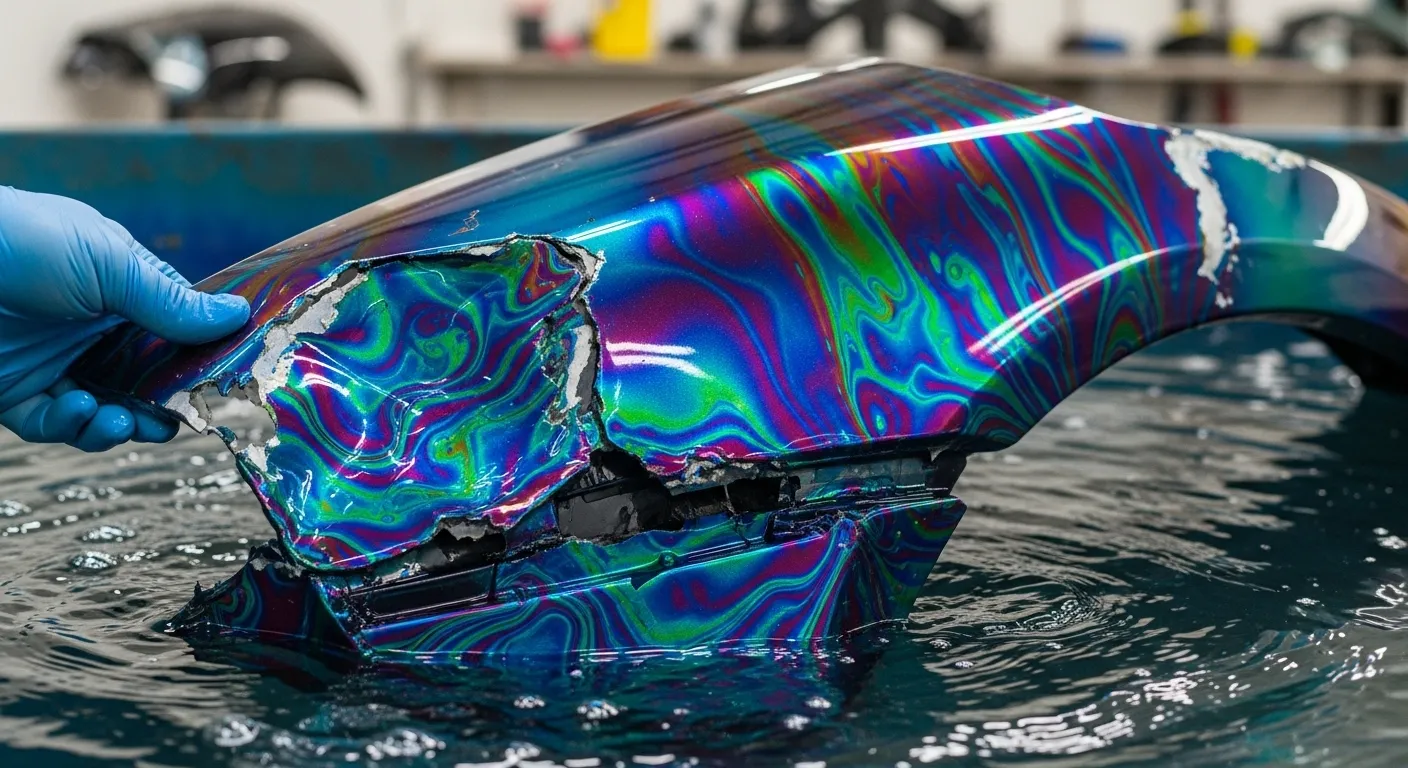
Repairing Extensive Damage
Extensive damage needs complete repair. Start by stripping the existing film through sanding or chemical stripping. Properly prepare the surface again and repeat the process from base coat to clear coat. Multiple light clear coat layers work better than one heavy coat to prevent future Hydro Dipping Mistakes.
Conclusion
Becoming skilled at Hydro Dipping Mistakes needs attention to detail and proper technique. This piece explores common Hydro Dipping Mistakes and solutions from surface preparation to film activation problems.
The right water temperature is vital, keep it between 80-90°F for better results. Proper cleaning and sanding create the mechanical bond needed for adhesion.
Precision and practice matter. Dip at a 30-45 degree angle in one smooth motion to prevent bubbles or voids. Let the film hydrate for 60-90 seconds before dipping for better pattern transfer. Also you can read our comparison guide about Stunning Marble Effects: Step-by-Step Dip Painting Guide.
You can fix Hydro Dipping Ideas mistakes. Small flaws need spot repairs; bigger issues need complete re-dips. You can hydro dip over previous work, but limit it to two or three layers for durability.
Even experienced crafters face challenges. Success depends on troubleshooting and practice. With these insights, you’ll handle your next hydro dipping project confidently and achieve professional-looking results.