
How to Hydro Dip With Spray Paint: Beginner’s Guide to Perfect Patterns
Looking to create psychedelic, one-of-a-kind patterns that transform ordinary objects into extraordinary art? Spray paint hydro dipping helps you discover an incredibly simple technique with endless creative possibilities. Hydro dipping (also called water image transfer printing) works because spray paint floats on the water’s surface instead of mixing with it. The paint adheres to objects at the time of submersion and creates a waterproof sealant with a stunning marbled effect. This technique needs just a few dollars in supplies and produces unique results that never look the same. Hydrographic Dipping Film is very good guiding.
This piece walks you through everything about spray paint hydro dipping. You’ll learn to select the right materials and achieve perfect patterns. The creative possibilities are limitless, and we’ll help you become skilled at this affordable yet impressive craft technique!
Get Ready to Hydro Dip With Spray
Success in spray paint hydro dipping starts with good preparation. You’ll need to gather your materials: sandpaper (80-320 grit works well), cleaning supplies, protective gear, and a large container that’s big enough to hold your item. Your safety matters most. Make sure you work in a well-ventilated area with the right protective equipment. Put on latex or nitrile gloves to prevent skin oils from getting on the item. A high-quality respirator is essential when you’re working with paints and activators. Paint adhesion depends on proper surface preparation. Clean your item to remove all dirt, grease, and contaminants.
Next, use sandpaper to scuff the surface and create texture for the paint to grip. Better results come from starting with coarse sandpaper and finishing with a finer grit. Take a tack cloth or degreaser to wipe away dust particles after sanding. Stubborn residue might need alcohol or acetone for that final clean.
Keep your primer 8-12 inches away and apply it in multiple light coats to prevent drips. Let it dry completely before you add the base coat. Note that your base color will affect your final pattern’s look by a lot, so pick carefully! The time and effort you put into preparation will show in your finished hydro dip project.
Set Up Your Paint and Water
Choosing the Right Container and Water Temperature
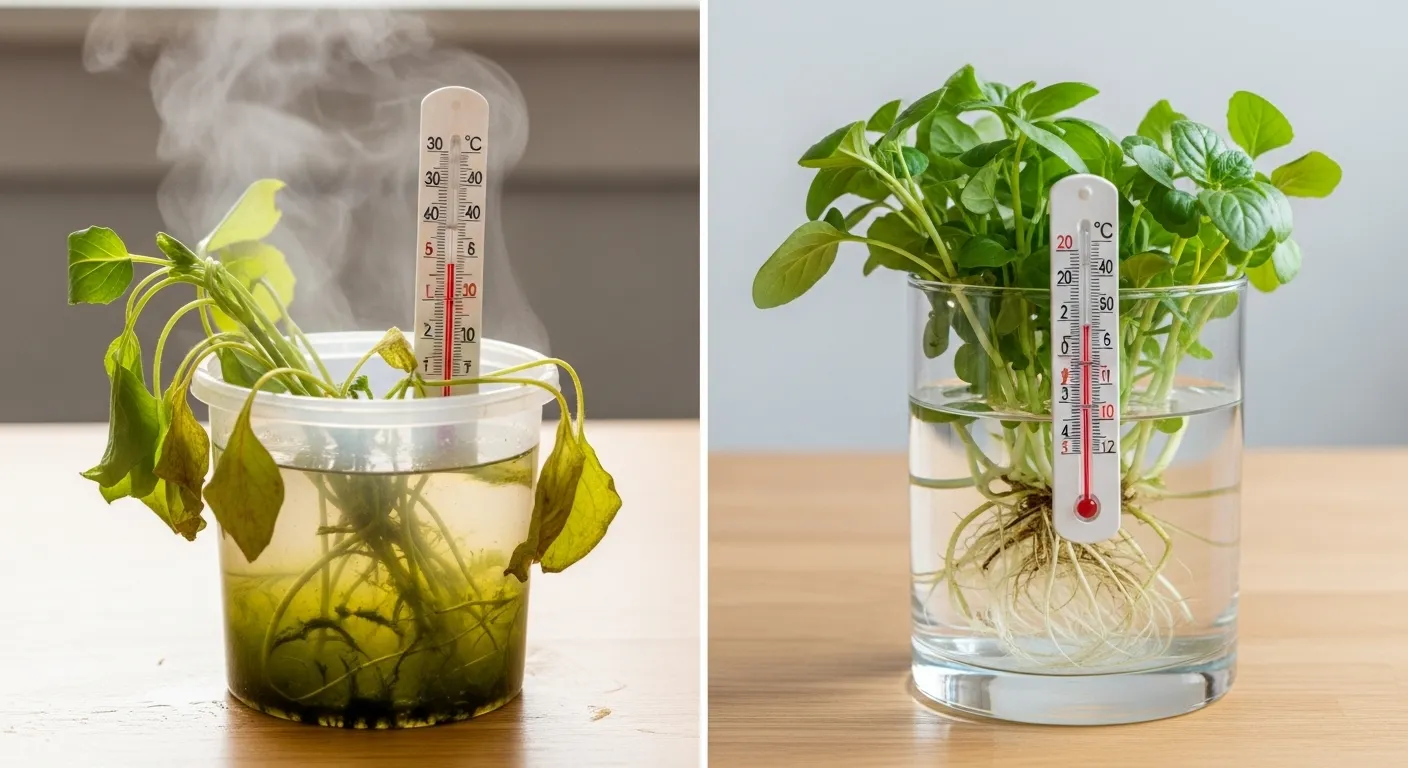
Your container choice plays a key role in achieving great hydro dipping results. Pick a large, deep, watertight container that can fully submerge your item. Since paint will collect on the surface, use an older container to avoid damage. Water temperature also matters fill it with water between 85°F and 90°F. Cold water makes paint harden too quickly, creating unwanted clumps, while warm water helps paint spread evenly for smoother designs.

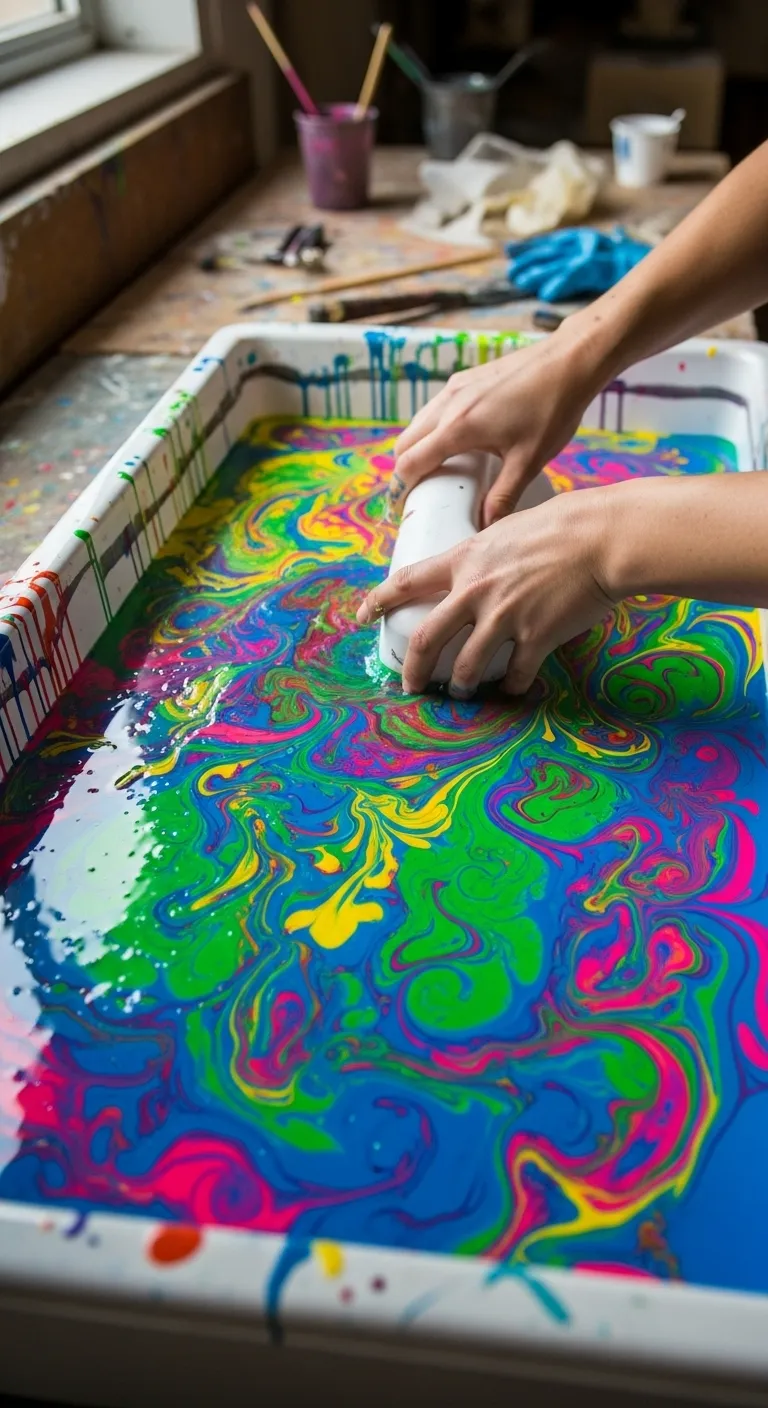
Creating Colorful Patterns on Water
Once your container is ready, the creative part begins. Spray your first color across the water’s surface, one central spray gives bold designs, while multiple edge sprays create dynamic effects. Add a second color over or around the first for depth and contrast. Alternating between colors like black and bright tones, or gold and white, produces striking visuals. The paint naturally forms swirls, creating a thin film that’s ready for dipping and turning plain objects into eye-catching art pieces.
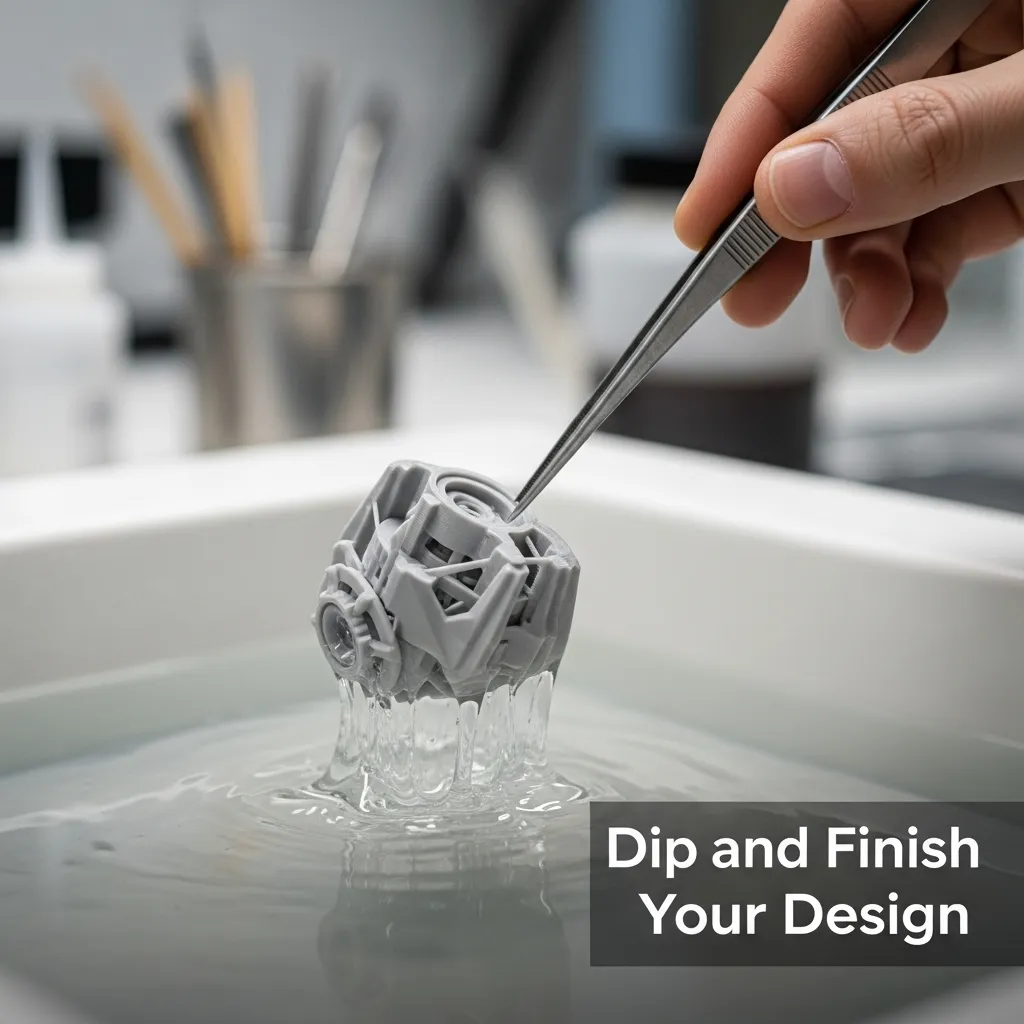
Dip and Finish Your Design
The real magic of hydro painting happens when you dip your prepared object. You’ll get perfect patterns by submerging your item at a 30-degree angle in one smooth, continuous motion. This method stops air from getting trapped and prevents unwanted bubbles or voids in your design.
Your first step is to push the item completely underwater so the paint sticks to every surface. Give it a gentle shake while it’s submerged to get rid of extra film. A thorough rinse with clean, warm water will remove all the slimy residue.
Let your hydro dipped creation dry really well – you’ll need about 2 hours before you can handle it. The surface shouldn’t feel tacky when you touch it. A clear protective coat will make your design last and resist fading. Here’s what you need to do:
- Make sure your item is completely dry and dust-free
- Spray a light first coat from 8 inches away
- Let it sit for 10-15 minutes between coats
- Add a second coat to seal everything
Your newly customized item needs 8-24 hours to dry completely before use. The wait might test your patience, but proper drying time will give your spray paint hydro dip creation lasting beauty and protection.
Conclusion
Spray paint hydro dipping turns everyday objects into stunning works of art. The process is surprisingly simple. This piece walks you through everything you need for your first successful project. The right preparation makes all the difference. You’ll need to sand surfaces, apply primer and choose the perfect base coat. On top of that, the water temperature and paint patterns will shape your final results.
Your first try might not be perfect, but each dip teaches you something new. More practice will boost your skills, especially with dip angles and fluid motions. After a few projects, you’ll get a natural feel for how colors mix on the water.Also you can read our comparison guide about Hydro Dip Paint vs Spray Paint.
Hydro dipping is both accessible and packed with endless creative options. You can turn almost any household item into your canvas. Phone cases, tumblers, decorative pieces and even car parts work great. Try different color combinations and dipping styles to find your unique look.
These new skills are a great way to get personalized items or create thoughtful handmade gifts. This affordable craft gives you professional results without fancy equipment or years of practice. Start today, and you’ll soon be looking around your house to find the next item to give that amazing marbled effect!