Hydro Coating vs Transfer Stickers: Best Choice 2025
Hydro Coating vs Transfer Stickers turns regular objects into artistic masterpieces using water pressure and temperature to transfer eye-catching patterns. The choice between hydrographics and transfer stickers can affect your final results by a lot, especially for decorating complex shapes with smooth, all-over designs. Hydrographic dipping film works great for covering tricky surfaces that regular methods can’t handle, and it doesn’t leave any visible edges or seams. Dip kits, also called water transfer printing hydrographics, can stick to almost any surface, making them incredibly versatile.
The cost of hydrographic water transfer film runs 5 to 10 times higher than average powder coating, unlike cheaper options such as vinyl wrapping. The film patterns create stunning visual effects across large areas, but they need a clear protective sealant and repairs can be tricky. People looking at decoration options in 2025 should know the key differences between these techniques. This piece covers everything from how to apply them to how long they last, so you can pick the right method for your project and budget.
Hydro Coating Process Explained
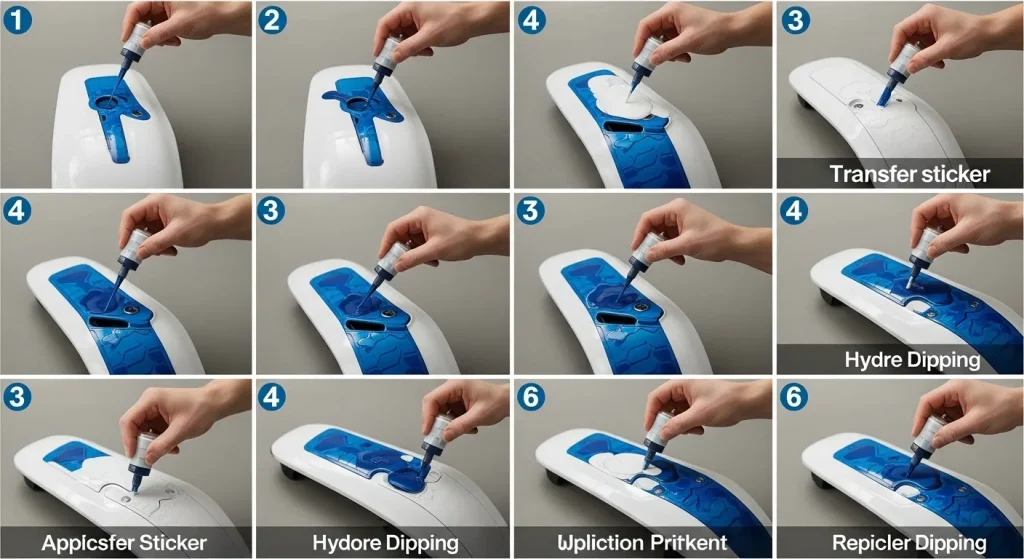
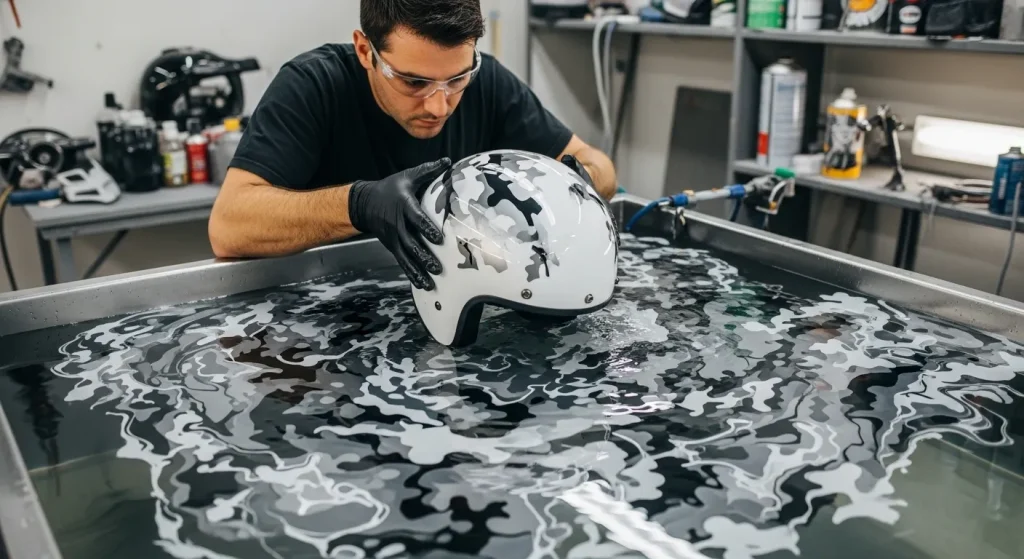
The Hydro Coating vs Transfer Stickers technique uses a precise five-step workflow that makes patterns fit perfectly on three-dimensional objects. The original step needs proper surface preparation – you must clean the item with grease and wax remover, then scuff it with a Scotch-Brite pad to create the best adhesion. You’ll need to apply a base coat of paint (usually neutral colors like beige, tan, or black) before moving to film preparation. The hydrographic film should be cut bigger than the object and placed carefully on warm water between 70-90°F (21-32°C). The film will need about 60 seconds to hydrate properly on the water’s surface. Activation comes next – you spray a chemical solution that turns the solid film into liquid. This step needs precision:
- Spray activator 12-18 inches above the film
- Apply in a straight downward motion with 20% overlap if you need multiple passes
- Wait 10-15 seconds until the film looks glassy
You must dip the item at a 30-degree angle in one smooth, continuous motion to avoid air pockets. After dipping, rinse the item with clean water and add a protective clear coat in your chosen finish (flat, matte, semi-gloss, or gloss).
Transfer Sticker Application Steps
Transfer stickers work differently. The process starts with cleaning the surface using rubbing alcohol or soap and water. Glass cleaners leave residues that stop proper adhesion, so avoid them. The sticker needs preparation before application. You should rub a squeegee or credit card firmly across it through the clear transfer tape. This vital step makes sure the design sticks to the transfer tape and removes air bubbles. Professionals suggest the “hinge method” for larger transfer stickers.
This means creating a temporary hinge with tape in the middle to apply the sticker in two separate sections. This method gives you better control during positioning. To apply the sticker, slowly peel the white backing paper, put the exposed adhesive side on the surface, and press firmly with a squeegee. Wait 24 hours to get the best adhesion. Then remove the clear transfer tape by peeling at a 180-degree angle instead of pulling straight out.
Complex Shapes: Hydro Coating vs Transfer Stickers
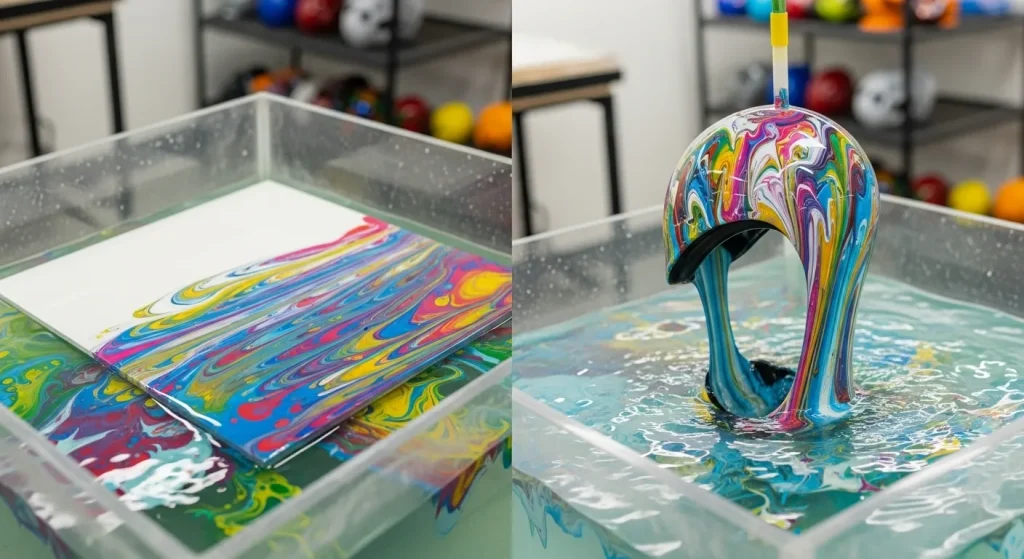
These techniques show their differences most clearly with intricate objects. Hydro Coating vs Transfer Stickers works great on complex geometries because water creates perfect surface tension. This allows designs to stretch evenly over any shape. Hydrographic water transfer film wraps naturally around objects with curves, grooves, and recesses – places where other methods don’t work well. On the flip side, transfer stickers have a hard time with irregularly shaped surfaces. Vinyl’s stiffness creates wrinkles or bubbles unless you apply it with special techniques.

Surface Types: Flat vs Curved
The surface material plays a big role in how well each method works. Hydro Coating vs Transfer Stickers works well on many materials including metals, ceramics, plastics, and electronic components. It creates a thin layer that sticks without visible edges and gives curved objects a smooth, polished look.
Transfer stickers work best on smooth, non-porous surfaces like glass, plastic, and metal. Professionals use the “self-hinge method” for curved surfaces. This technique uses horizontal cuts in the backing paper to create two flaps. These flaps help control application over arched structures. Still, stickers usually give better results on flat surfaces.
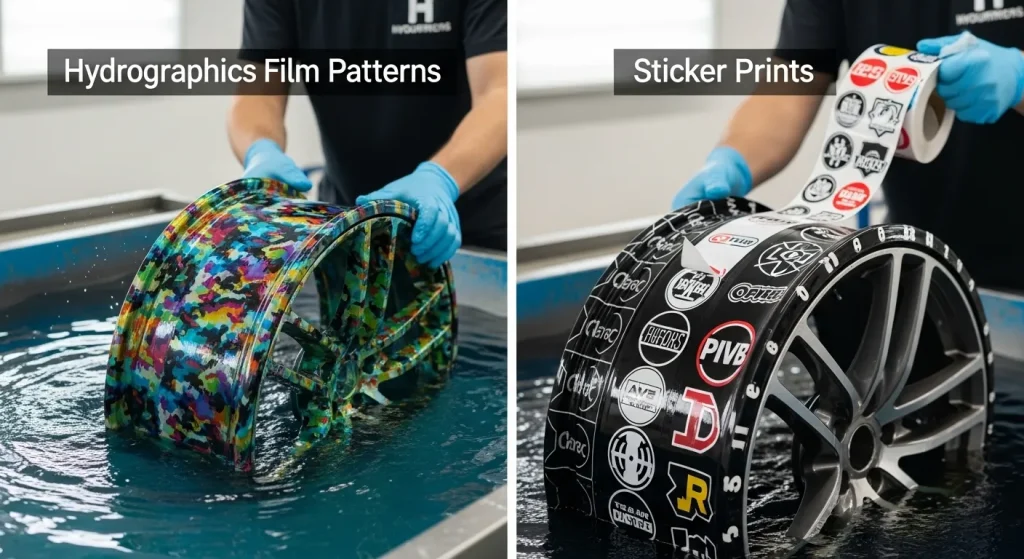
Hydrographics Film Patterns vs Sticker Prints
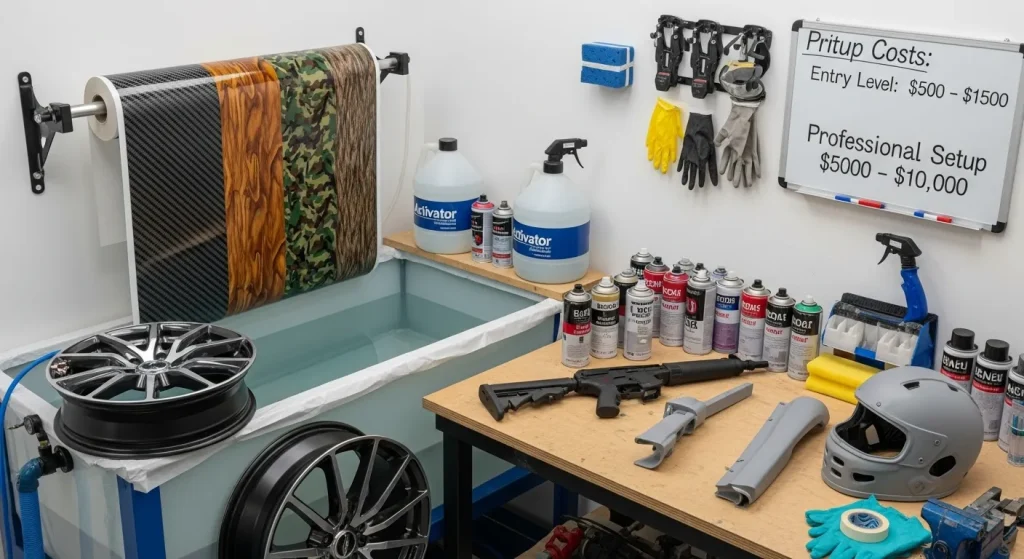
Pattern choice is a vital difference between these methods. Hydrographics film patterns offer many design options. You can choose from carbon fiber, camouflage, wood grain, marble, cartoon designs, and custom patterns. These films cover the entire surface with detailed patterns that flow over edges. Transfer stickers shine at creating precise designs like logos, icons, and lettering. They typically use solid-colored vinyl cut to shape instead of printed ink. This gives them crisp lines and a professional finish. Your choice depends on whether you need a full pattern (hydrographics) or specific design elements (transfer stickers).
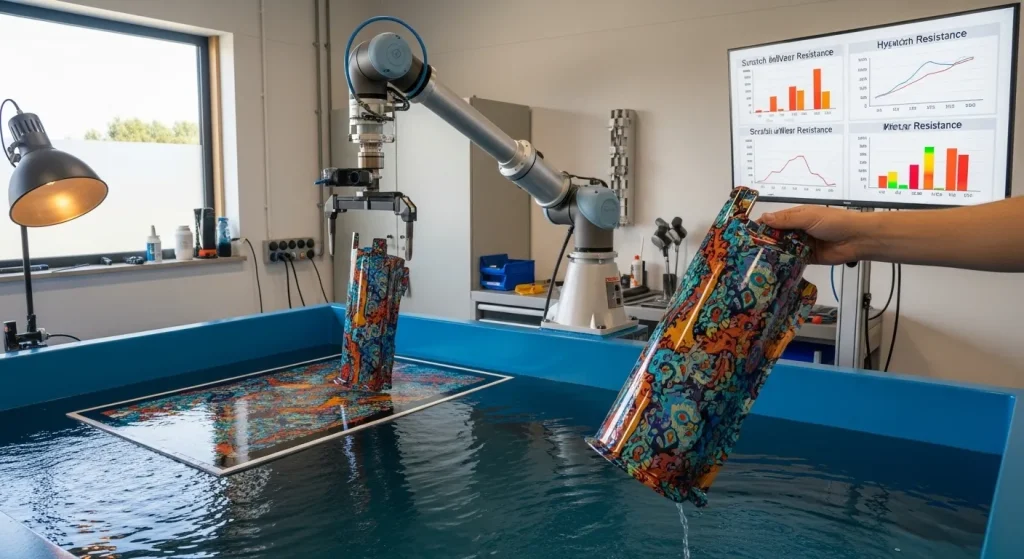
Scratch and Wear Resistance
Daily use reveals the durability differences between these finishing methods. A well-done Hydro Coating vs Transfer Stickers resists scratches and abrasion. The automotive-grade clear coat applied after the pattern transfer makes this possible. All the same, areas you touch often like footrests will show wear over time. Transfer stickers protect your surfaces differently based on how they’re made. Premium UV DTF transfer stickers resist scratches really well and don’t peel even with regular handling. Quality transfer stickers also come with protective laminates that keep the design safe.
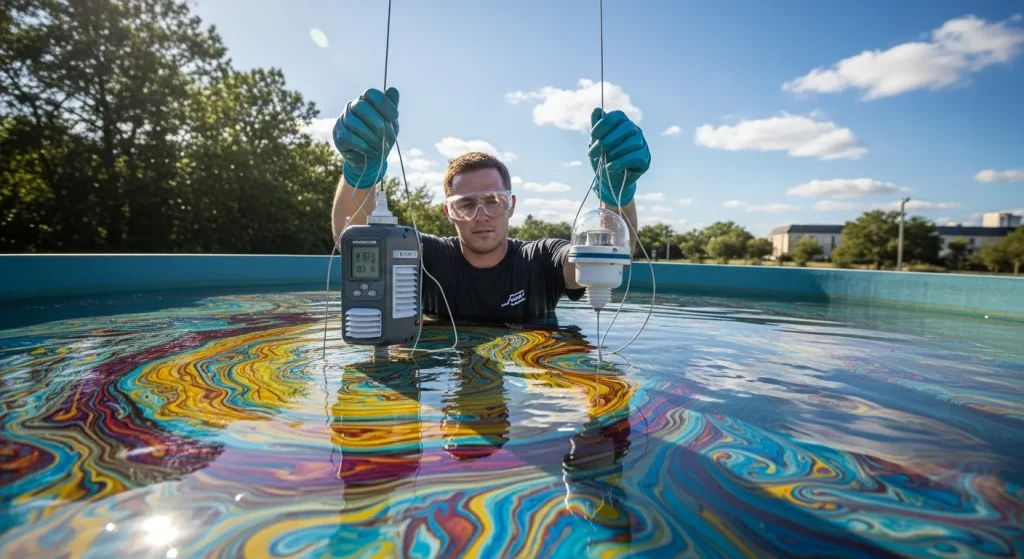
Weather and UV Exposure
Each method faces unique challenges outdoors. UV inhibitors in hydro coatings clear coat protect colors from fading by a lot. The sun will still affect even the best coatings as time passes. Premium transfer stickers made with UV-resistant materials can handle outdoor weather for up to six years. Lower quality stickers don’t last as long and might lose their color in the sun.
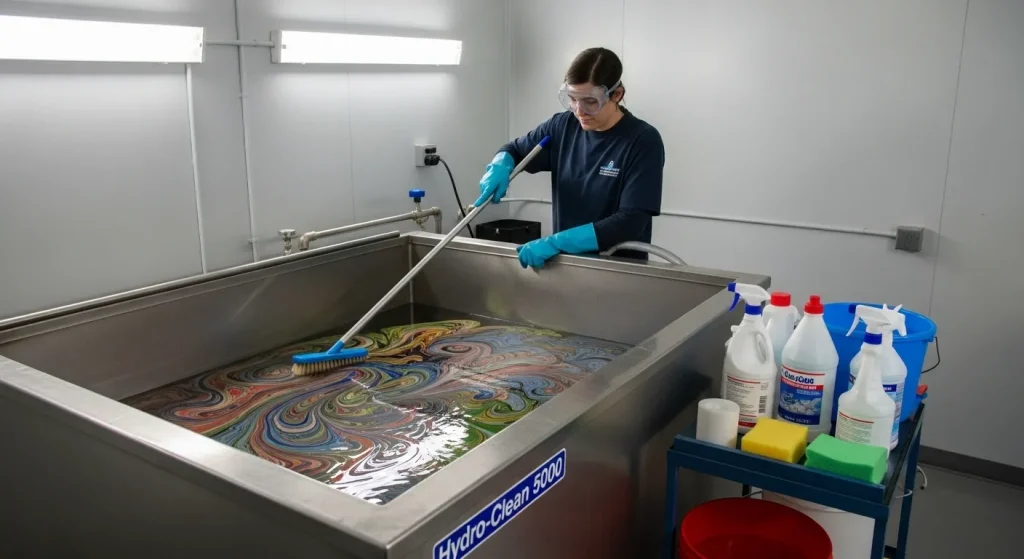
Ease of Cleaning and Upkeep
These methods need different levels of care. Here’s what you need to know about cleaning hydro coated items:
- Use mild soaps and stay away from petroleum-based products or harsh chemicals – they’ll destroy the hydro layer
- Add detailing sprays now and then to bring back the shine
- Don’t use abrasive cleaners or polish unless you know the clear coat is thick enough
Quality waterproof transfer stickers handle regular cleaning without much special care. Both methods last longer when you wash them by hand instead of using the dishwasher.
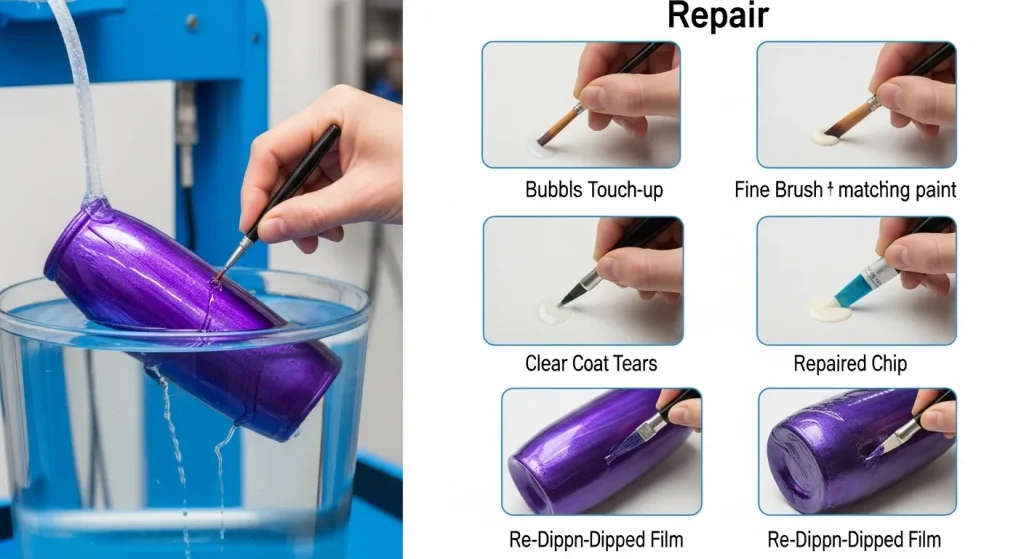
Repair Options for Each Method
Each technique handles damage differently. You can often buff out small scratches in hydro coated items with automotive polishing compounds. Bigger problems need professional repair services to reapply the clear coat. Damaged Hydro Coating vs Transfer Stickers usually need complete replacement since patches rarely work. This makes them harder to fix than hydro coating. A good Hydro Coating vs Transfer Stickers job lasts five to fifteen years, while quality transfer stickers typically need replacement after three to six years.
Material and Setup Costs
Hydro Coating vs Transfer Stickers needs a high original investment compared to transfer stickers. Professional Hydro Coating vs Transfer Stickers equipment costs from USD 5,000 for entry-level manual setups to USD 100,000+ for industrial automated systems. More than that, businesses that need complete training packages should plan to spend around USD 6,995.
Transfer sticker application needs much less startup money, we used simple tools like squeegees, cleaning solutions, and application tape. The item-by-item costs show this difference clearly. Hydrographic films cost about USD 1.80 per square meter, plus extra money for activator, primer, and topcoat. Gun skin wraps with Hydro Coating vs Transfer Stickers cost around USD 29.95 compared to USD 200 for the same Hydro Coating vs Transfer Stickers work.
Skill Level Required
These methods need different levels of technical skill. Hydro coating needs exact control over many factors like water temperature, activation timing, and dipping angle. The water pressure transfer often fails because of air bubbles or wrinkles without proper training. Many suppliers give dedicated training programs to teach specific settings and application techniques.
Hydro Coating vs Transfer Stickers give beginners more room for error, though you’ll still need patience and practice. Larger sticker jobs work better with techniques like the “hinge method” to place them right.
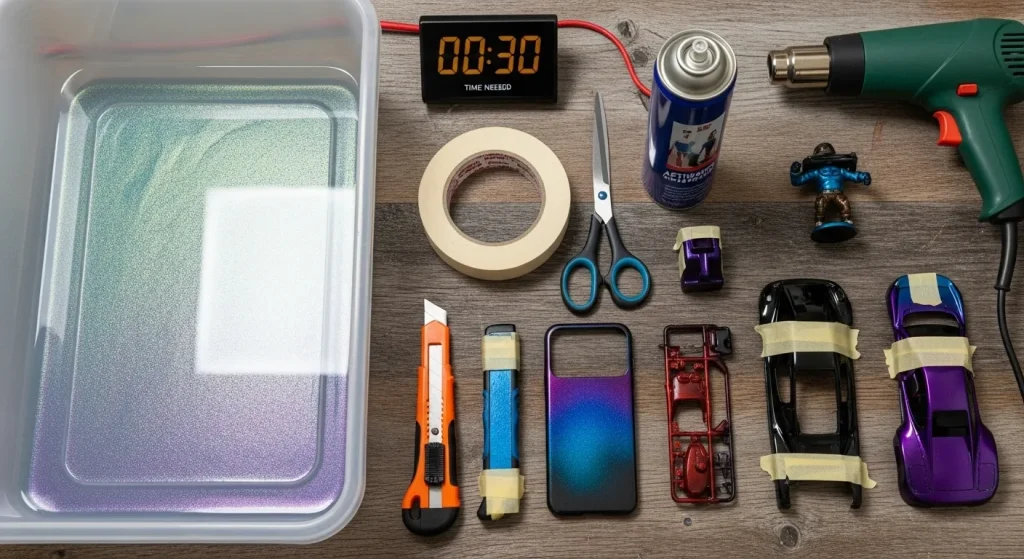
Time and Tools Needed
Everything in hydro coating equipment has:
- A dipping tank that’s the right size with temperature control
- HVLP spray guns (separate ones for paint, clear coat, and activator)
- Proper respiratory protection and safety gear
Hydro Coating vs Transfer Stickers takes several steps including preparation, base coating, dipping, washing, and clear coating, this usually takes several hours. Sticker application is much quicker and just needs simple tools like rulers, squeegees, and cleaning solutions.
Conclusion
The choice between these two decoration methods depends on surface type, budget, and longevity. Hydro Coating vs Transfer Stickers works best on complex shapes, while Hydro Coating vs Transfer Stickers are ideal for precise logos on flat surfaces. Hydrographics last longer, especially outdoors, though high-quality stickers with UV protection can last up to six years.
Cost influences the choice, with DIYers often starting with stickers and upgrading to hydrographics as skills and budget allow. Digital previews and eco-friendly films enhance both methods. Neither is always better, success comes from matching the Military Tech to your needs, considering surface, durability, and budget.