What Is Immersion Printing? A Guide to Hydrographics
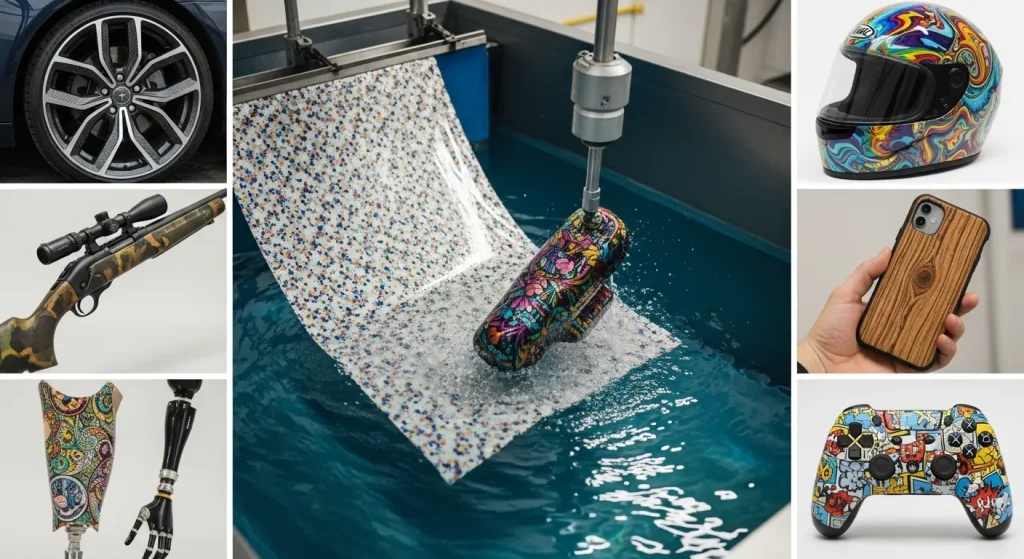
In the world of modern customization, immersion printing, also known as hydrographics, water transfer printing, or hydro dipping, has revolutionized how we decorate three-dimensional objects. It’s a process that wraps full-color artwork around 3D surfaces seamlessly, producing factory-quality finishes that look painted on. From automotive dashboards and helmets to drinkware and sporting goods, immersion printing delivers a professional, durable, and visually stunning result that no vinyl or sticker can match.
This guide explains what immersion printing is, how it works, the materials you’ll need, and why it’s becoming one of the most versatile surface design methods in manufacturing and customization.
What Is Immersion Printing?
Immersion printing is a surface decoration process that transfers printed patterns onto 3D objects using a water-soluble film. The printed film, made of polyvinyl alcohol (PVA), floats on the surface of warm water. Once sprayed with an activator solution, the film dissolves, leaving behind a liquefied ink layer. When you submerge your base-coated object into this layer, the ink wraps perfectly around the contours of the part.
After rinsing and applying a clear coat, the pattern looks as if it was manufactured directly on the part. The result? A durable, high-resolution design that can mimic anything from wood grain and carbon fiber to camouflage or custom artwork.
Hydrographics, hydro dipping, and immersion printing all refer to the same technology. Whether you’re a hobbyist or a business owner, it’s a simple yet powerful way to achieve stunning surface finishes on plastic, metal, glass, or ceramic parts.
How Immersion Printing Works (Step-by-Step Process)
The beauty of immersion printing lies in its structured yet repeatable workflow. Here’s a breakdown of each phase:
Surface Preparation
Every successful print begins with prep. Clean and degrease the surface thoroughly, sand if necessary, and apply a primer or adhesion promoter. This ensures the pattern sticks properly and won’t peel or bubble later.
Basecoat Application
Next, spray the surface with a base coat. The base color complements or enhances the printed pattern. For instance, bright designs look best on a white base, while carbon fiber effects pop on black. Allow the base to dry completely before dipping.
Film Printing
The printed film used in immersion printing is made from polyvinyl alcohol and comes either pre-designed or blank for in-house printing. Professionals often print custom films using eco-solvent printers to control artwork scale, branding, and detail.
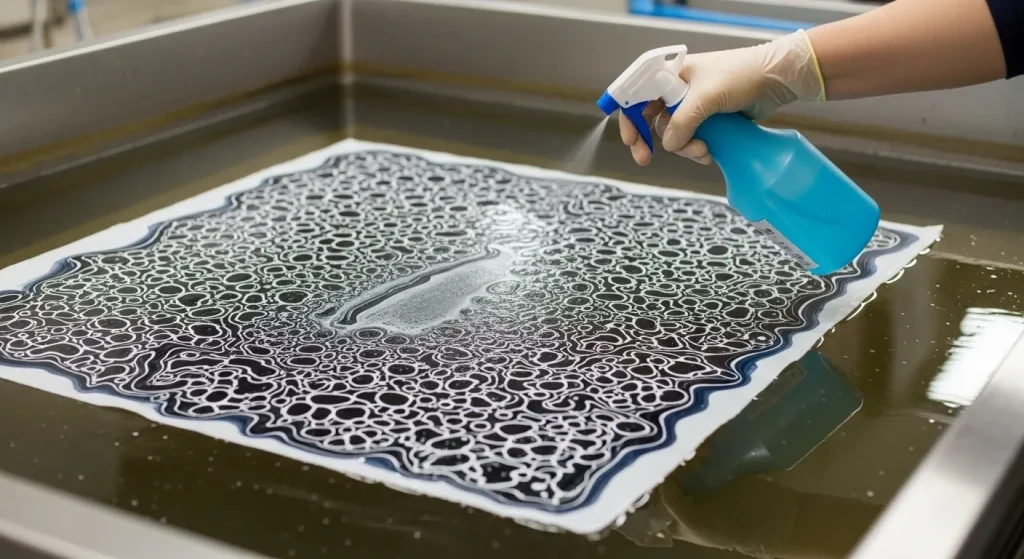
Activation
Lay the printed film on warm water (80–90°F / 27–32°C). After it hydrates, apply an activator spray evenly across the surface. The activator liquefies the film’s binder, turning it into a thin ink layer that floats perfectly on water.
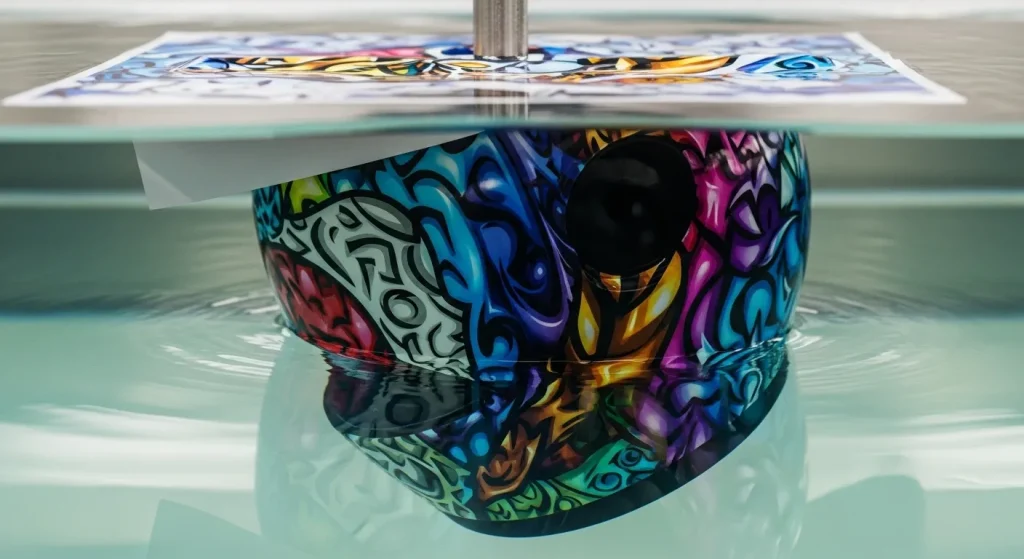
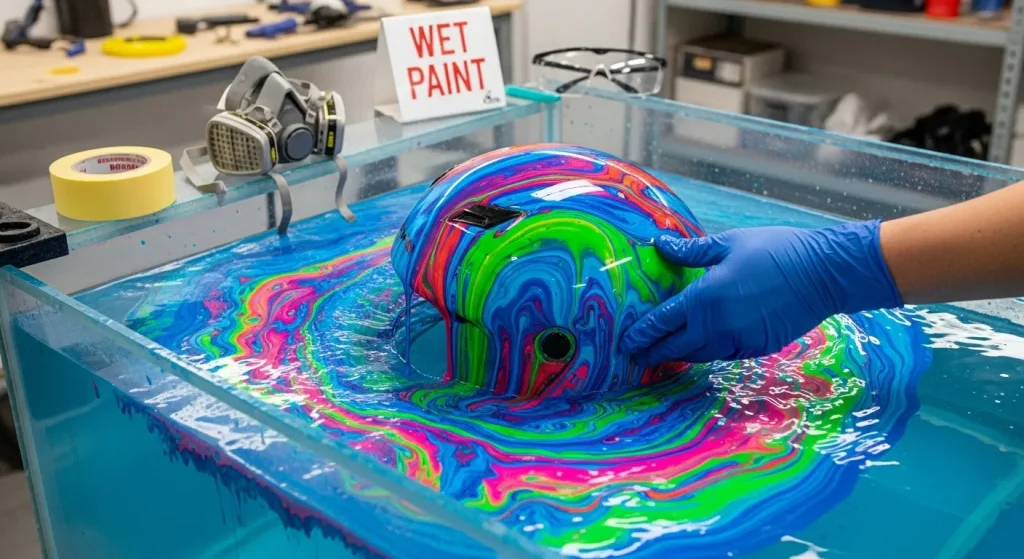
Immersion (The Dip)
Now comes the fun part, submerging your object. Slowly dip it at a slight angle, allowing the liquefied pattern to wrap naturally around its curves. Maintain a steady pace to prevent stretching or air bubbles.
Rinsing and Drying
Once dipped, rinse the object with lukewarm water to remove any film residue. After rinsing, let the surface dry completely in a clean area before sealing.
Top Coat Finish
The final step involves applying a clear coat, matte, satin, or gloss, depending on your desired look. Besides adding shine, the top coat protects against UV rays, moisture, and abrasion, ensuring a long-lasting finish.
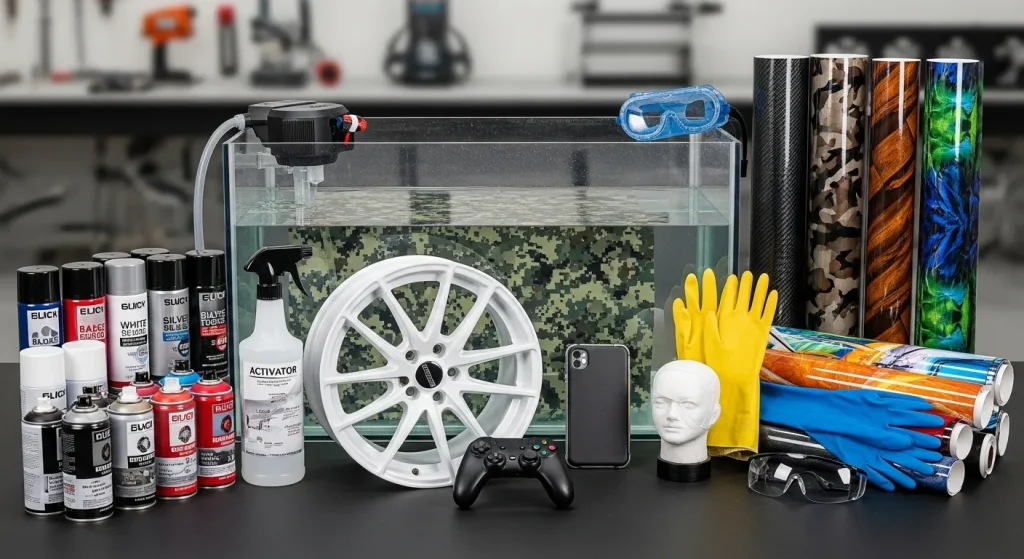
Core Equipment and Materials You’ll Need
Getting started with immersion printing doesn’t require industrial equipment. You can begin small and scale up later. Here’s what you’ll need:
- Hydrographic Tank or Tote: For floating films and dipping parts.
- Thermometer & Timer: To monitor water Hydro Dipping Temperature and film hydration.
- Spray Gun & Compressor: For applying base coats, activators, and clear coats.
- Printed Film: Pre-printed or blank PVA film for custom designs.
- Activator Solution: A solvent blend that dissolves film and activates ink.
- Primer & Basecoat Paints: Choose colors compatible with your substrate.
- Clear Coat: For durability, matte for subtlety, gloss for depth.
If you’re setting up a professional hydrographics shop, add a rinsing booth, dust-controlled drying area, and safety ventilation.
Applications Across Industries
Immersion printing has made its mark in multiple industries due to its versatility and finish quality:
Automotive and Powersports
Car and motorcycle enthusiasts use hydro dipping for dashboards, trims, helmets, and alloy wheels. You can replicate high-end materials like carbon fiber or wood grain at a fraction of the cost.
Military and Tactical Equipment
Hydrographics enable fast and affordable camouflage coatings on helmets, weapon parts, and vehicle panels, improving both appearance and functionality.
Consumer and Lifestyle Products
From custom tumblers and gaming controllers to phone cases and home décor, immersion printing transforms ordinary products into personalized art pieces.
Fashion and Art
Water marbling, a close cousin of hydro dipping, is popular in nail art and crafts, allowing artists to float and transfer colors directly onto nails or paper.
Advantages and Limitations of Immersion Printing
Advantages
Limitations
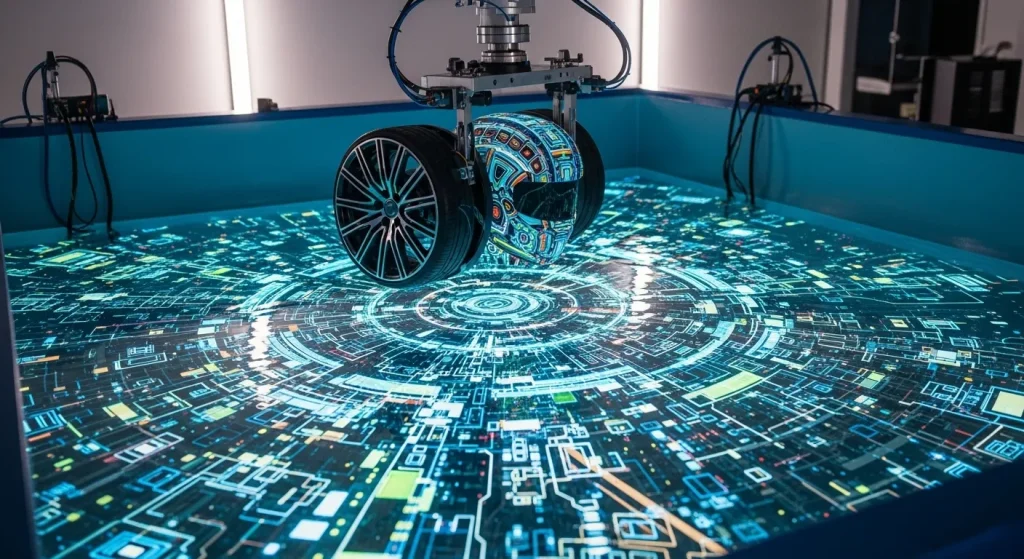
Advanced Technique: Computational Immersion Printing
For highly contoured parts, like helmets or complex 3D surfaces, traditional dipping can cause pattern misalignment. That’s where computational immersion printing comes in. Using 3D modeling software, technicians simulate how the printed film will stretch and wrap before production. This predictive method ensures the pattern lands exactly where it should, eliminating trial and error. This technology is transforming hydrographics for industries like automotive design, aerospace, and consumer electronics, where precision and aesthetics are critical.
Safety and Best Practices
Because immersion printing involves paints and activators, following safety protocols is essential:
- Always wear respirators and gloves when spraying.
- Ensure good ventilation in your workspace.
- Maintain consistent water temperature (around 30°C / 86°F).
- Keep records of film type, activator passes, and cure times for consistency.
- Dispose of chemicals responsibly according to local regulations.
Proper maintenance and safety not only protect your health but also improve repeatability and finish quality.
Conclusion
Immersion printing combines science, creativity, and practicality in one streamlined process. Whether you call it hydro dipping or water transfer printing, it allows individuals and businesses to achieve stunning, professional-grade designs on virtually any 3D surface.
It’s cost-effective, highly customizable, and continues to evolve with advancements like in-house film printing and computational simulation.
If you’re ready to explore this technology, now is the time. Start experimenting with small parts, refine your technique, and when you’re ready to scale, partner with professionals who can supply everything from blank hydrographic films to activator systems.