
Hydro Dipping: Essential Materials for Beginners
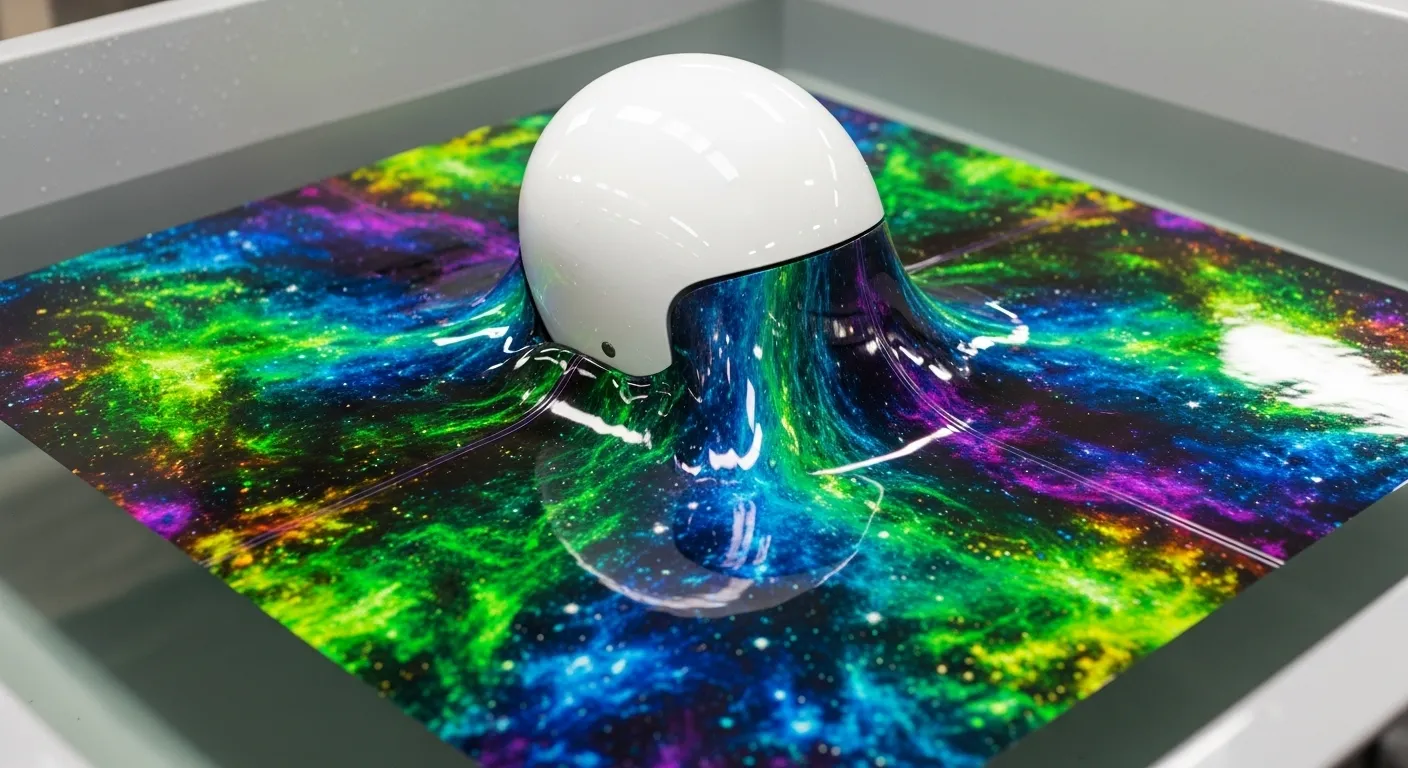
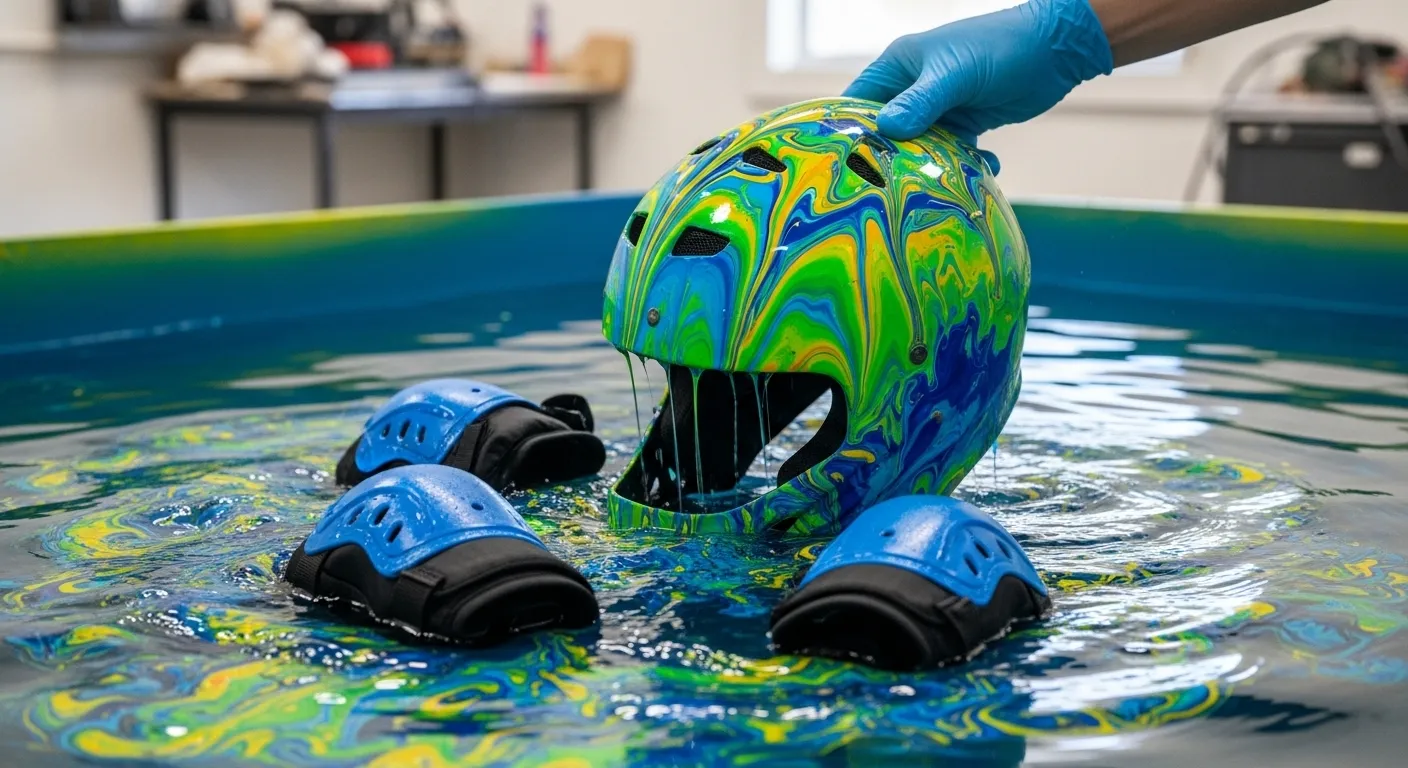
You can hydro dip pretty much anything that safely goes underwater. The possibilities seem endless – from sunglasses and guitar bodies to medieval helmets and even prosthetic legs.
Hydro dipping (also called water transfer or hydro-immersion) turns ordinary surfaces into customized masterpieces. The success of your project really depends on picking the right materials. Many beginners ask what they need and what they can dip – questions we’ll address in this piece.
Your safety is a vital part to think over while working with these materials. Handling hydrographics can have unexpected effects. The activators might damage your skin and lead to serious health problems. That’s why knowing about proper protective equipment is just as important as understanding what you need to hydro dip.
This detailed guide will give you the full picture of essential materials, compatible surfaces, and safety precautions to help you start your hydro dipping experience with confidence. Let’s take a closer look!
Understanding the Hydro Dipping Process
What is Hydro Dipping?
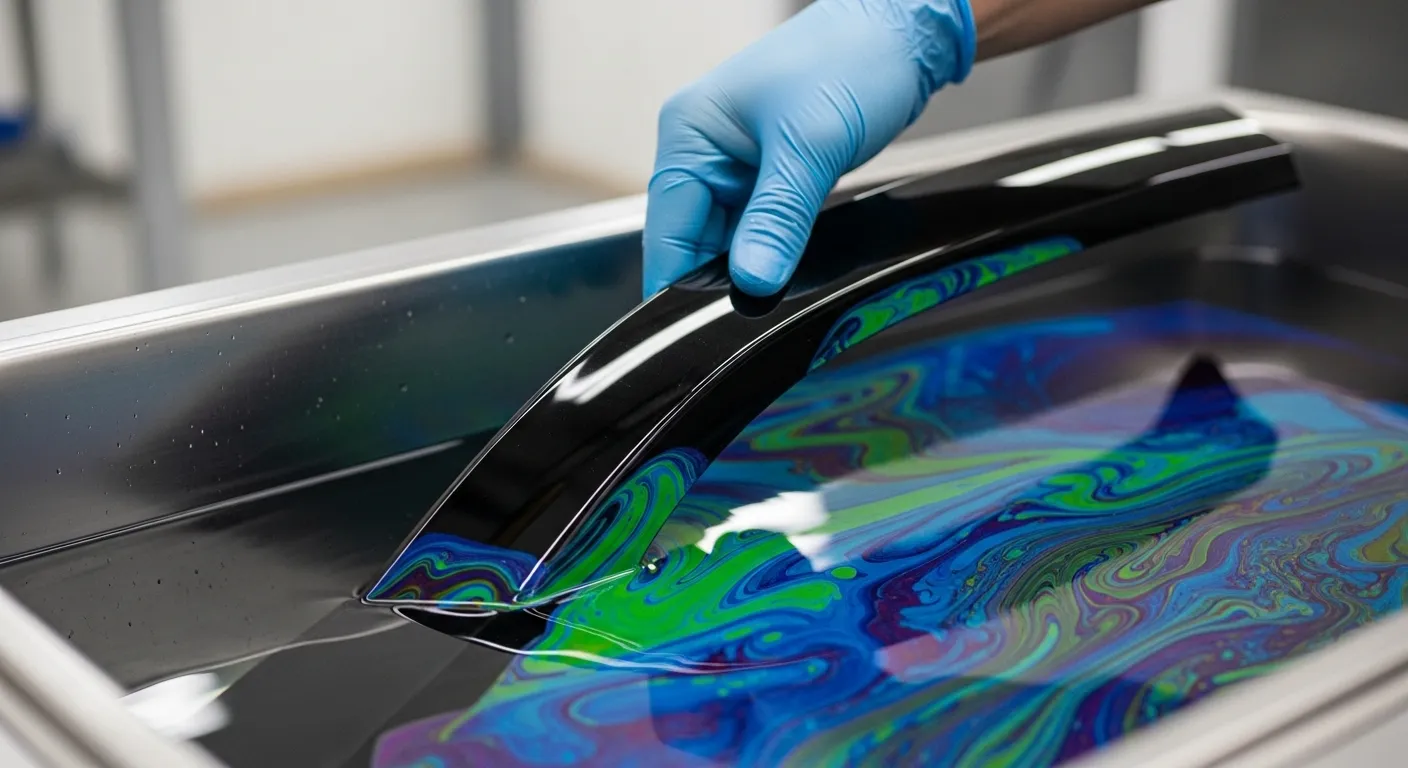
Hydro dipping is a versatile finishing technique that transfers complex designs onto 3D objects through water immersion. People also call it water transfer printing, immersion printing, hydrographics, or HydroGraphics. The process creates a chemical bond between the pattern and the object’s surface. This makes the design integrate into the item instead of just coating the top.
The magic of hydro dipping shows in its results. It produces vibrant colors and applies intricate patterns like camouflage, wood grain, or custom graphics to objects with irregular shapes. The technique covers objects completely with consistent patterns, unlike traditional painting methods.
Why Material Compatibility Matters
Your hydro dipping project’s success depends on material compatibility. Each surface has its own texture, adhesion properties, and chemical resistance. The right hydro dipping materials need to work together perfectly.
Non-porous materials like metal, plastic, glass, and hardwoods take to hydro dipping really well. Materials that absorb water, such as fabric and paper, don’t work with this technique. Some materials need special prep – hardwoods need sealer primer to stop them from warping.
Your choice of substrate affects which primers, base coats, films, activators, and clear coats you should use. Mixing incompatible components leads to problems like poor adhesion, distorted patterns, or early wear. You’ll get professional results by knowing what each material needs.
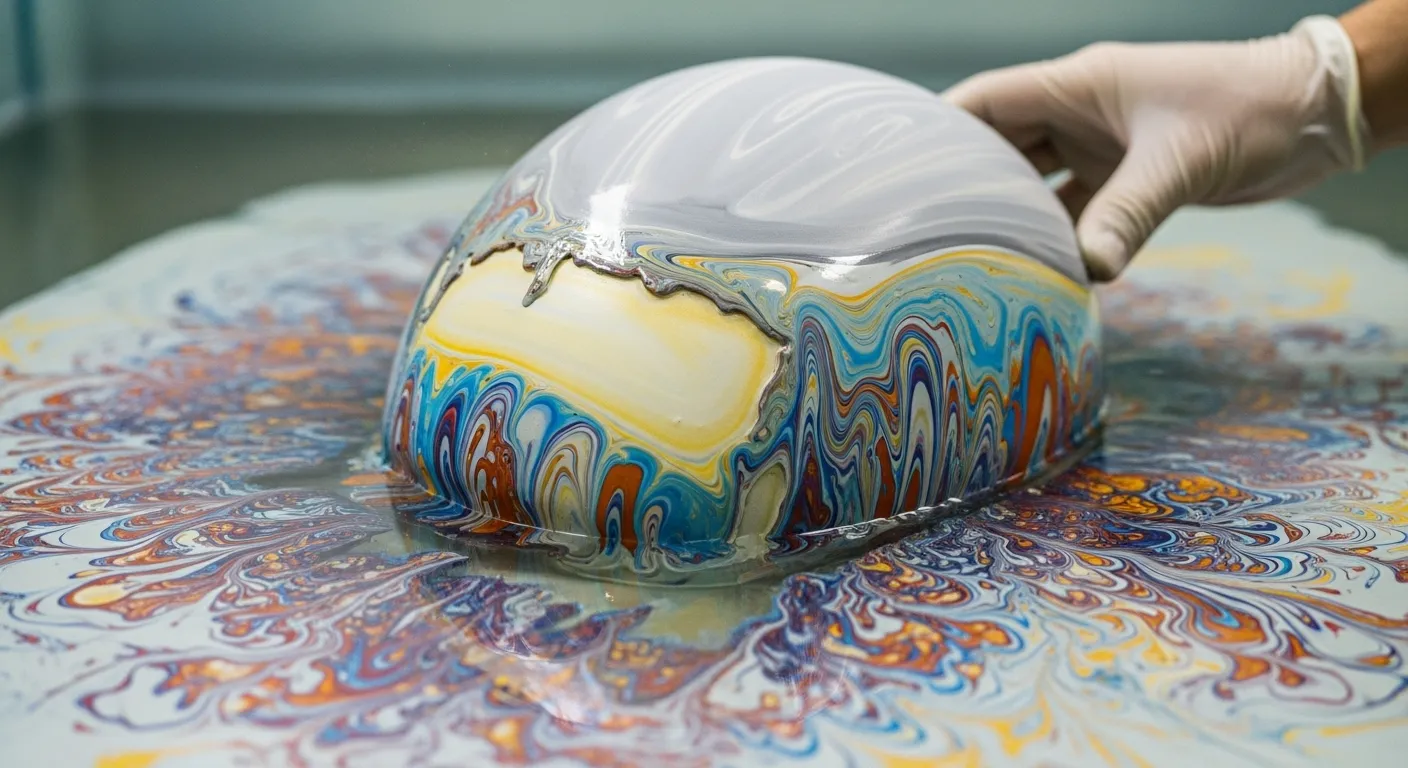
How the Process Works: Base Coat, Film, Activator, Top Coat
Here’s how hydro dipping works step by step:
Why Material Compatibility Matters
Your hydro dipping project’s success depends on material compatibility. Each surface has its own texture, adhesion properties, and chemical resistance. The right hydro dipping materials need to work together perfectly.
Non-porous materials like metal, plastic, glass, and hardwoods take to hydro dipping really well. Materials that absorb water, such as fabric and paper, don’t work with this technique. Some materials need special prep – hardwoods need sealer primer to stop them from warping.
Your choice of substrate affects which primers, base coats, films, activators, and clear coats you should use. Mixing incompatible components leads to problems like poor adhesion, distorted patterns, or early wear. You’ll get professional results by knowing what each material needs.
Essential Materials for Hydro Dipping
Getting the right materials are the foundations of a great hydro dipping project. Let me walk you through everything you need to start this amazing craft.
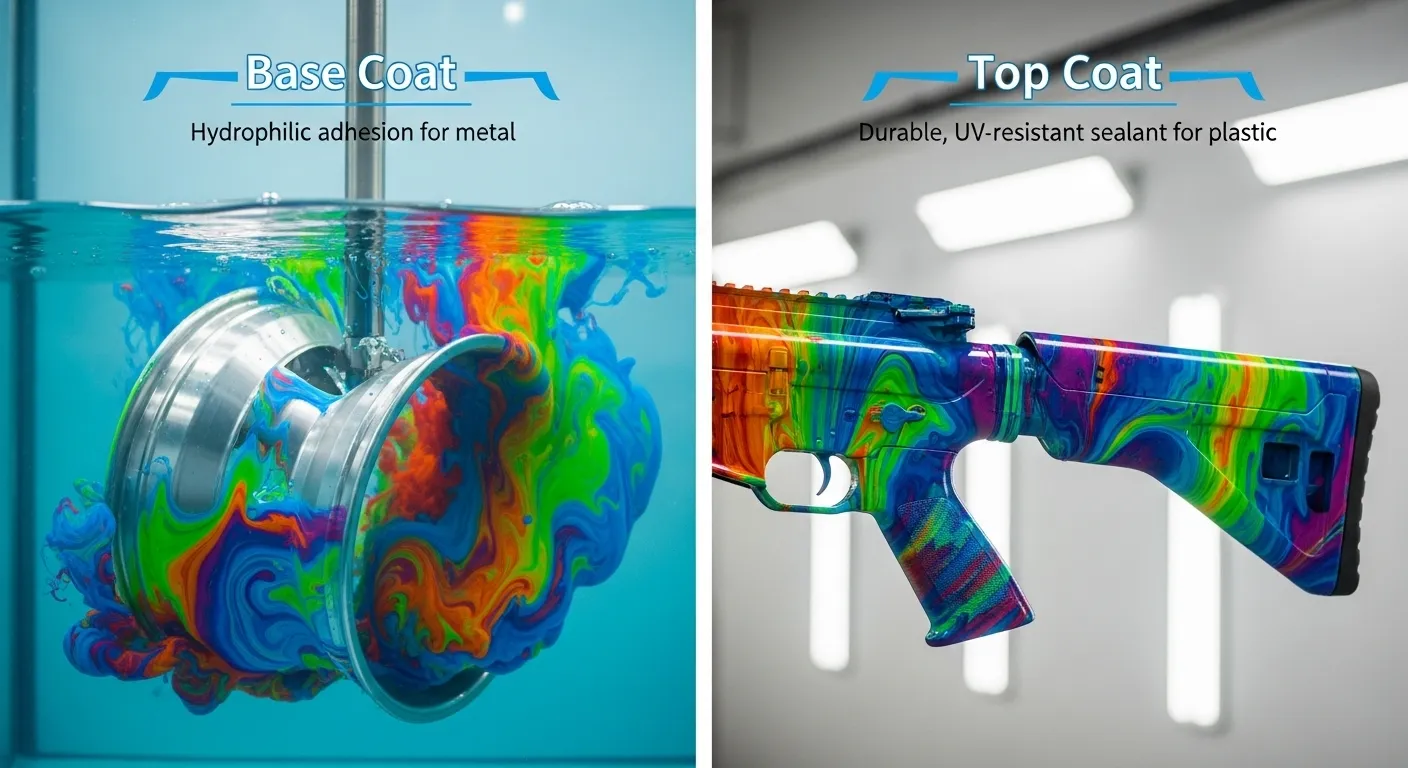
Base Coat Paint
You’ll want urethane-based or water-based automotive paints for hydro dipping. Your base coat’s color makes a huge difference in the final look. White creates bright patterns, and tan works great with camouflage designs. Stay away from oil-based acrylic enamels – they won’t dry right.
Hydrographic Film
These special films come in endless designs like camouflage, woodgrain, carbon fiber, and custom patterns. High-quality films have better inks that won’t fade in sunlight. Here’s a quick tip – you can find the sticky side of the film by touching a corner with a wet finger.
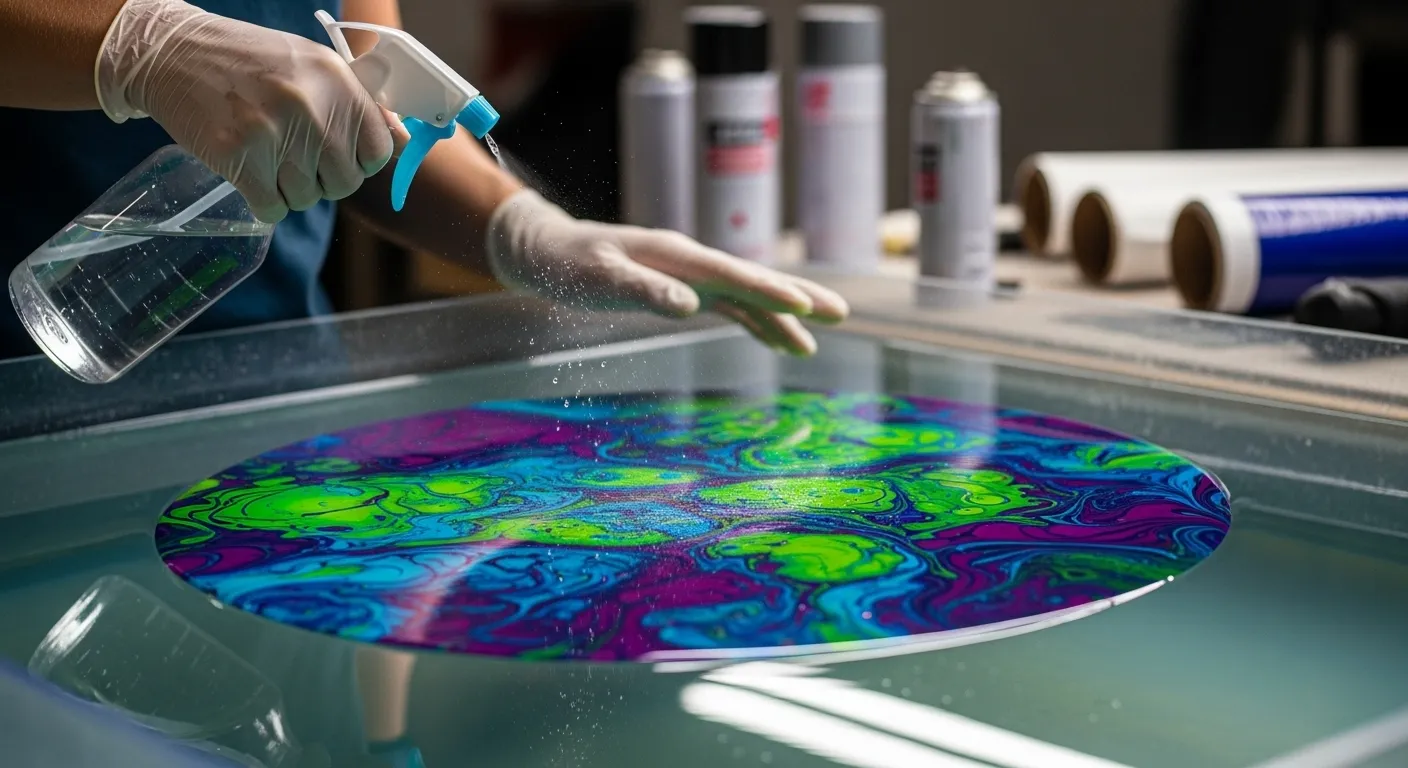
Activator Solution
This stuff is crucial – it dissolves the film and makes the ink bond to your item. Each film type needs its own activator. Some work best with camouflage patterns, others with woodgrains. A single liter usually activates 30-40 square meters of film.
Primer
Primers help paint stick better and protect the substrate from damage. Epoxy primers work great on bare metals and flexible surfaces. Urethane primers shine in areas that need sanding.
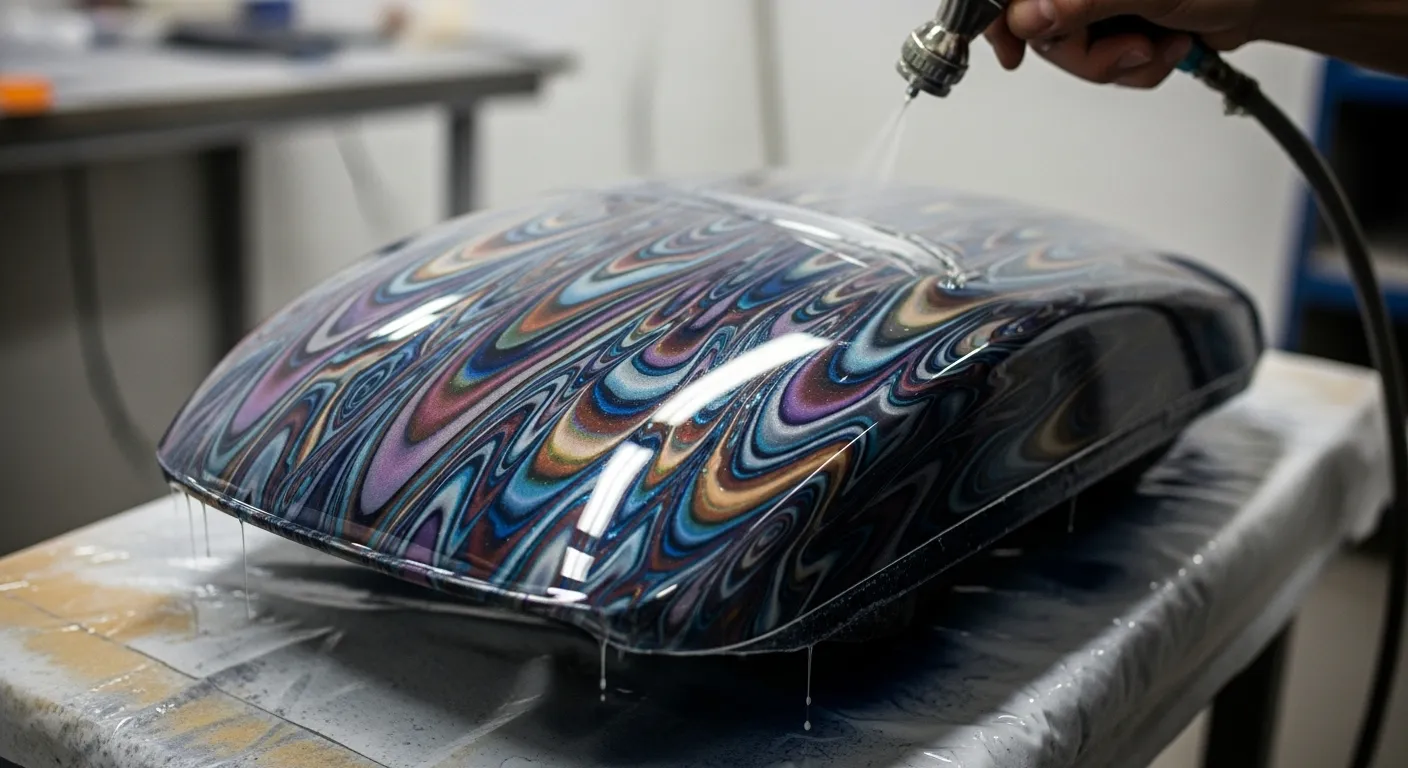
Top Coat
Clear coats bond with the film after it dries and give you UV protection and scratch resistance. You can pick from high gloss that looks like in car finishes, flat with no shine, or soft-touch that feels slightly grippy.
Protective Gear
Latex or nitrile gloves keep your skin safe. You’ll need respirators with replaceable cartridges to avoid breathing harmful chemicals. Clear safety glasses or full face shields are must-haves while spraying.
What Materials Can and Cannot Be Hydro Dipped
The success of hydro dipping projects depends on choosing the right substrate. Your understanding of suitable materials makes the difference between beautiful results and disappointing failures.
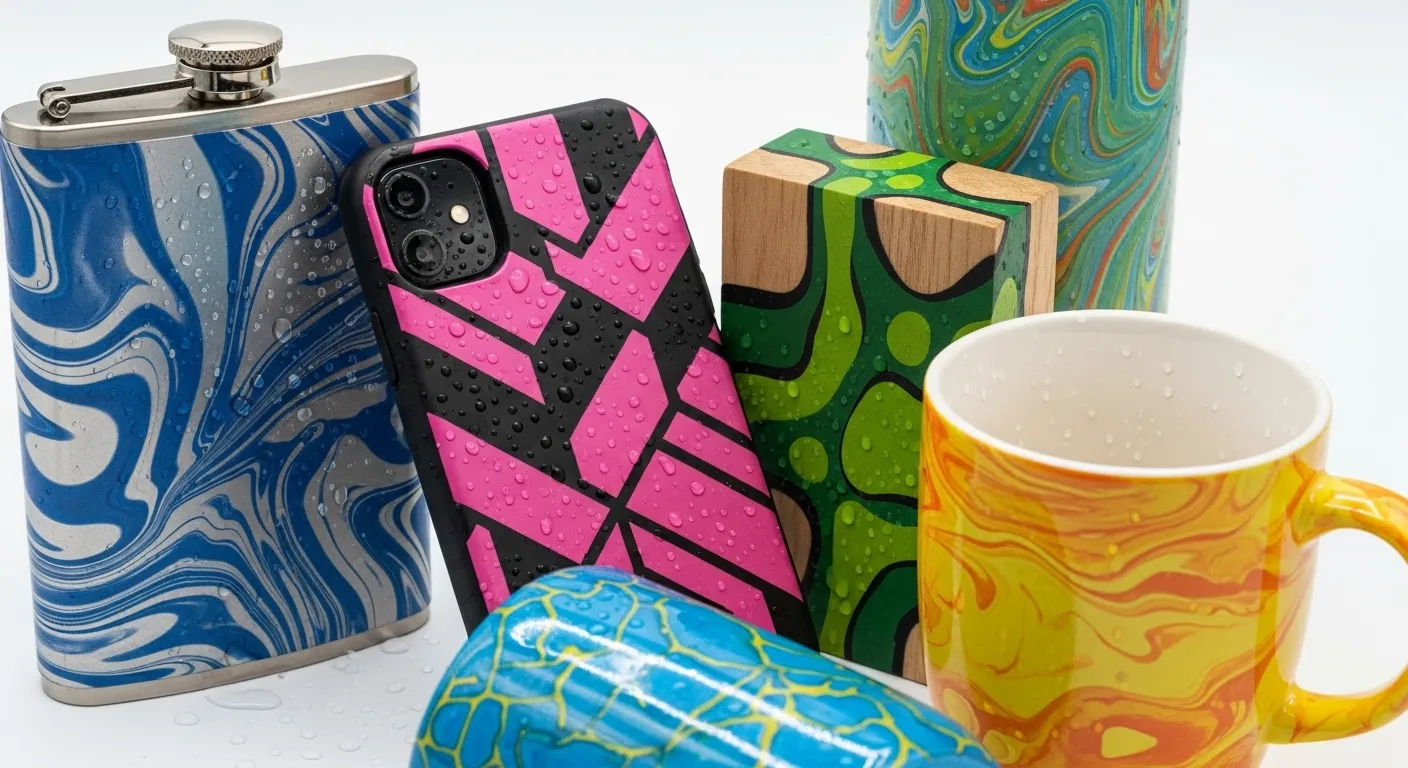
Materials That Work: Metal, Plastic, Wood, Ceramics
Most non-porous materials deliver exceptional results with hydro dipping. Metal surfaces make ideal candidates, though they just need proper primer to ensure film adhesion. Plastics—including ABS, PVC, PP, PE, PET, and acrylic—create excellent finishes. More importantly, ceramics work great especially when you have high temperatures during the process.
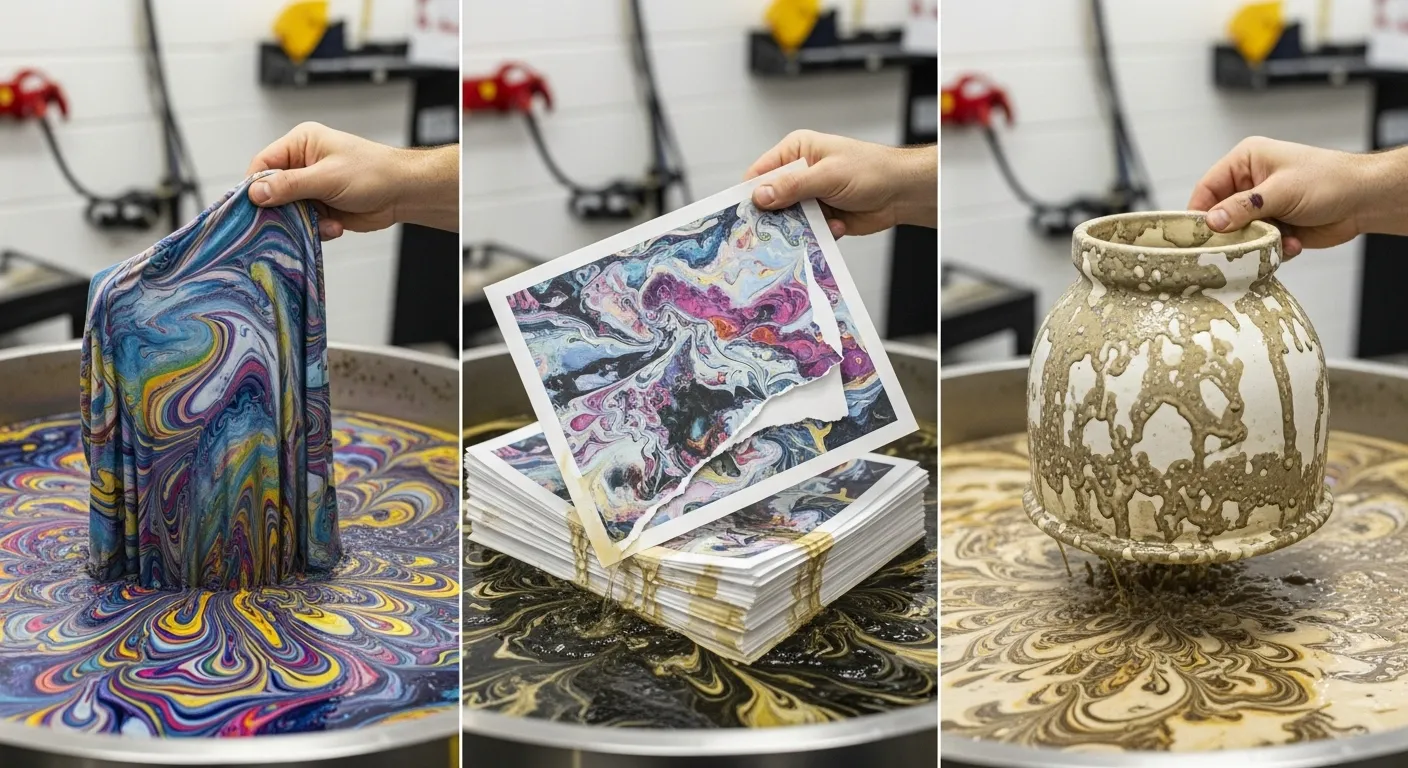
Materials That Don’t Work: Fabric, Paper, Porous Items
In stark comparison to this, highly absorbent materials make poor candidates for hydro dipping. Natural fibers like cotton and wool fail at hydro dipping because of their hydrophilic nature and lack of compatible base coatings. Paper items usually fail since they can’t resist water.
How to Choose the Right Materials for Your Project
Successful hydro dipping relies on both your choice of materials and how well they match your project. The right materials for hydro dipping depend on several key factors.
Surface Texture and Porosity
Your item’s texture will affect the quality of adhesion. Smooth surfaces usually accept film more evenly, while textured surfaces need extra preparation. Wood and other porous materials need a sealer primer to stop moisture absorption and warping. Better adhesion between the base coat.
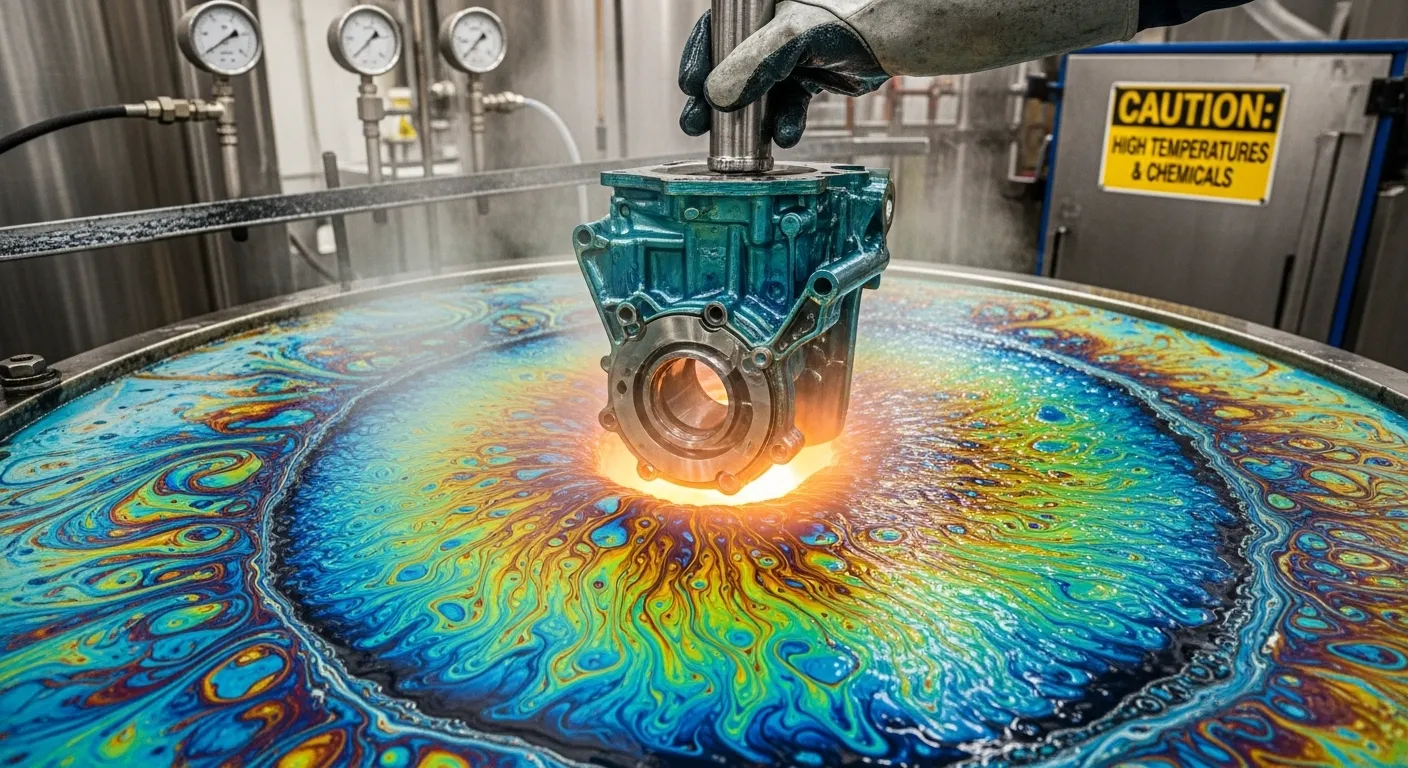
Temperature and Chemical Resistance
Materials must handle both water immersion and chemical exposure. The best water temperature for dipping falls between 80-90°F. Your material should also resist the chemicals in activators that contain lacquer thinner and mineral spirits. This helps prevent discoloration or poor adhesion during transfer.
Match Base Coat and Top Coat to Material
Your choice of base coat plays a huge role in the final look. White base coats show designs in their original printed colors, while tan base coats give camo patterns an earthy look. Make sure your hydro dip materials work well together, from activators to clear coats.
Conclusion
Hydro dipping transforms ordinary items into custom art. This guide covers what makes the technique unique and the materials needed for success. Choosing the right supplies is key.
Proper prep matters, use compatible bases, primers, films, and coatings. Metal, plastic, and sealed wood work best; porous materials like fabric don’t.
Always prioritize safety. Wear gloves, masks, and goggles, and test materials first to avoid costly mistakes.
Beginners should start with small, non-porous objects before tackling complex projects. Simple setups are enough to learn the basics. you can read our comparison guide about Hydro Dipping Ideas You Never Thought Of (2025 Guide) also.
Hydro dipping’s appeal lies in its versatility and limitless design options. Mastering materials and core steps lets you create unique, personalized pieces that reflect your style.about freeing creativity while understanding the science that makes this fascinating process work.