
How Hydro Dipping Works: A Simple Guide
You might wonder how hydro Dipping Works creates those amazing custom patterns on everyday items. This water transfer printing technology could grow from a fun hobby to a side hustle or maybe even a full-time business!
Hydro Dipping Works stands out as a decorative technique that needs proper preparation and attention to detail. The right paint choice and proper item cleaning make all the difference. The process just needs high standards of cleanliness without grime or water residue. Your items should be washed thoroughly for at least five minutes.
Let’s take a closer look at the entire process step by step in this piece. We’ll cover everything from choosing the right equipment to preparing, dipping, and protecting your creations. Your equipment options range from entry-level setups to production-level systems with high-tech features. It also shares tips to streamline your production that can save time while reducing labor costs. This guide has you covered whether you’re curious about how hydro dipping works or ready to head over to your first project!
Step 1: Prepare and Clean Your Item
Success in hydro Dipping Works starts with good preparation. A clean surface without grease or impurities will make a big difference. Many projects fail because of poor pretreatment, as shown by experience.
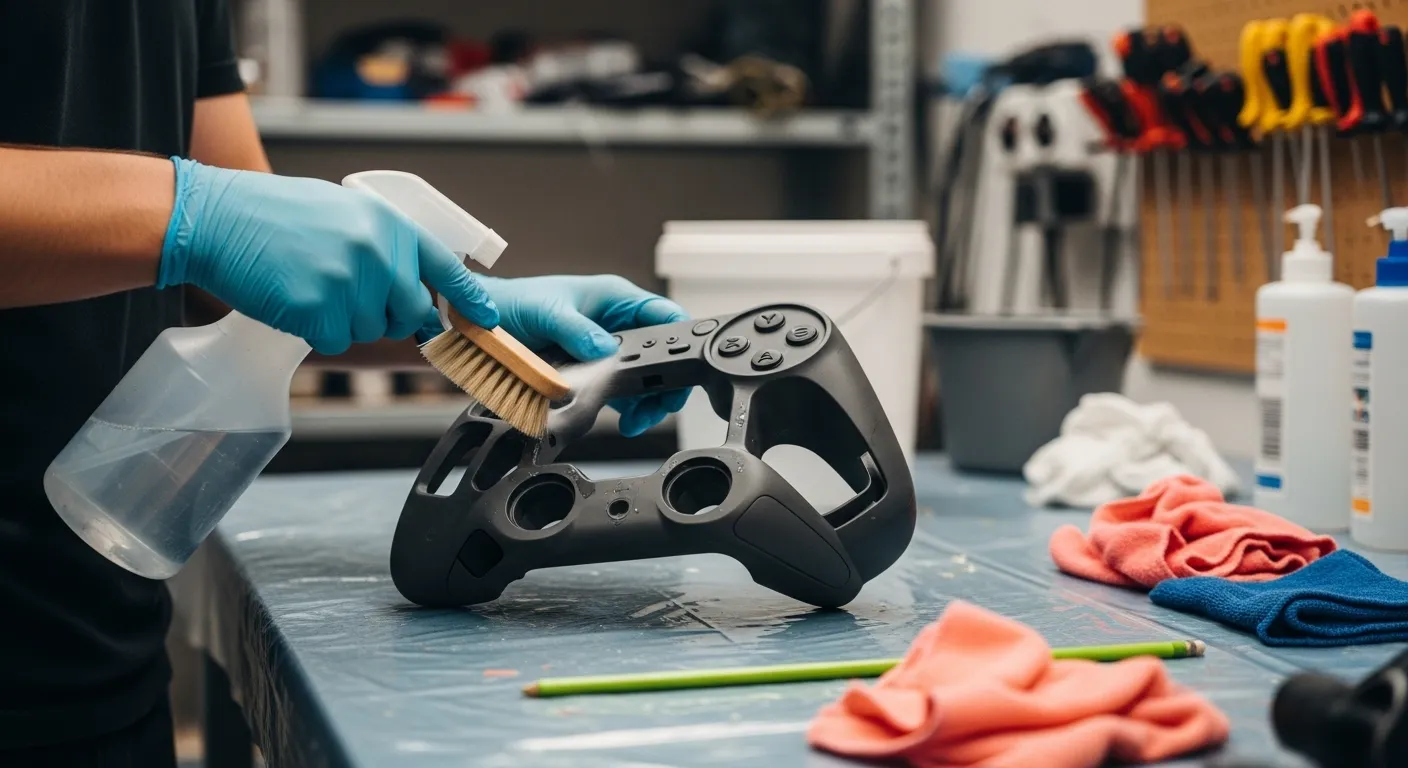
Initial Cleaning
Start by checking your item for any visible impurities. A grease and wax remover will give you the best adhesion when you clean the surface before sanding. This step keeps you from pushing contaminants into the substrate.
Scuffing the Surface
The next step is to scuff the surface. You can use a Scotch-Brite pad or sandpaper, 220–320 grit works great for most items. These micro scratches help the primer bond better to the base substrate. Wood items need special care: use 80 grit sandpaper first to strip protective coatings, then smooth it out with 180 grit.
Final Cleaning and Drying
Once you’ve scuffed the surface, clean it again with grease remover or isopropyl alcohol. These cleaning agents dry very quickly, so you’ll need to spray and wipe right away. Your item should stay clean and completely dry after prep work. You can use an air dryer or blower to remove moisture, or leave it in a clean, dry spot.
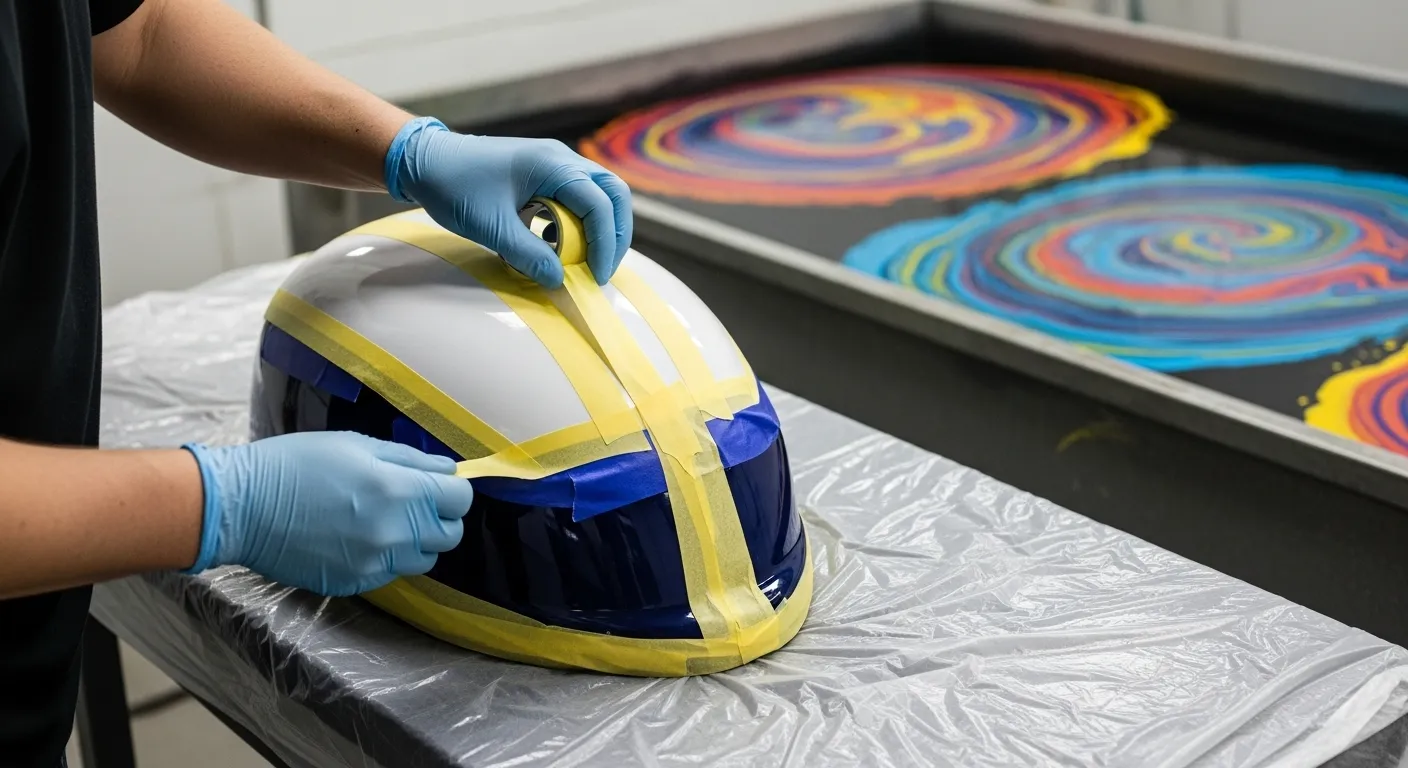
Masking
The last step is to cover areas you don’t want decorated with masking tape. This prep stage is vital because it helps the topcoat stick neatly and permanently to the surface.
Step 2: Set Up for Hydro Dipping
Your prepped item needs a proper hydro Dipping Works station setup. Pick a water-tight container that’s big enough to submerge your item completely without touching the sides.

Water Temperature
Water temperature plays a vital role in the next step. The water must be between 80–90°F to get the best results. The film becomes sticky and won’t adhere properly if the water temperature drops below 75°F, which can ruin your project.
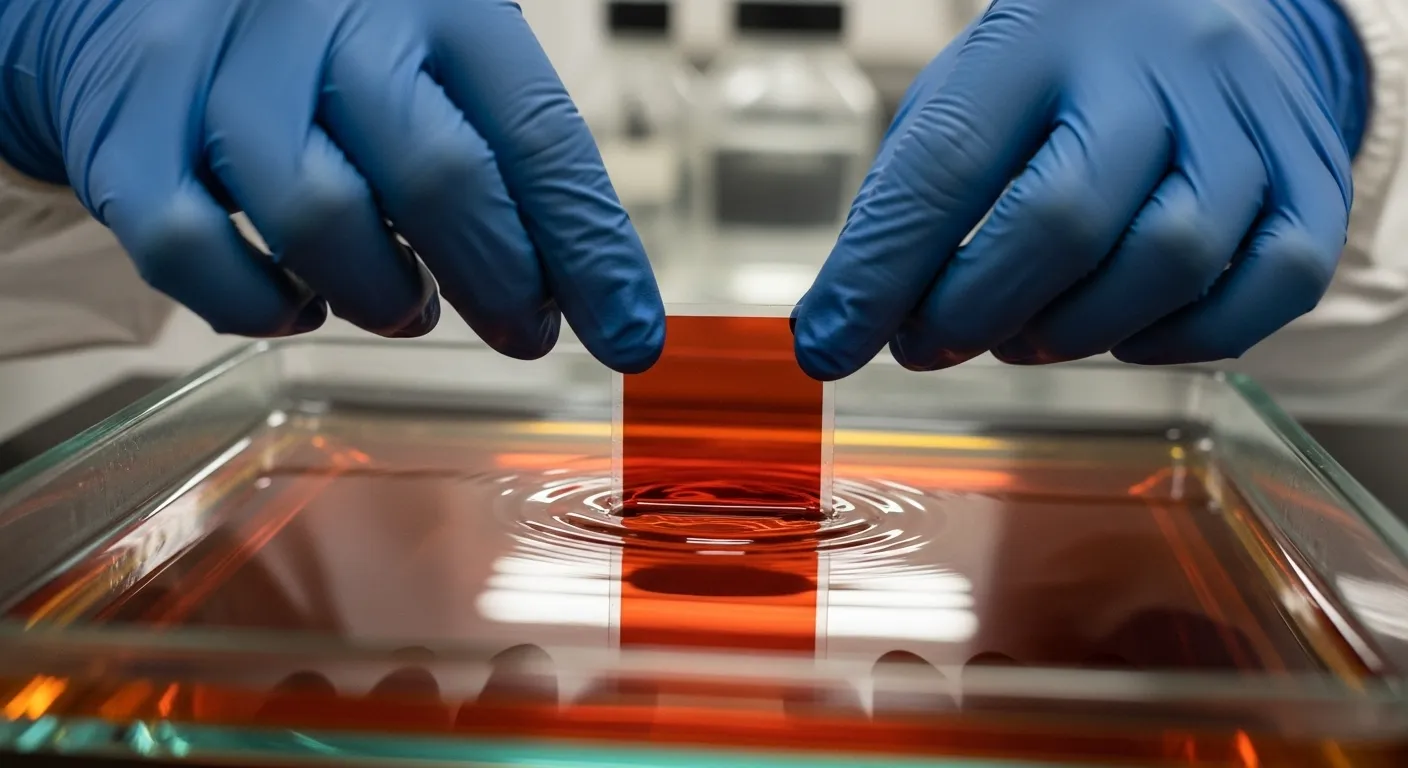
Preparing the Film
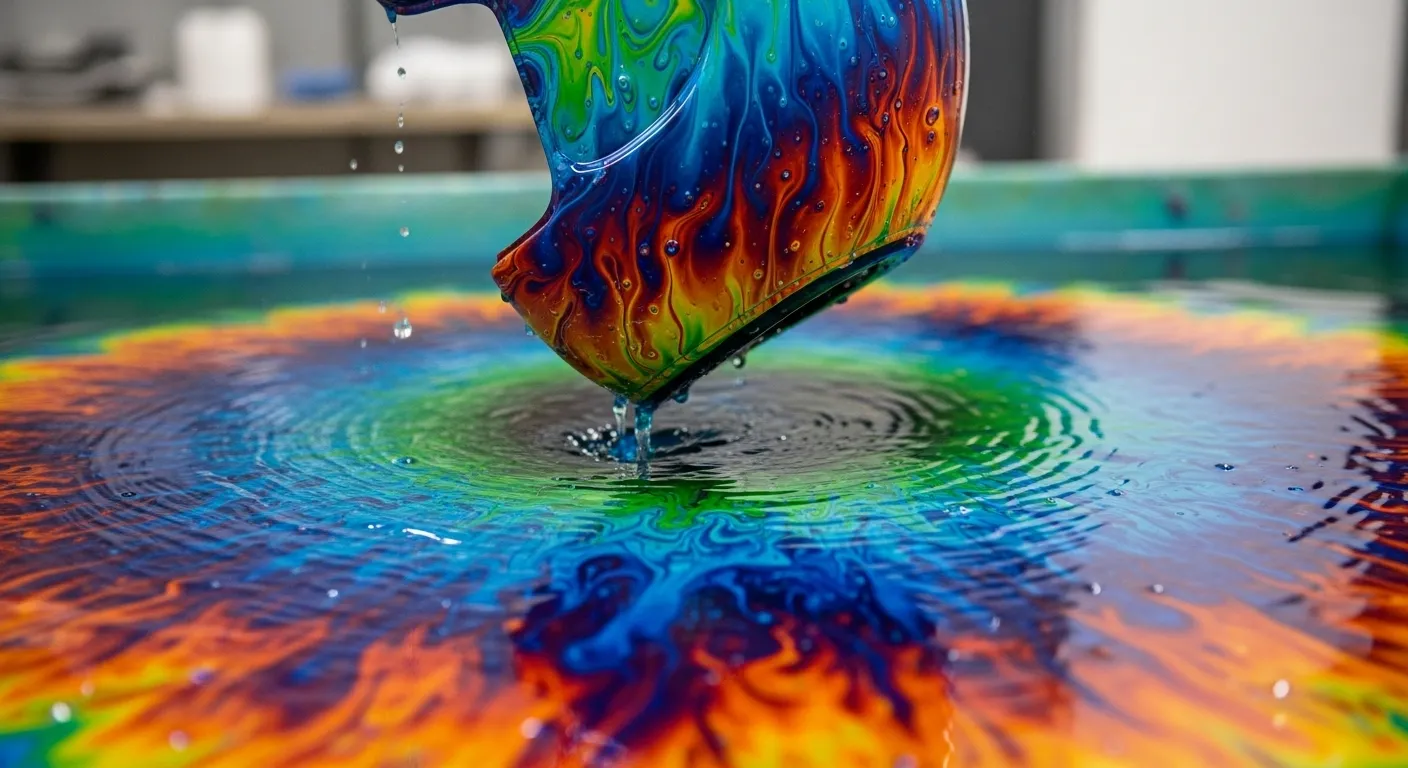
Measure your item and cut the hydrographic film with extra space on all edges. Add about 50% more than the item’s size. This extra film ensures complete coverage without stretching the design. Secure the film’s edges with masking tape to keep it from moving during the process. Some films need tape only on two sides to allow expansion.
Positioning the Film
Test which side is sticky by wetting your fingers and pinching the film. Place the sticky side down when putting it on the water. Start from the center and work your way out as you place the film on the water’s surface. This technique prevents air bubbles from forming, which can destroy your design.
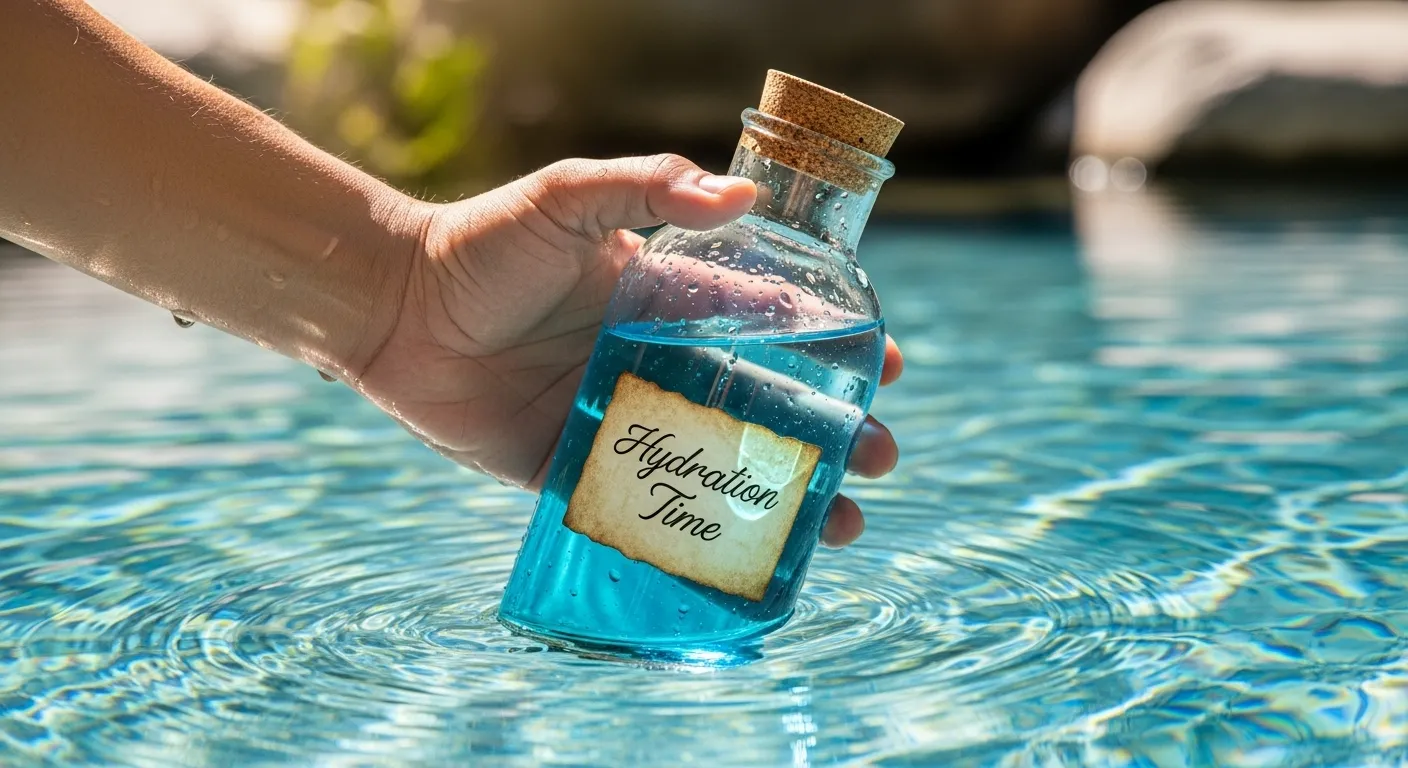
Hydration Time
Let the film hydrate for exactly 60 seconds. The film softens and gets ready for activation during this time, and any wrinkles will disappear after about 30 seconds.
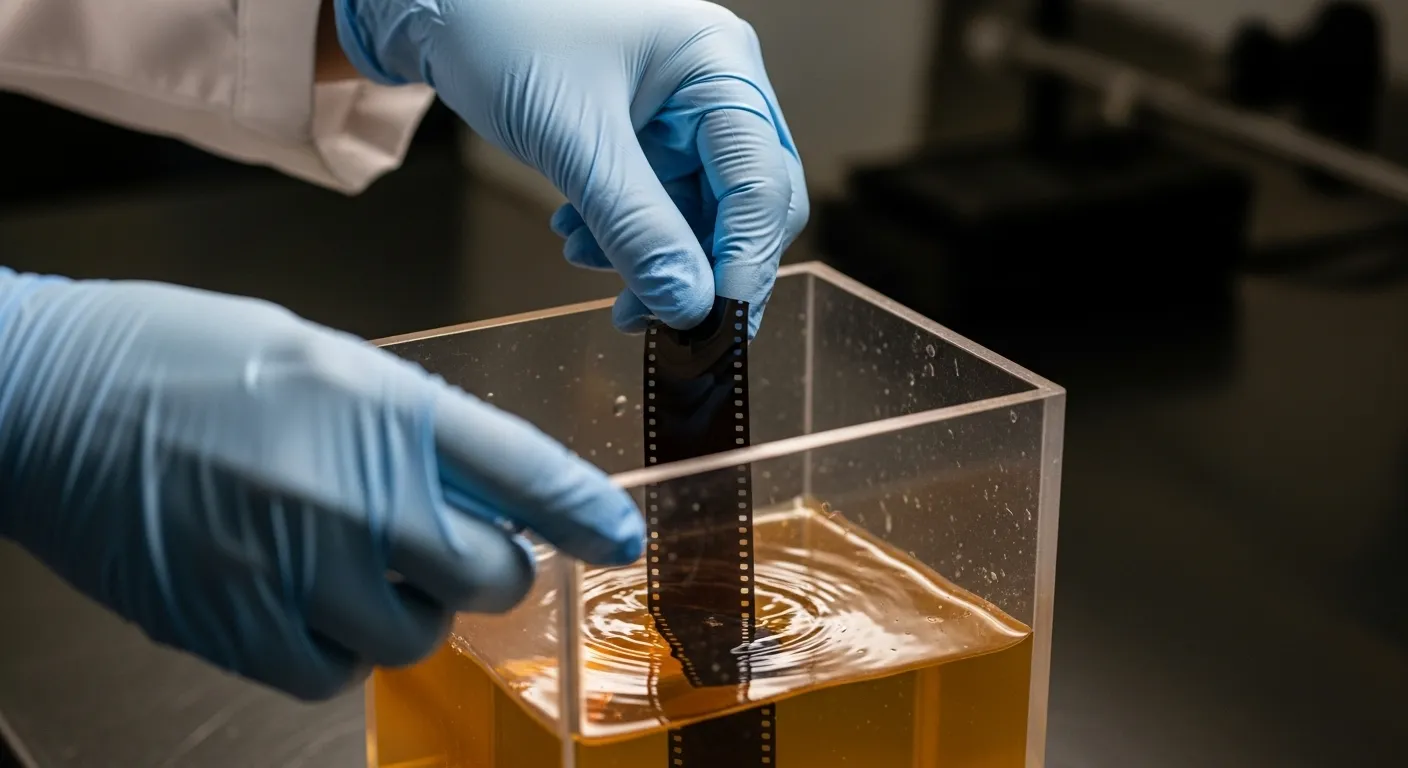
Step 3: Dip, Rinse, and Protect
Your item is ready to activate and dip when the time comes. Let your film hydrate for 60 seconds, then spray the activator evenly from 12–18 inches above the film. A single wet coat works best, with about 20% overlap if multiple passes are needed. Many people add too many activators, don’t make this common mistake. Also you can read our comparison guide about How to Avoid Costly Spray Paint Hydro Dipping Problems.
Dipping Works Technique
The film needs 10–15 seconds to develop a glassy look. Don’t wait longer than 30 seconds since the activator will evaporate. Dip your item at a 30–45 degree angle to keep air bubbles away. A slow, steady motion Dipping Works best.
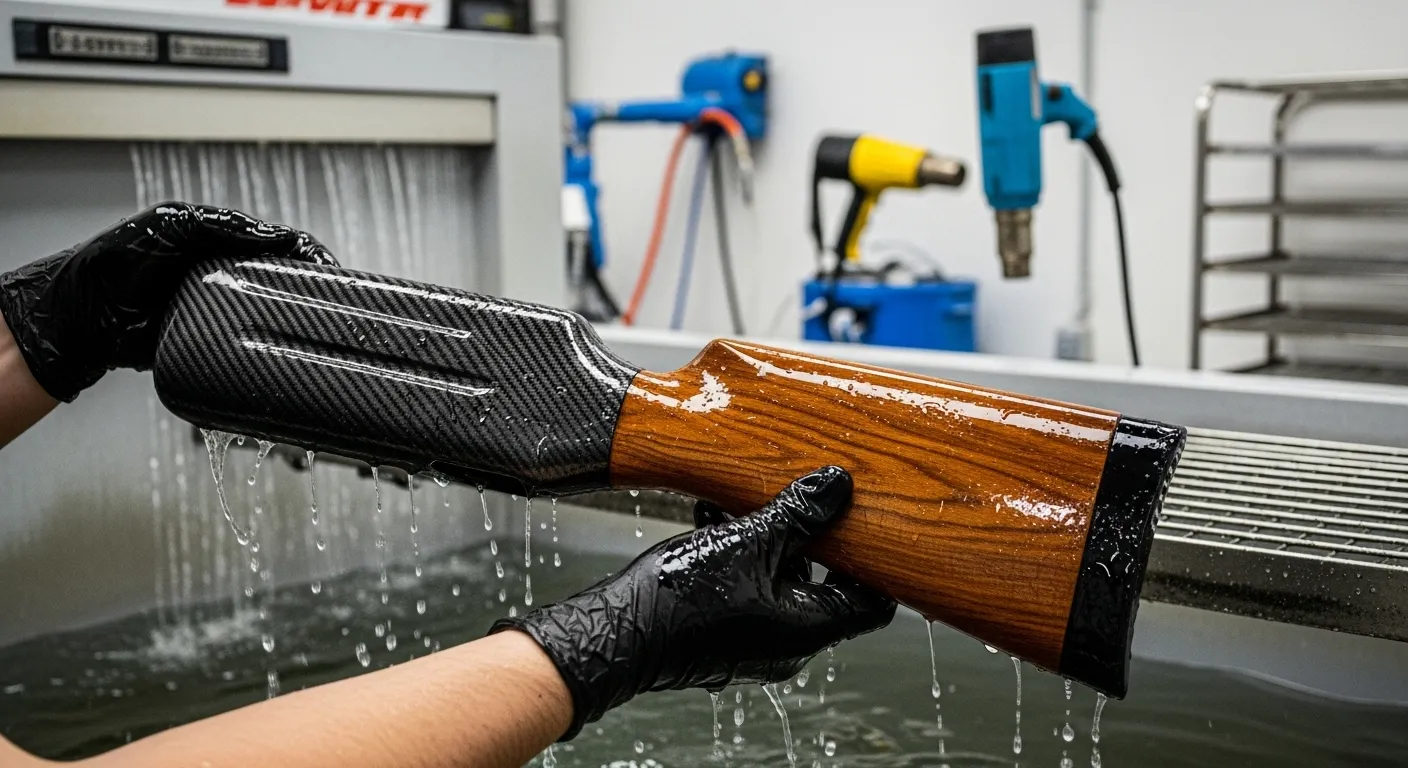
Rinsing
Clean, warm water should rinse away all slimy residue immediately after dipping. This vital step takes at least five minutes. Warm water dissolves the PVA film faster than cold water. Use water volume, not pressure, to remove residue without damaging your design.
Drying
Your item needs to dry completely, either naturally or with compressed air. Take time to check for any spots that need fixing.
Applying Clear Coat
The final protection comes from a clear coat. Start with a light coat and follow with two medium layers. Each coat needs proper drying time. A chemical bond forms between the clear coat and film, guarding against fading, scratches, and moisture.
Conclusion
Hydro Dipping Works is a versatile decorative technique that delivers impressive results when done carefully. Success relies on thorough preparation, proper cleaning, correct water temperature, and precise timing. While early attempts may be challenging, patience and practice improve your technique. Once mastered, hydro Dipping Works can transform virtually any non-porous item, offering endless creative possibilities at a fraction of commercial costs.