
How to Avoid Costly Spray Paint Hydro Dipping Problems
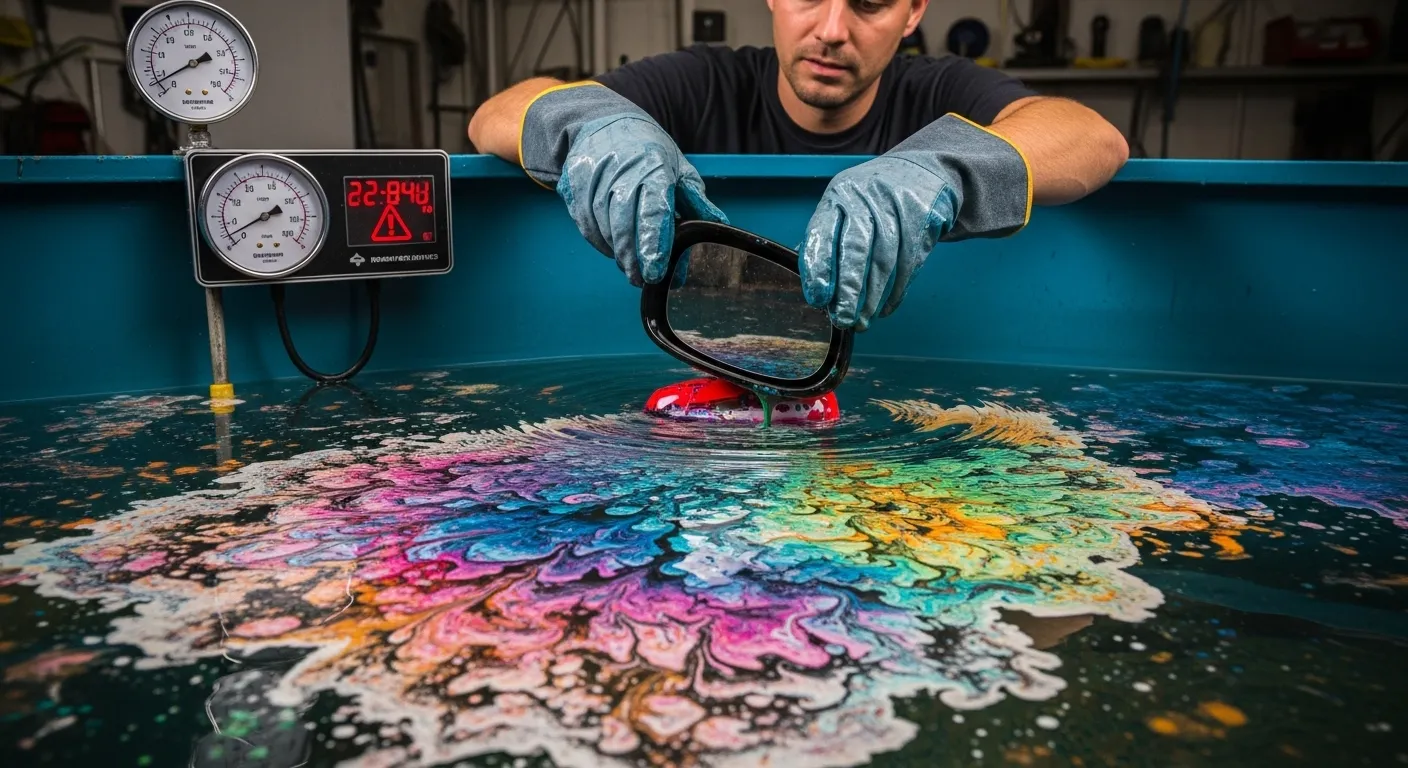
Temperature control can make or break your spray paint hydro dipping project. The process needs water at exactly 90 degrees Fahrenheit, with a 60-second soak and 10-second dwell time.
Spray paint hydro dipping looks simple at first glance, but tiny details can change your results drastically. The water temperature needs to stay around 92°F – just a bit cooler than bathwater.
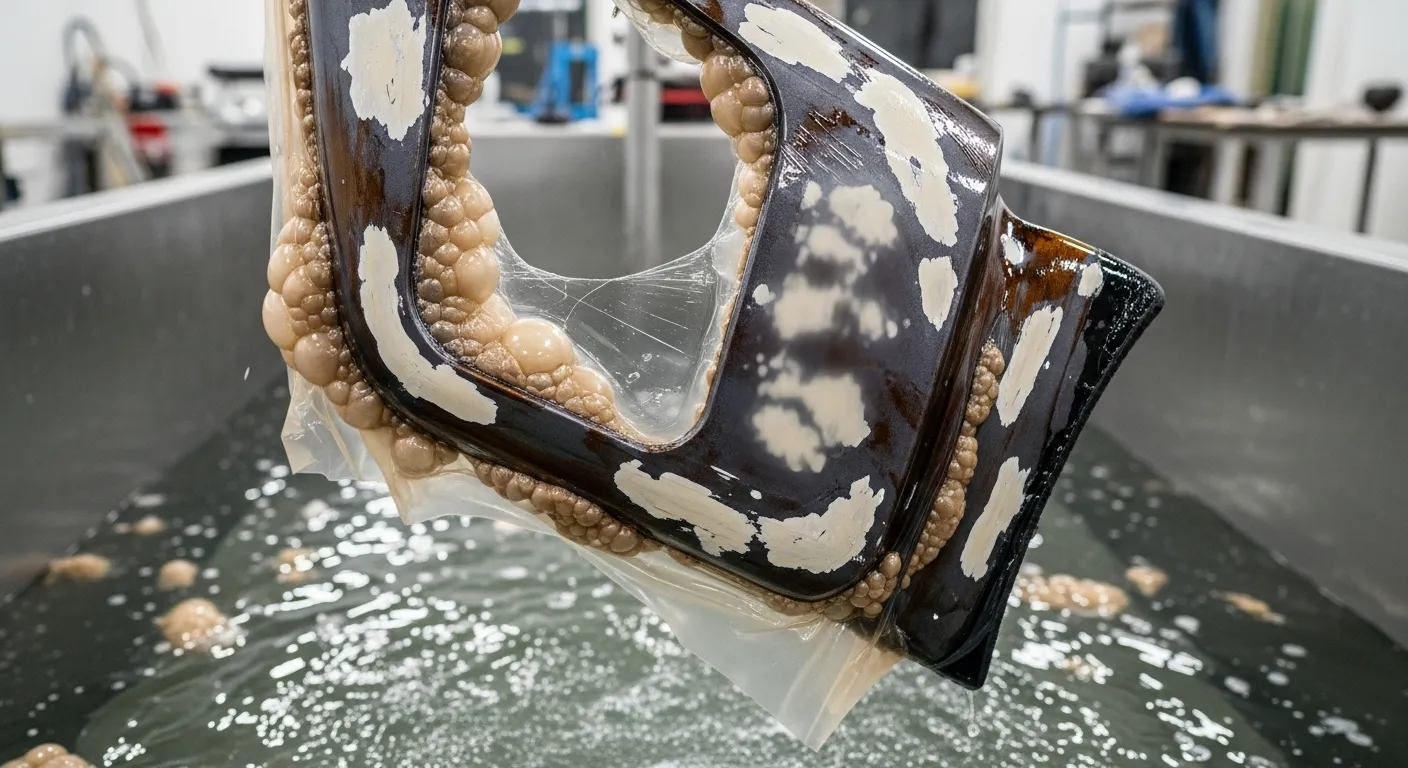
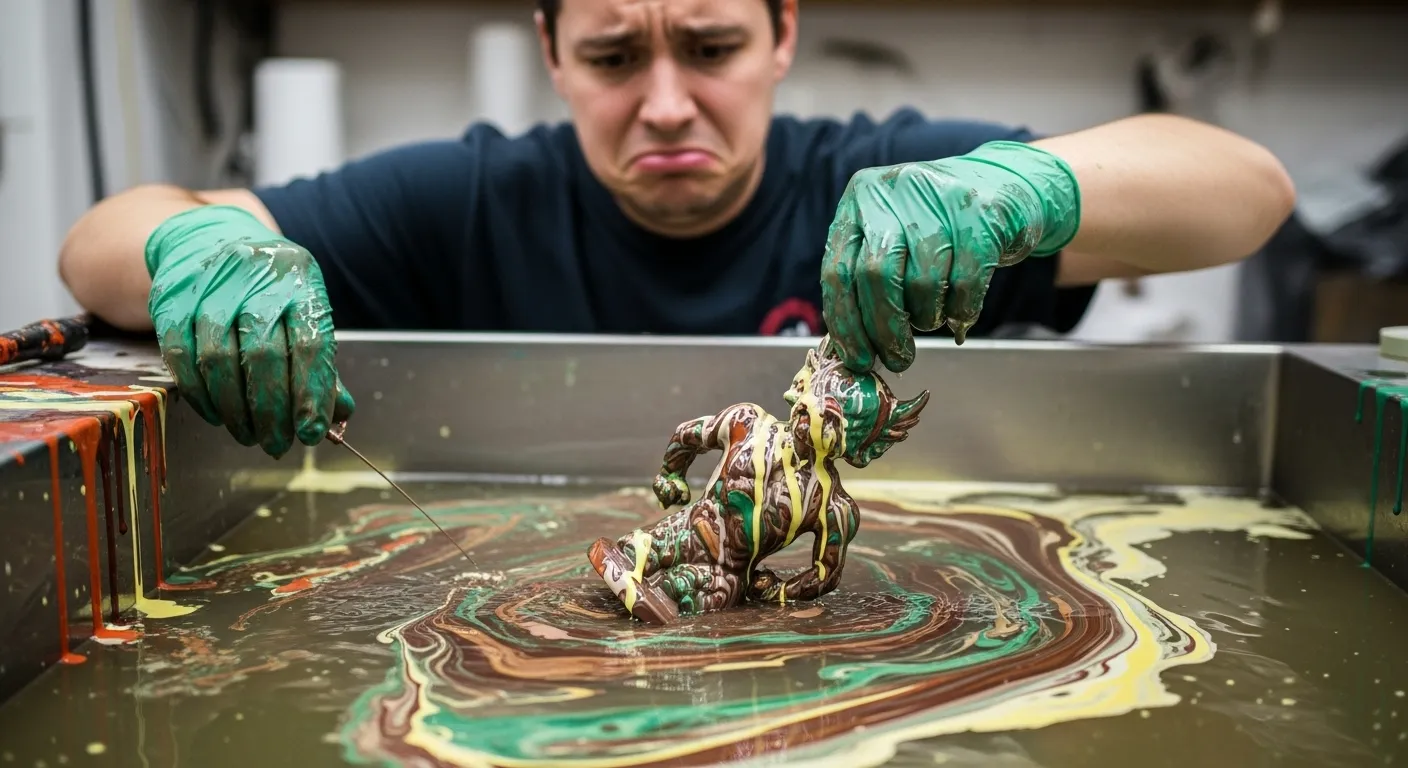
Your success depends on getting everything right, from humidity levels to your gun technique. When you don’t use enough activators, you’ll end up with blisters and jagged holes in your Hydro Dipping Work.
Anyone can try hydro dipping, but the process demands perfect conditions.
Your results will suffer when humidity rises or strong air currents blow dust onto your items. On top of that, the hydrographic film reacts by a lot to changes in moisture and temperature.
This piece walks you through common hydro dipping problems and gives you expert fixes to nail perfect results every time.
Common Mistakes Before Dipping
Spray paint hydro dipping success starts with the right preparation. You need to avoid common mistakes that can destroy your project before you begin the dipping process.
Surface Preparation Errors
Poor cleaning ruins hydro dipping projects. Your pattern won’t stick properly if the surface has dirt, oils, or wax. The best approach starts with a grease and wax remover, followed by a Scotch-Brite pad that creates texture for better paint adhesion. The base coat must dry completely before you start dipping.
Temperature Troubles
Water temperature plays a significant role in success. Your film becomes sticky and won’t melt correctly when water drops below 75°F, which leads to poor conformity. Hot water creates its own problems by dissolving the film too fast and affecting ink and activator performance. The sweet spot sits around 92°F – just a bit cooler than bathwater.
Paint Selection Mistakes
Single stage oil-based acrylic enamels should never be used for spray paint hydro dipping. These paints create an “eggshell” effect – hard on the outside but soft inside. This makes them incompatible with top coats. Gloss Spray Paint deliver better results than matte options. Matte paints dry faster and can affect your dip quality.
Timing Issues
The clock matters in hydro dipping. You should dip urethane-based parts within 24 hours and water-based parts within 4 days. When temperatures exceed 70°F, let the parts sit for about an hour before dipping.
Film and Activator Issues
Film placement errors and poor activation are the foundations of many spray paint hydro dipping problems. The first step is to use the correct film side. A simple test involves wetting your fingertip and touching a corner – the tacky side must face up on the water. The film won’t activate properly if you place it upside down or forget to remove the clear backing.
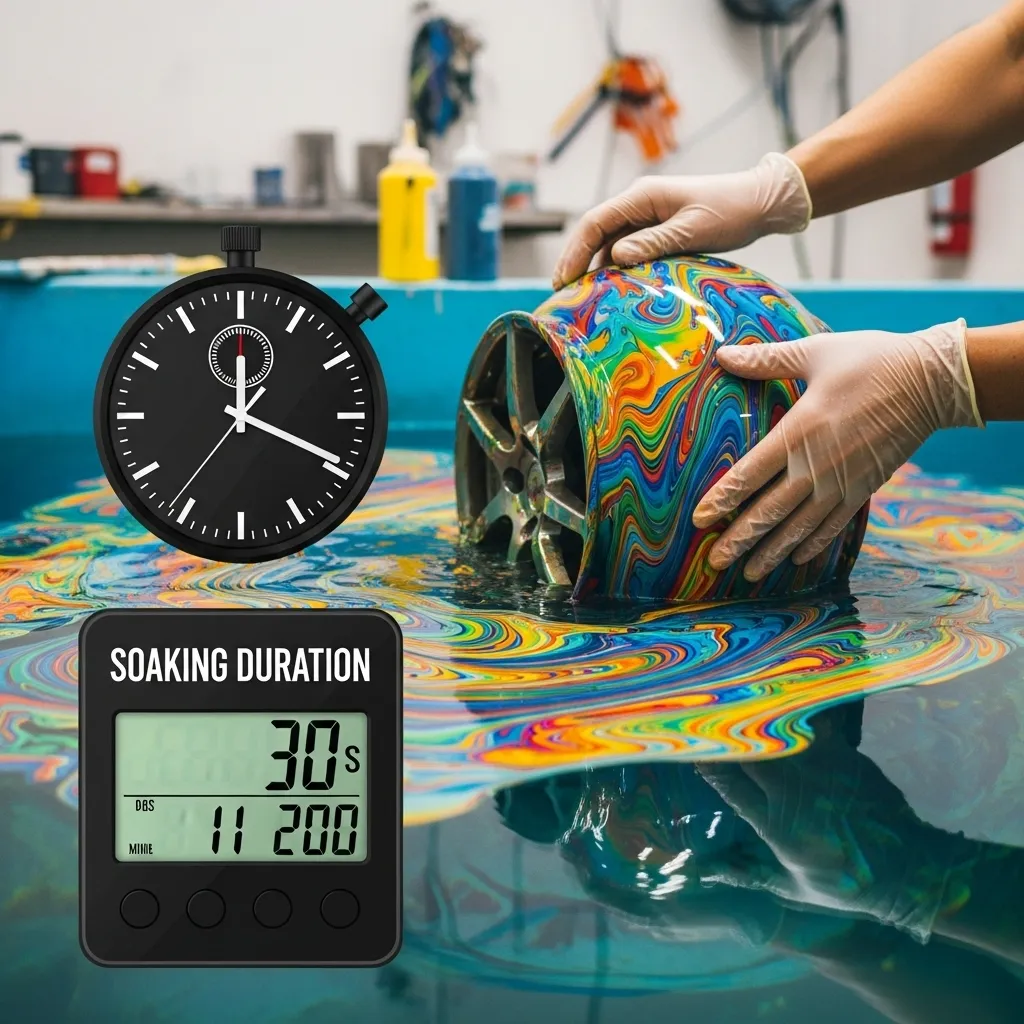
Soaking Duration
Successful dipping depends on the right film soaking duration. The process typically needs 60 seconds of soaking. Different film types and water temperatures might need 45-90 seconds. The film won’t soften enough with too little soaking time, while excess soaking leads to stretches or tears.
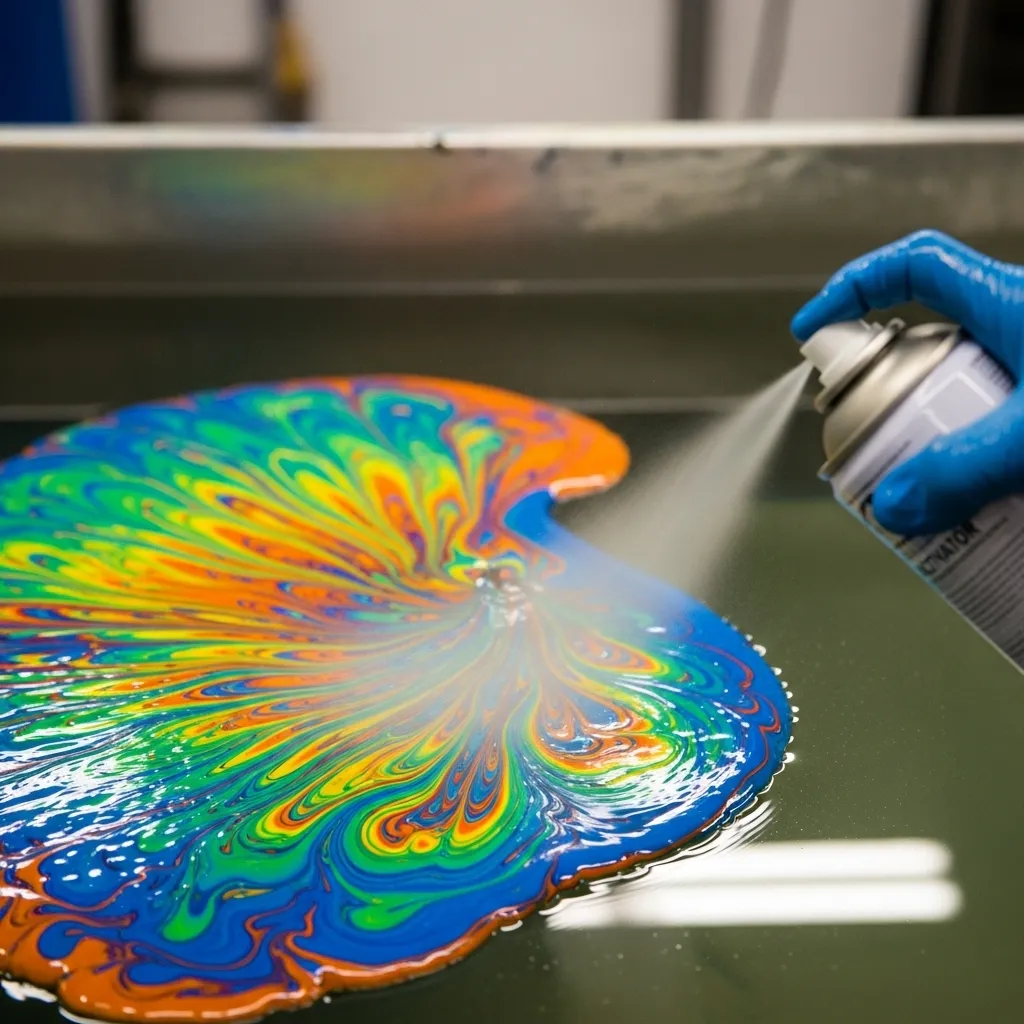
Activator Application
The activator application needs careful attention to detail. The Spray Paint gun works best when held 8-12 inches above the water. Apply one even coat with a 20% overlap. Multiple sprays over activated film will ruin the pattern. The pattern won’t stick and blisters appear with insufficient activator, while too much causes distorted patterns and bleeding colors.
Activation Timing and Pressure
Your film should “glass out” and show a uniform gloss within seconds after activation. The sweet spot to dip is 10-15 seconds after activator application. Don’t wait longer than 30 seconds as the activator evaporates. The spray paint hydro dipping gun performs best between 8-12 PSI.
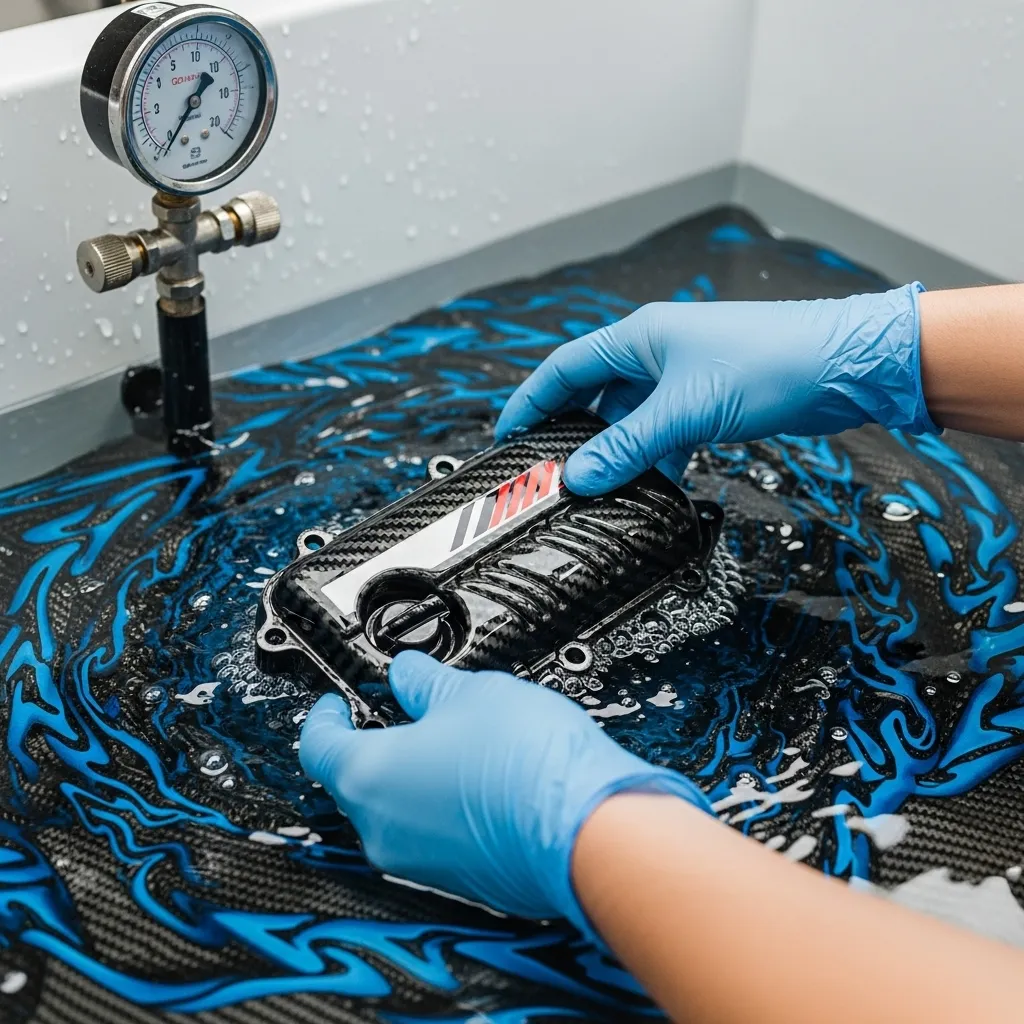
Dipping and Post-Dip Problems
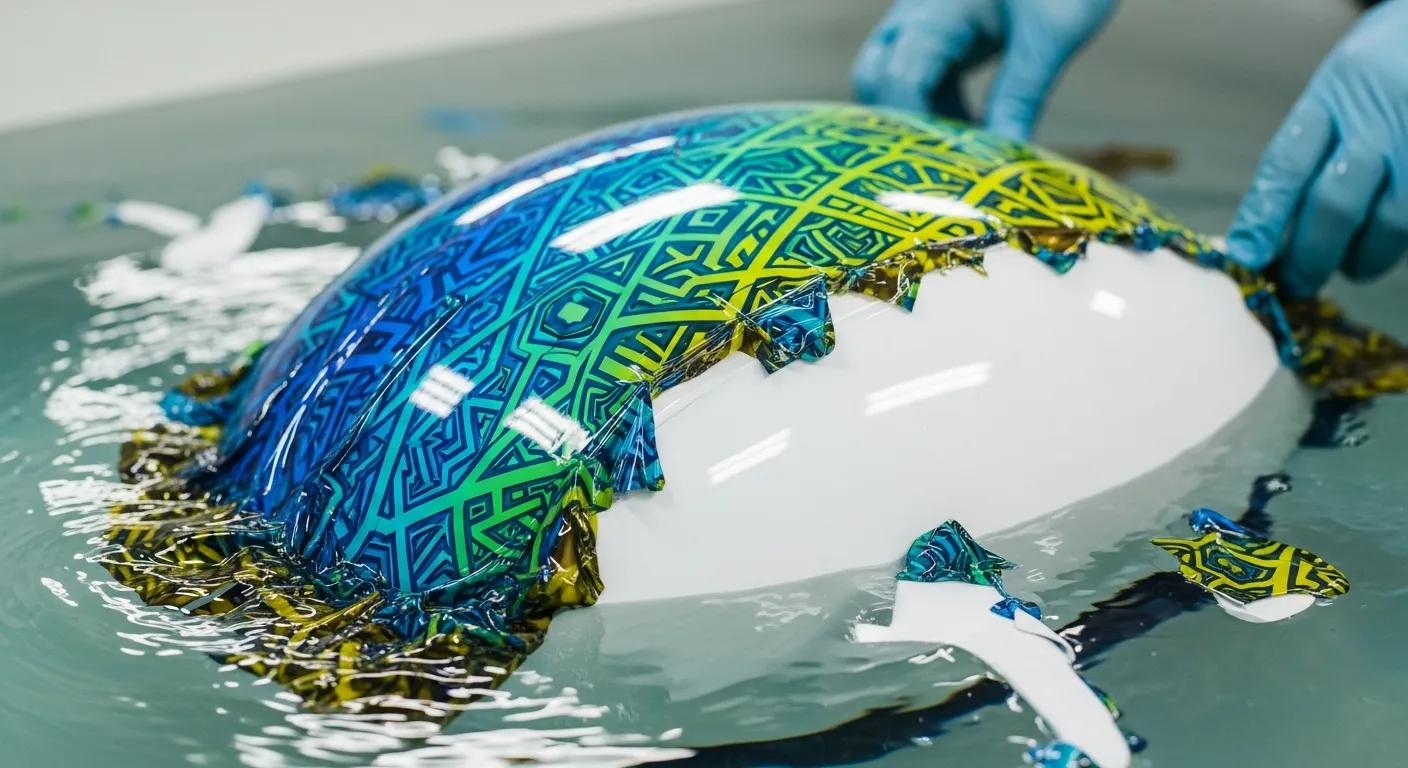
Your preparation success shows at the crucial moment of dipping. You should hold a 30-45 degree angle so the film wraps smoothly around all contours. Air pockets and pattern voids appear if you move too fast or use the wrong angle.
Best Dipping Practices
You’ll get the best results by:
- Enter the water with a steady, consistent motion
- Submerge completely to avoid partial coverage
- Shake the item gently underwater to spread the pattern
- Clean off floating film pieces before lifting your item
Rinsing After Dipping
After dipping, rinse the item with warm water until it loses its slimy feel. This usually takes 3-5 minutes based on your water’s temperature. Poor rinsing leaves sticky residue that stops the clear coat from sticking properly.
Drying and Clear Coat Application
Let the item dry fully, either naturally or with an air blower. The ink layer stays very fragile right after dipping, so don’t touch it until it’s completely dry.
The final step needs multiple light coats of automotive-grade clear coat instead of one thick layer to stop runs. This coating seals your decoration and makes it tough and fade-resistant. Even the best dips scratch easily without proper clear coat protection.
Conclusion
Mastering spray paint hydro dipping takes attention to detail and precise execution. You can avoid most issues with good preparation, temperature control, and technique. Keep the water around 92°F and ensure the surface is clean for strong adhesion.
Film placement and timing matter, make sure the tacky side faces up, soak for about 60 seconds, and apply the activator correctly from the right distance. Wait 10–15 seconds before dipping for best results. Also you can read our comparison guide about Hydro Dip Durability Test.
Dip at a 30–45° angle with steady motion to prevent air pockets. Rinse thoroughly afterward to remove leftover activator and ensure clear coat adhesion.
Success in hydro dipping comes from patience, consistency, and practice. Each step builds on the last to create flawless, artistic results.